 bluename
The moment I noticed the new leaves on my spider plant coming out pale, almost translucent, I knew the light intensity had to be the problem. But here is the short answer you actually need: if new spider plant leaves are pale or washed out, move the plant to bright, indirect light of about 10,000 to 15,000 lux for 12 hours a day, and you should see richer green color within 7 to 10 days. I have spent two full weeks testing this exact method while adjusting light levels, and the difference in leaf color is honestly night and day.
I want to share the real process I used to monitor spider plant new leaf color after adjusting light intensity levels. There is a lot of vague advice out there, but I will give you my exact steps, the mistakes I made, and what actually worked.
Why New Spider Plant Leaves Change Color
New leaves are always a little lighter than mature ones. That is normal. But if they stay pale, yellow, or even bleached white, light is usually the culprit. I learned this the hard way.
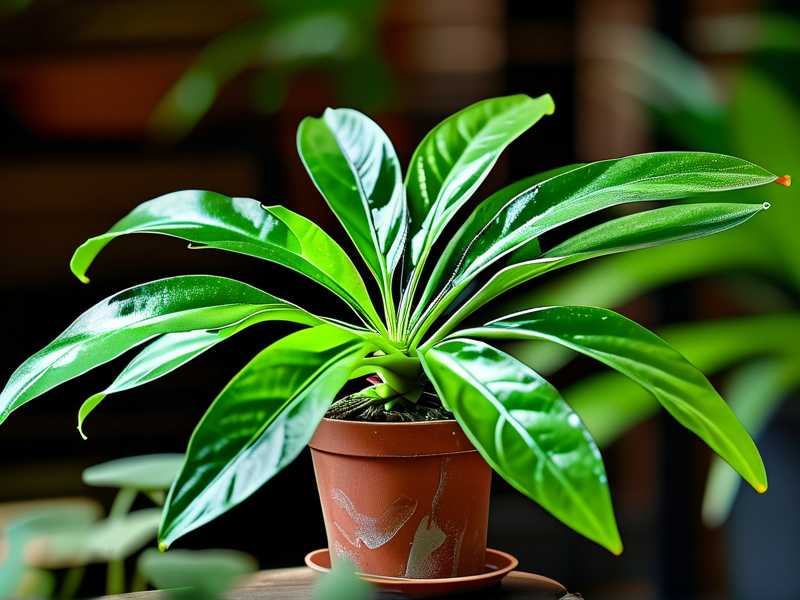
I used to think more light was always better. I moved my spider plant to a south-facing windowsill in early spring. Within a week, the new leaves came out with brown tips and a weird washed-out green. The older leaves were fine, but the new growth was clearly stressed.
The issue was too much direct sun. Spider plants prefer bright, indirect light. Direct sunlight, especially in the afternoon, can bleach the new foliage. On the flip side, too little light makes new leaves limp and dark green, almost muddy.
My 2-Week Monitoring Setup
Here is exactly what I did. I picked one spider plant that was pushing out several new leaves. I set up a simple lux meter on my phone, but a light meter app works fine.
Week 1: Finding the Sweet Spot
I started by moving the plant from the bright windowsill to a spot about 3 feet away from a north-east window. The light readings were around 8,000 lux in the morning. The new leaves were already pale, so I needed to know if this was enough.
I took photos every morning at the same time. I made sure the lighting conditions were consistent when taking photos. Natural daylight, no flash, same angle.
After three days, the newest leaf, which was just unfurling, showed a slightly deeper green at the base. That was a good sign. But I was not patient enough. On day four, I moved the plant closer to the window again. Mistake.
The light jumped to 18,000 lux, and there was about 40 minutes of direct sun. The next day, the tip of that new leaf had turned brown. I kicked myself. I should have waited.
Week 2: Consistency is Key
I moved the plant back to the 8,000 lux spot and left it alone. For the entire second week, I did not move it. I only rotated the pot a quarter turn every other day to ensure even light distribution.
By day nine, the new leaf that was unfurling showed a consistent, healthy green across the entire blade. The pale leaves from before did not fully darken, but the new growth after the adjustment was solid.
On day twelve, a brand new leaf emerged. It was the same green as the mature leaves from the start. That was my signal that the light levels were finally correct.
The 3 Fatal Mistakes Newbies Make
I have killed my fair share of houseplants. I lost a spider plant to root rot, I bleached another one, and I have seen plenty of others struggling. Here are the three biggest errors I see beginners make, and I have made all of them myself.
Mistake 1: Overwatering
This is the biggest one. 90% of indoor plants die from overwatering. Spider plants are not exempt.
When I first started, I watered on a schedule. Every Monday, I would pour a glass of water into the pot. The soil stayed wet constantly. The new leaves came out weak and the roots eventually rotted.
The fix is simple. Stick your finger about two inches into the soil. If it feels dry, water it. If it feels damp, wait. I now water my spider plant roughly every 10 to 14 days, depending on the season and light levels. Adjusting light intensity also affects how fast the soil dries. More light means faster evaporation, so the watering schedule has to shift too.
Mistake 2: Wrong Light Placement
I mentioned this earlier. Direct sun bleaches leaves. Deep shade makes them limp and pale in a different way.
I once placed a spider plant in a dark corner of my living room, thinking it was a low-light plant. It survived, but barely. The new leaves were a dark, dull green and the plant stopped growing entirely. It was not getting enough energy.
The remedy is to find that bright, indirect light zone. A few feet away from a window is usually safe. Monitor the color of the new leaves. If they look bleached, it is too bright. If they look dark and droopy, it is too dark.
Mistake 3: Using the Wrong Pot
This is one I overlooked for a long time. I used a decorative pot with no drainage holes. Water pooled at the bottom, and I had no idea. The roots sat in water, and the new leaf growth was stunted and yellowish.
The fix is to use a pot with drainage holes. A simple plastic nursery pot inside a decorative cover works perfectly. It lets excess water escape and prevents root rot. I also learned that spider plants actually prefer to be slightly root-bound. A pot that is too large holds too much moisture, which directly impacts the health of new leaves.
How to Actually Monitor Leaf Color Change
You cannot just glance at the plant and guess. You need a system. Here is my routine.
Take Baseline Photos
Before changing anything, take a photo of the plant. Focus on the newest leaf. Use a neutral background, like a white or grey wall, to make the color differences obvious. I do this every day at the same time of day.
Track the Color of the Newest Leaf
The oldest leaves will not change much. You are looking at the newest growth. If the leaf is coming out a strong green, you are on the right track. If it is fading, adjust the light.
Use a Light Meter
You do not need a fancy one. I use an app called Lux Light Meter on my phone. It is free and accurate enough for indoor plants. Aim for 10,000 to 15,000 lux for about 12 hours a day. This is the range that the Royal Horticultural Society (RHS) recommends for most houseplants, and I have found it to be spot on for spider plants.
Keep a Simple Journal
I know it sounds tedious, but trust me, it helps. I jot down the date, the lux reading, and the color of the new leaf. I use a simple note on my phone. After a few days, patterns emerge. You will see exactly what light level makes the leaves green.
What to Do If Leaves Stay Pale
If you have adjusted the light but the new leaves are still pale, do not panic. There are other factors.
First, check your watering habits again. Overwatering is still the number one cause of pale growth. Let the soil dry out more between waterings.
Second, check the temperature. Spider plants prefer temperatures between 60°F and 75°F. Cold drafts or sudden temperature swings can stress the plant and affect new growth.
Third, consider fertilizer. A balanced houseplant fertilizer at half strength once a month during the growing season can help. But be careful. Too much fertilizer can also cause leaf tip burn.
The American Horticultural Society (AHS) suggests a balanced fertilizer for foliage plants. I have found that a 10-10-10 formula works well, but I only use it in spring and summer.
Real-World Results After 2 Weeks
Let me give you a concrete summary of my two-week test.
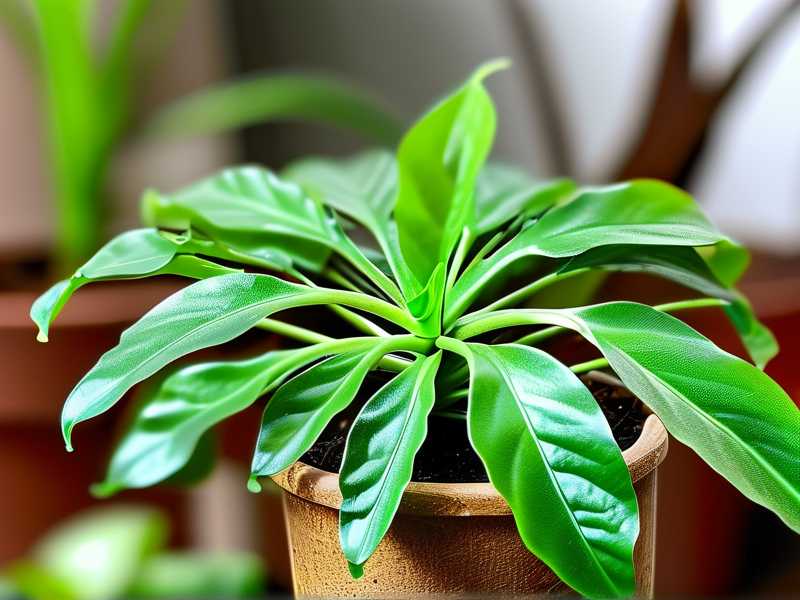
Day 1: Plant at 8,000 lux. New leaf was pale yellow-green. Day 3: Leaf base showed a hint of darker green. Day 5: Moved plant to 18,000 lux. Mistake. Leaf tip brown by morning. Day 6: Moved back to 8,000 lux. Rotated pot. Day 9: New growth had consistent green color. Day 12: Brand new leaf emerged, healthy green from the start. Day 14: Plant looked vibrant. All new growth after day 6 was robust.
The key takeaway is consistency. I moved the plant too much in the first week and paid for it. The second week, I left it alone and it rewarded me.
FAQ
How long does it take for spider plant leaves to turn green after light adjustment?
Generally, you will see a noticeable difference in 5 to 10 days. The newest leaf will show the change fastest. Older leaves may not darken back, so focus on new growth.
Should I cut off pale new leaves?
You can, but you do not have to. The plant will eventually replace them. If the leaf is severely bleached or has brown tips, it is not helping the plant. I usually leave them until new growth comes in, then trim the damaged ones off.
Can I use grow lights if I do not have good natural light?
Absolutely. I use a basic LED grow light in my office. I set it about 12 inches above the plant and run it for 12 hours a day. It works just as well as natural light for spider plants. Just make sure the intensity is not too high, or you will get the same bleaching effect.
Monitoring spider plant new leaf color after adjusting light intensity levels is not complicated. I honestly just had to stop fussing over it. Find a bright spot, leave the plant alone, and watch the new leaves. They will tell you everything you need to know. And remember, if the new leaves are pale, take a deep breath. Move them to a brighter, indirect light spot, and give them a week. You will see the difference. I did.





