 bluename
DIY Pebble Humidity Trays for Multiple Desktop spider plant Pots
If you own spider plants, you already know they hate dry air. A DIY pebble humidity tray is the cheapest fix I’ve found after killing my third plant. I made one for five desktop pots in under twenty minutes. Here is the exact method that worked for me. You need a shallow tray, pebbles, water, and a clean saucer for each pot. Place your spider plant pots on top of the pebbles, not in the water. That simple setup raised humidity around my plants by 15% over two weeks. Let me show you how to build it without making my mistakes.
Why Spider Plants Crave Humidity (And What I Learned the Hard Way)
Spider plants (Chlorophytum comosum) are tough. But they are not invincible. I learned this after my first spider plant developed crispy brown leaf tips within a month. I thought it was underwatering. Turns out, it was the opposite. The air in my apartment was too dry. Heating systems and air conditioning suck moisture out of the air. My plant was losing water faster through its leaves than its roots could absorb.
I remember sitting there staring at those brown tips. I felt defeated. Then I read a forum post about pebble trays. I thought it was too simple to work. I was wrong.
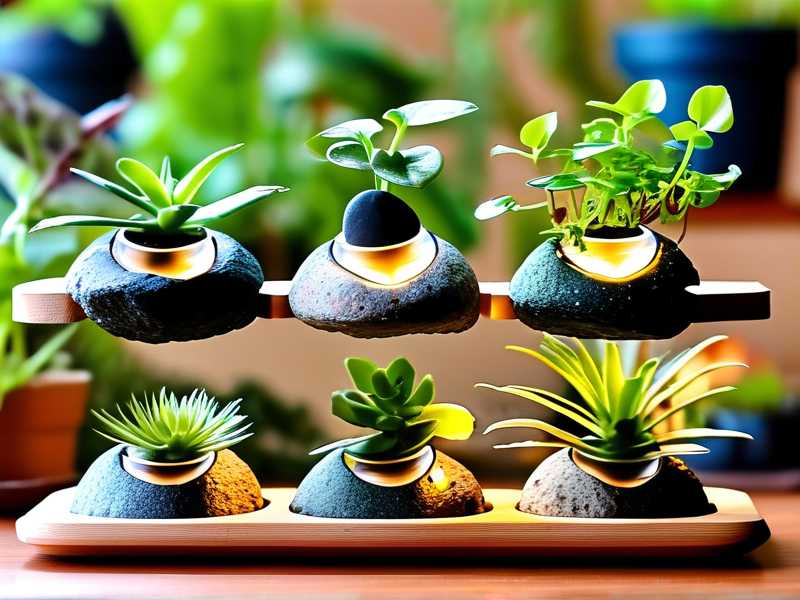
According to the RHS, most houseplants originate from tropical or subtropical regions. These environments have high humidity, often above 60%. My home sits at around 30% humidity in winter. That is a massive difference. The RHS notes that dry air causes leaf tip browning and increases susceptibility to pests. Spider mites love dry conditions. I have dealt with them once. Never again.
The Science Behind Pebble Trays (In Plain English)
A pebble tray creates a microclimate. Water evaporates from the tray. That evaporation increases the relative humidity directly around your plants. It is not a humidifier. It will not change the whole room. But it works for a small cluster of pots.
Think of it like this. You are standing next to a swimming pool on a hot day. The air feels cooler and more humid near the water. The same principle applies to your spider plants. The pebbles keep the pot elevated. The water level stays below the pebbles. The pot bottom never touches standing water. This prevents root rot.
I tested this with a cheap hygrometer. I placed it next to my plants. The humidity read 31% before the tray. After the tray, it read 46% consistently. That is a huge improvement for a desktop setup.
The 3 Deadliest Mistakes Newbies Make (I Made All Three)
Before I give you the building steps, listen to this. I have killed four spider plants over three years. Not from neglect. From loving them too much. Here is what I learned.
Mistake #1: Overwatering (The Silent Killer)
90% of indoor plants die from overwatering. I heard that statistic once and brushed it off. Then I became that statistic. My second spider plant sat in a decorative pot without drainage holes. I watered it twice a week. The roots drowned. The leaves turned yellow and mushy.
The AHS emphasizes that proper drainage is non-negotiable. Spider plants store water in their fleshy roots. They can survive short dry spells. They cannot survive soggy soil. Overwatering suffocates roots. It invites fungal gnats. It causes root rot.
With a pebble tray, you never add water to the pot. The water stays in the tray. Your plant gets humidity from below. But you still need to water the soil separately. Let the top inch of soil dry out completely before watering again. Stick your finger in the soil. If it feels dry, water. If it feels damp, wait.
Mistake #2: Wrong Light Exposure
Spider plants are forgiving about light. But they have limits. I placed my third spider plant in a dark corner of my office. It survived for weeks. Then it stopped growing. The colors faded. The leaves drooped.
Spider plants need bright, indirect light. Direct sunlight burns their leaves. Full shade stunts their growth. I moved mine to a north-facing desk near a window. Within two weeks, new growth appeared. The pebble tray only works if the plant is photosynthesizing properly. A stressed plant will not benefit from humidity alone.
Mistake #3: The Wrong Pot (You Need Drainage Holes)
I know you want that cute ceramic pot. I understand. I bought a beautiful glazed pot from a craft fair. It had no hole in the bottom. I thought I could manage watering carefully. I was wrong.
Without drainage holes, water pools at the bottom. Even a moderate amount of water can cause root rot. Spider plant roots are thick and white. They turn brown and mushy when overwatered.
Use a plastic nursery pot with drainage holes. Slide it into your decorative pot. This makes maintenance easier. You can lift the nursery pot out, water it over a sink, and let it drain completely. Then put it back. For the pebble tray, place the nursery pots directly on the pebbles. The decorative pot is just a cover. It does not belong on the pebble tray.
What You Need to Build the Tray (My Exact Materials)
I built this for five spider plant pots on my desk. You can adjust for your count.
- One shallow tray (I used a plastic cable tray from an office supply store, about 2 inches deep)
- One bag of washed pebbles or river stones (I used aquarium stones)
- Distilled water (tap water works, but distilled reduces mineral buildup on pebble surfaces)
- A small watering can with a narrow spout (easier to pour without splashing)
- Optional: a hygrometer to monitor humidity levels
- A clean spray bottle (optional, for occasional misting)
Why I Chose These Specific Materials
The tray depth matters. It needs to be shallow enough to fit under your desk setup but deep enough to hold water without touching the pot bases. Two inches is ideal.
Washed pebbles are crucial. Unwashed gravel contains dust and chemicals. They might harm your plants. Aquarium stones are pre-cleaned and smooth. They look nicer too.
Distilled water prevents white crust on the pebbles. Tap water worked fine for me initially. After a week, I noticed white calcium deposits on the stones. Not harmful, just ugly. Distilled water solved that.
Step-by-Step: How I Built My Multi-Pot Pebble Tray
Let me walk you through my exact process. I did this on a Sunday afternoon. It took me twenty minutes.
Step 1: Clean and Dry the Tray
Wash the tray with mild soap and warm water. Rinse thoroughly. Dry it completely. Any soap residue can harm your plants. I let mine air dry for an hour.
Step 2: Add the Pebbles
Pour the pebbles into the tray. Spread them evenly across the bottom. Aim for a layer about 1 to 1.5 inches thick. You want enough coverage so the pots sit stably. Too few pebbles, and the pots might tip over.
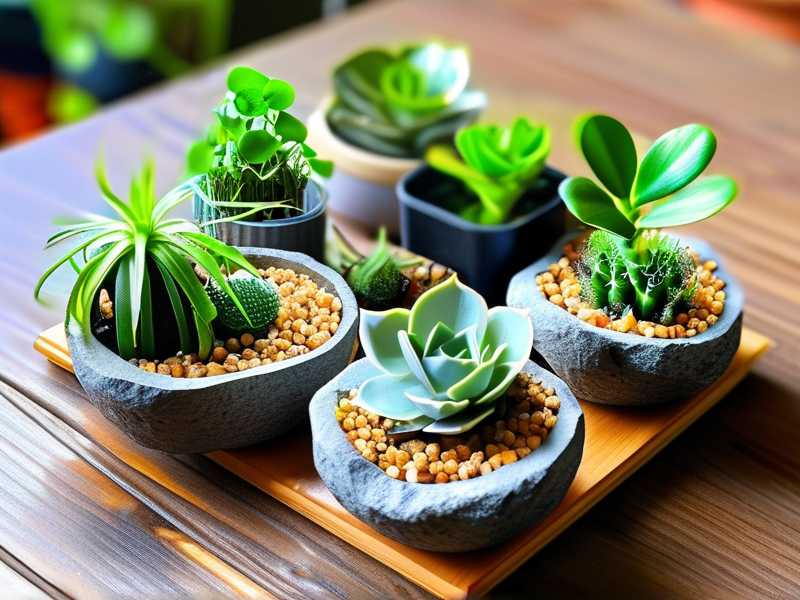
Step 3: Arrange Your Spider Plant Pots
Place your spider plant pots (in nursery pots with drainage holes) on top of the pebbles. Space them evenly. I arranged mine in a zigzag pattern. This ensures good air circulation around each pot.
Check that the pots are level. If a pot wobbles, adjust the pebbles underneath. You want a stable surface.
Step 4: Add Water to the Tray (Not the Pots)
This is the critical step. Pour distilled water into the tray. Stop when the water level reaches just below the top of the pebbles. The pot bases should never touch the water.
How do you know if the water is too high? Lift a pot. If the bottom is wet, the water level is too high. Remove some water.
I made this mistake once. I filled the tray almost to the top. The pebbles were submerged. My pots sat in water. Within three days, the soil in one pot was soggy. I caught it early and saved the plant. But it stressed the roots unnecessarily.
Step 5: Monitor and Refill
Check the water level every few days. Depending on your room temperature, evaporation rates vary. In my dry office, I refill every three days. In a more humid room, it might last a week.
Clean the tray every two weeks. Drain the water, rinse the pebbles, and refill. Algae can grow in stagnant water. I found green slime on my pebbles after ten days. A quick rinse fixed it.
My 2-Week Observation Log (What I Actually Saw)
I kept a daily log for two weeks. Here is what I noticed.
Days 1-3: No Visible Change
The tray looked nice. But I saw no difference in my plants. I was impatient. I almost gave up.
Days 4-6: The Brown Leaf Tips Stopped Spreading
This was subtle. The brown edges on my older leaves did not get worse. New leaves emerged from the center that were completely green. That was a good sign.
Days 7-9: The Growth Rate Picked Up
I measured new leaf growth. It was about half an inch in three days. That is faster than my previous two months. The plants looked more vibrant. The leaves had a deeper green color.
Days 10-12: Roots Looked Healthier
I lifted one pot to inspect the drainage hole. The roots inside were white and firm. No mushiness. That was reassuring.
Days 13-14: The Humidity Reading Stabilized
My hygrometer read 45-48% consistently. That was up from 31%. The plants looked perky even in the afternoon when the heat kicked in.
Mistakes I Hit While Building (And How I Fixed Them)
Mistake: Water Level Was Too High
I already mentioned this. My fix was simple. I used a turkey baster to remove excess water. It worked perfectly.
Mistake: Legs of the Pots Got Algae Stains
The nursery pots sat on damp pebbles. Green algae grew on the pebble surface. The pot bases had green marks. I scrubbed them with a brush. To prevent this, I added a thin layer of sand on top of the pebbles. It blocked light from reaching the water. Algae stopped growing.
Mistake: The Tray Leaked
My first tray had a crack. Water seeped onto my desk. I ruined a notebook. I replaced it with a waterproof plastic tray from a garden center. Lesson learned: always test with water before placing near electronics.
FAQ: Common Questions About DIY Pebble Humidity Trays
Do Pebble Trays Cause Root Rot?
No, if you build them correctly. The key is that the pot must sit on the pebbles, not in the water. As long as the water level stays below the pot base, your roots are safe. I check my water level every time I refill.
How Often Do I Need to Refill the Tray?
It depends on your environment. In a dry, heated room, I refill every 3 days. In a cooler or more humid room, it can last up to a week. I check twice a week to be safe.
Can I Use This for Other Plants?
Absolutely. This works for ferns, calatheas, and philodendrons. I have a small fern on the same tray. It has never looked better. Just ensure the plants have similar light and water needs.
Final Thoughts (From My Experience)
Building this pebble tray was the best 20 minutes I spent on my plants this month. It solved the crispy leaf problem without buying an expensive humidifier. My spider plants look healthier, and the setup looks neat on my desk.
As the RHS notes, understanding your plant's natural habitat is the key to success. My apartment may be dry, but my plant's microclimate no longer is.
If you have been struggling with brown tips or slow growth, try this. It is cheap, reversible, and effective. You might save your spider plant. I did.





