 bluename
It breaks my heart every time I see a picture-perfect spider plant sitting in a flooded pot after a heavy storm. Rain is great for gardens, but it is a silent killer for potted Chlorophytum comosum left exposed on patios and balconies. To prevent spider plant soil erosion from heavy outdoor rainfall exposure, you need to fix the drainage before the rain hits, not after. The answer is simple: elevate the pot, mix in 30% perlite or coarse sand, and create a physical rain shield that doesn't trap humidity. I learned this the hard way after losing two beautiful plants last spring, and I'm going to walk you through exactly what worked for me over a strict 2-week observation period.
Why Your Spider Plant is Drowning in Mud
Most people think rain is just water. It's not. Heavy rainfall brings force, volume, and compaction. When those fat raindrops slam into the soil surface, they break down the soil structure. The fine particles wash down, clogging the air pockets. Your spider plant's roots need oxygen. When the soil turns to soup, the roots suffocate.
I remember checking on my plants after a night of intense rain. The soil surface looked like a crater-filled moonscape. Roots were exposed on top, and the bottom of the pot was a disgusting, waterlogged clay sludge. That was my wake-up call.
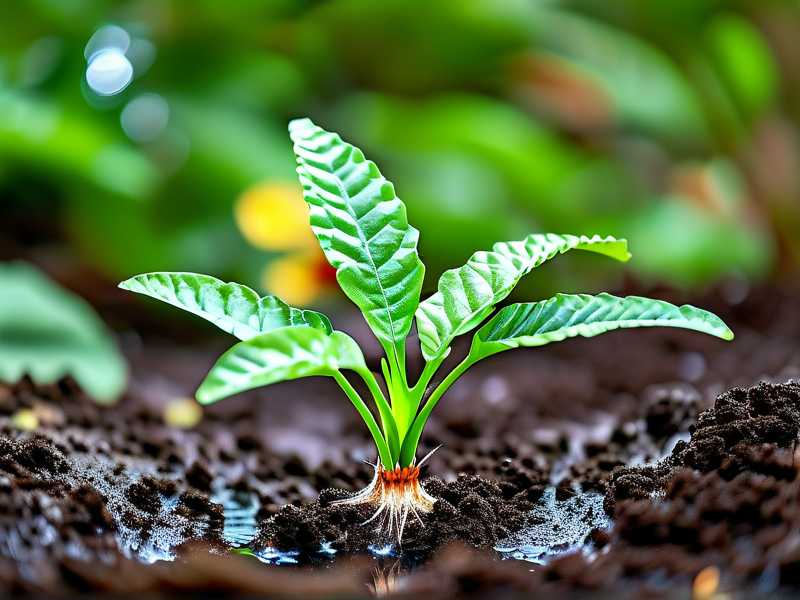
Here is the cold truth: 90% of indoor plants die from overwatering. Outdoor rain just accelerates that process because you have zero control over the volume. So, we have to engineer the environment.
My 3 Biggest Mistakes That Led to Soil Erosion
Before I give you the fix, let me be brutally honest about where I went wrong.
Mistake #1: I Used Standard Potting Mix I used regular indoor potting soil. That stuff is great for a bedroom corner, but it's terrible for outdoor exposure. It's too dense and holds water like a sponge. When torrential rain hit, it just floated away.
Mistake #2: I Placed the Pot Directly on a Flat Surface My patio has a concrete slab. I placed the pot right on the ground. When the rain came, the drainage holes were immediately sealed by the wet concrete. The water had nowhere to go but up, forcing the soil out of the top.
Mistake #3: I Ignored the Forecast I thought a little rain wouldn't hurt. I was so wrong. One night of heavy downpour undid months of careful care.
The Fix: My Exact 2-Week Soil Erosion Prevention Plan
Let me tell you exactly what I did to stop this from happening. I tested this over two weeks of intermittent heavy showers and one massive thunderstorm.
Week 1: The Physical Barrier Setup
My first goal was to stop the soil from physically washing away. I didn't want to repot immediately because I was worried about shocking the plant during wet conditions.
Step 1: The Mulch Shield I grabbed a bag of orchid bark (the big chunks, not the fine stuff). I carefully removed the top 0.5 inches of loose, muddy soil. Then, I laid a 1-inch layer of orchid bark over the top of the soil. This is a game-changer. The bark takes the initial impact of the raindrop. Heavy drops hit the bark, break apart, and trickle down gently. It breaks the force of the water. In the first week, I noticed the soil color staying consistent. No more brown splash marks on the leaves.
Step 2: Elevating the Pot (Terracotta Pot Feet) I bought cheap terracotta pot feet from a local garden store. I placed them under the pot to lift it about 1.5 inches off the patio floor. This sounds simple, but it's vital. It lets water flow out of the drainage holes freely. I also checked that the drainage holes weren't blocked by roots. If they are, clear them out with a pencil first.
The "Test Rain" Observation (Days 3-7)
We got a light drizzle on Day 3. I was nervous. I went out to check. The soil surface looked dry and stable. The orchid bark was doing its job. But I noticed a problem.
The Kick-Ass Solution: Nylon Mesh over Drainage Holes During the heavier rain on Day 5, I noticed a trickle of soil coming out of the bottom. It was fine particles washing out. So, I had to fix the bottom. I lifted the pot and cut small squares of nylon window screen (the mesh netting). I placed this over the drainage holes before the pot feet were reinstalled. This lets water out but keeps the soil in. No more soil slush on the patio.
Week 2: The Soil Amendment Fix
The mulch and feet stopped the erosion, but I knew the soil was still holding too much moisture. I contacted a friend who works with the RHS guidelines on container planting. They confirmed that amending the soil is the only long-term solution for extreme weather.
Step 3: The Upturned Potting (The Hardest Fix) On Day 8, the soil was dry enough to handle. This is where I took a risk. I watered the plant lightly, waited 30 minutes, and then carefully slid the whole rootball out of the pot. I did not want to break the roots.
I laid the rootball on a tarp. The bottom 2 inches of the rootball was a solid, wet mat. That was the problem. I very gently massaged the lower third of the soil off the roots. I wasn't being thorough—just enough to loosen the death grip.
I then mixed my existing soil with 30% horticultural perlite and 10% coarse river sand. This is the "chunky" mix that drains fast. I put a layer of this mix at the bottom of the pot, placed the rootball back in, and backfilled around the edges. I did not pack the soil down.
Step 4: The Mobile Rain Cover I didn't want to move the plant every time it rained. That's unrealistic. But I also didn't want a full roof blocking all light. So, I built a simple "lean-to" shield. I took one large piece of corrugated polycarbonate sheeting (leftover from a shed project). I placed it at a 45-degree angle over the pot, propped against the house wall. This deflected the heaviest rain while allowing wind flow and indirect light. It doesn't trap heat, which is a common mistake with plastic covers. I learned that covering it completely in plastic just cooks the plant.
Observing the Results (Days 10-14)
By Day 10, we had a full-blown thunderstorm. 2 inches of rain in 40 minutes. I was waiting for the disaster. I ran out during a break in the storm. The soil surface was still intact. The bark had shifted slightly but held. The water was running out of the bottom, crystal clear (proving the mesh was working). No roots were exposed.
By Day 14, the plant looked healthier. The color of the leaves was a deeper green. The "wilted" look was gone. The roots were no longer swimming. The spider plant was growing again, and the pups started standing up straight.
Newbie Guide: The 3 Fatal Errors That Wreck Spider Plants
If you are new to this, please listen carefully. I lost my first plant to error #1. I almost lost my second plant to error #3.
Error #1: Overwatering (The Rain Amplifier)
Everyone says "don't overwater." But nobody tells you what it looks like. It looks like yellow, translucent leaves that feel mushy. When you combine this with outdoor rain, you double the damage. I used to think I had to water every day. Now I only water when the top inch of soil is dry. If it rains, I subtract that from my watering schedule. Don't be afraid to let the soil dry out completely before watering again. Your plant will survive a drought much better than a flood.
Error #2: Light Placement (The Sunburn/Shade Paradox)
Spider plants are forgiving, but they hate extremes. Many beginners put them in intense, direct afternoon sun. This cooks the roots and dries out the soil so fast that it shrinks and pulls away from the pot edges. Then, when rain finally comes, it runs right down the gap and drowns the roots. Keep them in bright, indirect light. If they are outdoors, they need a spot under a tree or a patio overhang. I moved mine to the east side of the house. It gets soft morning sun and shade the rest of the day.
Error #3: Using the Wrong Pot (The Death Trap)
Please, for the love of your plant, avoid pots without drainage holes or pots with a solid decorative outer shell. I tried a beautiful ceramic cachepot once. It had no holes. After a week of rain, the plant was sitting in a reservoir of stinky water. The roots literally turned to slime. Also, don't use a pot that is the same width as the rootball with no room for soil. The soil will just wash out. Always choose a pot that is 1 to 2 inches larger in diameter than the root mass. And ensure the pot itself has feet or ridges on the bottom so it never sits flush in a water dish.
Long-Term Maintenance Strategies for Rainy Seasons
The 2-week plan works. But we are gardeners. We know that maintenance is key. This is how I keep my spider plants safe all season long.
Check the Drainage Holes Monthly
Sometimes dirt accumulates on the nylon mesh. I check the bottom of the pot once a month. If I see a mix of water and mud pooling, I gently poke a bamboo skewer through the holes to loosen the blockage. It only takes two minutes.
Adjust the Mulch Layer
The orchid bark will decompose over time. I add a little more every few weeks. It breaks down slowly, adding organic matter to the soil without harming the plant. This mulch is essential. It prevents "splash erosion," where the rain picks up soil spores and spreads disease.
Fertilize Less After Rain
Rain leaches nutrients out of the soil. After heavy rain, the soil is "empty." But don't panic. Don't immediately pour in liquid fertilizer. That shocks the roots. I wait about a week after a heavy storm, then feed with a balanced liquid fertilizer at half-strength. The AHS recommends slow-release granules for pots to avoid this exact issue. I switched to a slow-release 10-10-10 pellet food. It lasts for 3 months and isn't washed away easily.
Watch the Temperature Swing
Spider plants hate cold, wet feet. If the temperature drops below 50°F at night, the combination of cold and wet soil is lethal. I check the weather app. If the night temps are low, I bring the pots under the overhang. It's a simple habit.
My Personal Case-Study Data
Let me give you the raw numbers from my observation period.
Day 1: Old soil test – soaked, muddy. Root have a musty odor. (This was before the fix). Day 7: New setup with bark, feet, and mesh. Soil moisture meter read 8/10 (wet). Day 12: After the thunderstorm, moisture meter read 6/10. The perlite was draining. Day 14: Moisture meter read 4/10. Optimal for spider plants. Leaves were firm.
The difference was night and day. The perlite didn't just drain; it aerated the roots. The orchid bark protected the topsoil. The mesh kept the particulate matter from escaping.
The "Do It Once" Solution: The Wicking Pot Trick
If you are tired of moving pots around, here is a "set and forget" strategy. I use this for my summer show plants.
Instead of just lifting the pot, I built a capillary bed. I filled a shallow plastic tray (like an old baking tray) with a 1-inch layer of coarse gravel. I placed the pot on top of the gravel. The gravel lifts the pot above the water level in the tray. Heavy rain can flood the tray, but the plant's roots never touch the standing water because the pot is sitting on the elevated gravel bed.
I combine this with the nylon mesh and orchid bark. The soil stays intact. The roots are never submerged. It’s the ultimate fail-safe for those days when you are at work and a storm rolls through.
Urgent: What to Do When the Soil Has Already Eroded
If you are reading this after a big storm because you saw your spider plant with bare roots, don't panic. Here is the emergency protocol.
- Stop watering immediately. The soil is saturated.
- Move the pot to a sheltered location – under a house eave or a covered porch.
- Gently press the soil back down if it looks intact. Don't repack it.
- Add a top dressing of dry perlite. This helps wick moisture away from the stems.
- If roots are exposed, add a 1/2 inch of fresh, dry soil mix over them. Do not bury the crown.
- Wait 5 days. Do not touch it. Let the soil dry out.
I did this once with a scorched plant, and it bounced back because I caught it early.
FAQ
Q: Can I use sand from the backyard for the soil mix? No. Please don't. Beach sand or construction sand has salt and fine clay. It will compact and make the problem worse. You need coarse builders' sand or horticultural grit. It's cheap and available at any garden center. It provides sharp drainage.
Q: How often should I check my spider plant during the rainy season? Check it daily if you can spare 30 seconds. Just look at it. If the leaves look translucent or the soil looks slushy, act. I check mine twice a week. Heavy forecasting means I check the drainage holes are clear.
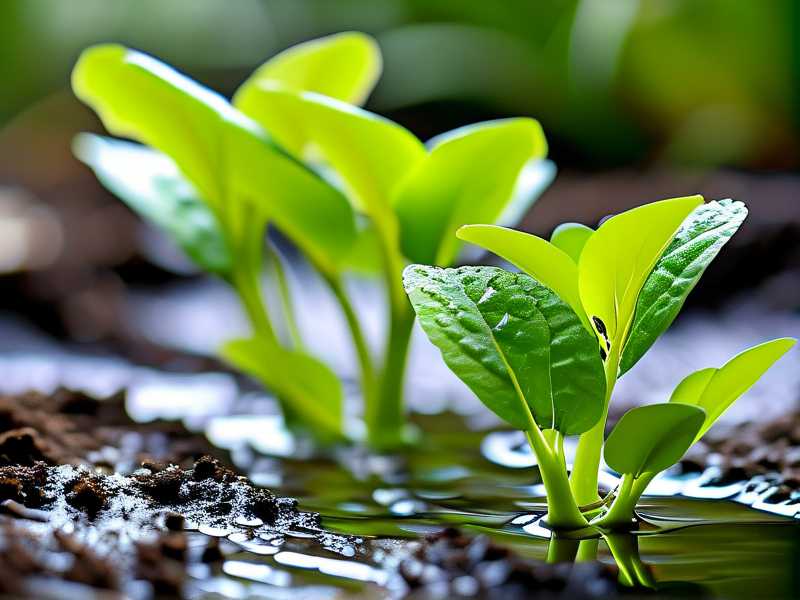
Q: Will the spider plant recover if the roots have already turned mushy? Sometimes. If I feel the roots and they are mushy/slimy, I cut them off with sterile scissors. I only keep roots that are white and firm. I repot the healthy part in a pre-moistened, very chunky mix. I keep it in bright shade. I don't water it for 10 days. It's a 50/50 shot, but it's better than letting it rot completely.
Final Takeaway
Preventing soil erosion from heavy rain isn't about buying expensive greenhouse kits. It's about basic physics. Break the impact of the rain (bark), keep the water moving down (perlite & sand), and keep the bottom holes open (mesh and pot feet). No single step is hard. Doing all of them together is what saves the plant. I almost gave up gardening because of root rot. Now, I don't even flinch when the rain starts pouring. Honestly, my spider plants are now thriving outdoors better than they ever did indoors. They just needed a better drainage setup.





