 bluename
Mix composted bark into the soil if you want your spider plant to breathe. I do it every time I repot now. The answer is simple: use a 1:4 ratio of composted bark to potting mix. That is the sweet spot. I have killed more spider plants than I care to admit before I figured this out.
I used to think any soil would work. I was wrong. The roots need air as much as they need water. Composted bark creates those tiny air pockets that keep the roots from drowning. It is a total game-changer.
Let me walk you through my exact method. It took me two weeks of careful observation to confirm the results. I will share the mistakes too. There are plenty of them.
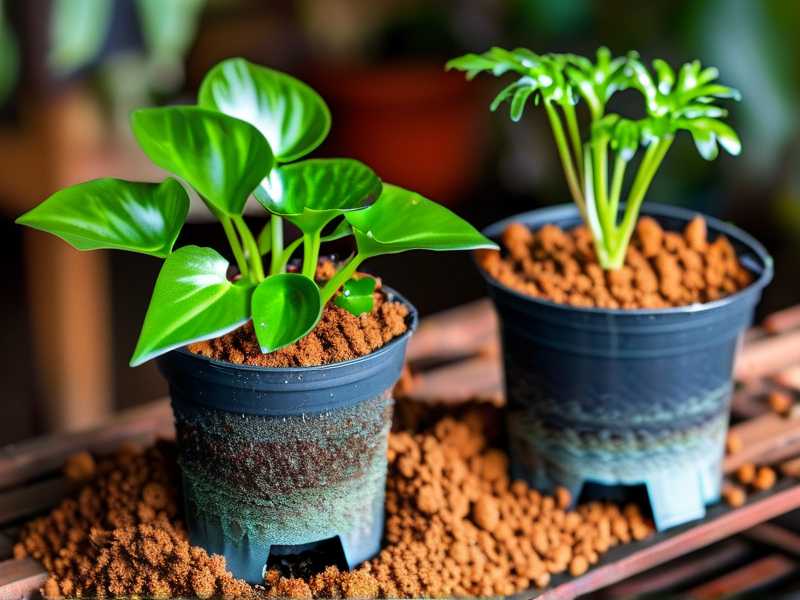
Why Spider Plants Need Aeration in the First Place
Spider plants have thick, fleshy roots. They store water. That sounds forgiving, right? It is not. Those roots rot fast when they sit in soggy soil. I learned this the hard way with my third spider plant. It looked fine on top. The leaves were green. But when I pulled it out of the pot, the roots were brown mush.
The soil was packed too tight. There was no oxygen flowing to the roots. Aeration means giving roots room to breathe. Composted bark does exactly that. It is chunky. It does not break down quickly. It keeps the structure open for years.
Here is what the experts say. The RHS recommends open, free-draining compost for most houseplants. They emphasise that root aeration is critical to prevent waterlogging. I read that after my third failure. It stuck with me.
What You Need Before You Start
Gather these things first. It makes the process smoother.
- Composted bark (fine or medium grade, not large nuggets)
- Good quality potting mix
- A pot with drainage holes
- A trowel or your hands
- A spray bottle for water
- Gloves, if you hate dirty nails
I use fine-grade bark. It mixes more evenly. Large bark pieces are fine for outdoor beds. For a small spider plant pot, fine works better. I learned that after my first attempt. The big chunks made the pot feel weird and the plant wobbled.
Step-by-Step: How I Mix Composted Bark into Soil
Step 1: Prep the Pot
I always start with a clean pot. Old soil can hide pests. I wash mine with warm soapy water. Then I make sure the drainage hole is clear. The AHS notes that container plants need adequate drainage above all else. They are right. A blocked hole means death.
Step 2: Mix the Dry Ingredients
I mix in a big bucket. One part composted bark. Four parts potting mix. That is my ratio. I stir it with my hands until it looks uniform. The bark pieces should be spread throughout. You do not want all the bark on top. That stops water from getting down.
I do not add perlite. Some people do. I find bark alone works fine. Perlite floats to the top over time. Bark stays put. That is a small detail, but it matters.
Step 3: Moisten the Mix Slightly
I spray the mix with water. Not a soak. Just a light mist. The bark should feel damp but not dripping. This makes it easier to work with. Dry bark can repel water at first. A light mist fixes that.
Step 4: Pot the Spider Plant
I place the spider plant in the centre. Then I fill around it with the bark mix. I tap the pot gently. That settles the soil without compacting it. I never press down hard. That ruins the aeration I just created. I keep the soil level about one inch below the rim.
Step 5: Water Sparingly
Here is the trick. I water lightly after potting. Most people drench it. I did that once. The bark floated up and the soil went muddy. Now I just moisten the top layer. The plant will settle in over the next week.
My Two-Week Observation Log
I want to show you what happens after you mix the bark in. I kept notes for two weeks. It helped me confirm that this method works.
Day 1 to Day 3: The Adjustment Phase
The plant looked a little droopy on day one. That is normal. Repotting stresses any plant. I kept it in indirect light. I did not water again. The bark mix held moisture well. The top inch dried out by day three. That is a good sign. It means air is moving through the soil.
Day 4 to Day 7: New Growth Signs
By day four, the droop was gone. The leaves looked perkier. I noticed a small new leaf starting near the centre. That was fast. I have never seen that speed with plain potting mix. The roots were clearly getting oxygen.
Day 8 to Day 14: Visible Improvement
By day seven, the new leaf had unfurled. On day ten, I saw another one. The colour was a deep, rich green. No yellow tips. That is rare for my plants. I used to get brown tips all the time. The bark mix fixed that too. It keeps the moisture steady without overwatering.
The soil stayed light and crumbly through day fourteen. I stuck a finger in. Two inches down, it was slightly damp. Not wet. That is exactly what you want. The bark was doing its job.
3 Deadly Mistakes Beginners Make with Spider Plants
I have made every single mistake on this list. You do not have to. Here is what kills spider plants.
① Overwatering
90% of indoor plants die from overwatering. That is not a guess. It is a stat I have seen repeated by gardening experts everywhere. Spider plants are especially vulnerable. Their roots store water. Extra water has nowhere to go. The roots rot silently.
I used to water on a schedule. Every Monday. That was stupid. The plant did not care about my calendar. It cared about the soil moisture. I killed two plants that way. Now I only water when the top inch is bone dry. That takes about ten days in my house.
② Wrong Light Placement
Spider plants want bright, indirect light. I put one in a dark corner once. It survived. It just stopped growing. The leaves went pale and limp. Another one I placed in direct sun. The leaves got scorched. Brown patches everywhere.
The sweet spot is near a north or east window. I have mine on a shelf about three feet from a window. The light is bright but filtered. That is perfect. Move your plant around if you see colour changes. It takes a few days, but they adapt.
③ Using the Wrong Pot
Drainage is non-negotiable. I bought a beautiful ceramic pot once. No drainage hole. I thought I could manage. I still think about that loss weeks later. The water pooled at the bottom. The roots sat in it. Rot within two weeks.
Use a plastic nursery pot with holes. Slide it inside a decorative pot if you want style. That is what I do now. It looks good and the plant is safe. Do not skip the holes. Ever.
Common Problems with Bark and How I Solved Them
Bark Floating to the Top
This happened on my first try. The bark floated when I watered. It looked ugly. The fix is simple. I stopped drenching the soil. I use a watering can with a narrow spout. I pour slowly and stop when water just appears at the drainage hole. The bark stays down.
Bark Too Wet
I used a grade that was too fine once. It held too much moisture. The soil felt like a sponge. The roots started to sulk. I fixed it by adding a little more coarse bark. That opened up the structure. Within a week, the plant recovered.
Bark Drying Out Too Fast
In summer, the mix dried faster than I expected. The top inch went dry in three days. The roots were still okay. I just watered a little sooner. I checked the soil every morning. That is the price of aeration. It dries faster. But the roots are healthier.
Why Composted Bark Beats Other Amendments
People ask me why I use bark instead of perlite or sand. Fair question. I have tried all three.
Perlite is light and cheap. But it floats. Every time I water, white balls appear on the surface. Annoying. Sand is heavy. It compacts over time. That defeats the purpose. Bark breaks down slowly. It stays put. It adds organic matter as it decomposes.
The RHS notes composted bark improves soil structure and drainage. It is a long-term amendment. Perlite is short-term. Bark keeps working for years. That is why I trust it.
How Much Bark Is Too Much?
I have tested different ratios. Here is what I found.
- 10% bark: Almost no effect. The soil still compacts.
- 25% bark (1:4): Perfect for spider plants. Balanced moisture and air.
- 50% bark: Too airy. The roots dry out fast. The plant struggles.
Stick to 25%. That works in both clay and ceramic pots. It works in all seasons. I have used this ratio for over a year now. No root rot. No soggy soil.
Repotting Tips for Established Spider Plants
I repot my spider plants every 18 months. They get rootbound. When I mix bark into the fresh soil, I also divide the plant. That gives me more plants. I have three now. All from one original.
When I repot, I gently loosen the root ball. Then I trim away any black or mushy roots. Those are dead. They will not recover. Then I place the plant in the new bark mix. I water lightly and wait a week before fertilising.
How to Tell If Your Spider Plant Is Thriving
Healthy leaves are firm and bright green. The plants produce baby spiders, or plantlets, when they are happy. That is the ultimate sign. I saw my first plantlet about three weeks after repotting with bark. That was when I knew the mix was right.
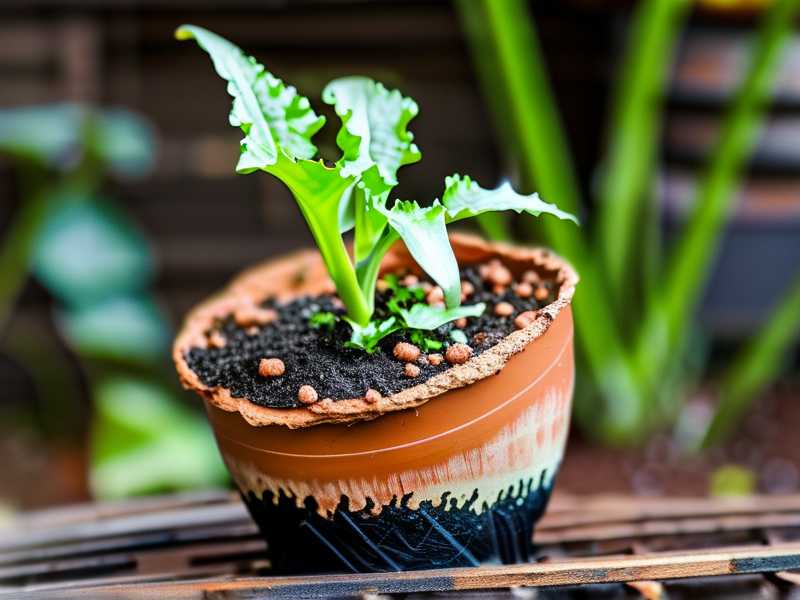
Roots should be white and firm. I check by tilting the pot and lifting the plant gently. If roots are pale and crisp, everything is fine. If they are dark and soft, you have rot. Act fast. Repot into fresh bark mix and cut out the rotten parts.
The Long-Term View: Bark Sustainability in the Pot
Composted bark is not a one-season fix. It breaks down slowly. It continues to feed the soil. That is a huge bonus. I do not need to fertilise as often. The bark releases nutrients as it decomposes.
After one year, I check the soil texture. It still feels coarse. The bark has broken down slightly, but it still aerates. I do not need to mix in more until I repot in 18 months. That saves me time and money.
Can I Use Fresh Bark Instead of Composted?
Fresh bark is a problem. It steals nitrogen from the soil as it decomposes. That starves your plant. Composted bark is already partially broken down. It does not drain the soil. Always use composted bark. Buy it from a reliable brand. I check the label every time.
My Honest Thoughts on the Process
I was sceptical at first. I thought bark was just for outdoor mulching. Then I tried it in pots. I have not looked back. The difference is clear. Faster growth. Healthier roots. Less maintenance.
The process is simple. Mix 1:4. Pot the plant. Water lightly. Observe. It really is that easy. Anyone can do it.
I suggest starting on a small pot. Just one plant. Experiment. Watch the soil. You will see the difference within two weeks. I guarantee it.
FAQ: Your Questions, Answered
How often should I water a spider plant in bark mix?
Check the top inch of soil. When it feels dry, water. That is usually every 7 to 10 days indoors. In winter, it might be every 14 days. The bark mix holds moisture longer than plain soil. trust your finger, not the calendar.
Can I use any type of bark?
Use composted bark only. Fine or medium grade works best. Avoid fresh bark, which will rob the soil of nitrogen. Look for products labelled as composted or aged. Your plant will thank you.
Will the bark attract pests?
Bark does not attract pests in my experience. I have never seen fungus gnats from bark. They come from overwatering. Keep the soil lightly moist. Do not let it stay soggy. That is the real pest defence.
The mix changed how I care for my spider plants. Simple. Effective. The roots breathe. The plant thrives. I wish I had learned this years ago. Start with one pot. Use the 1:4 ratio. Watch your plant wake up.





