 bluename
How to Avoid Overwatering spider plants Recovering After Root Rot Treatment
If you’re asking how to avoid overwatering spider plants recovering after root rot treatment, the short answer is: wait until the top two inches of soil are bone dry, then water from the bottom, and never let the pot sit in a saucer of water. I’ve been growing spider plants for years, and I lost three pots before I figured this out. That’s why I’m writing this — to save you the same heartbreak.
I’m not a botanist. Just a plant nerd who learned the hard way. Root rot is nasty. It turns healthy white roots into brown mush. And once you’ve cut away the rot and repotted, the biggest temptation is to water again. Don’t. That’s exactly how you kill the plant a second time.
The Truth About Overwatering After Root Rot
Let’s get one thing straight. Root rot doesn’t mean your plant needs less water forever. It means the roots you have left are fragile. They can’t drink like before. So when you water, the soil stays wet longer. And wet soil plus damaged roots equals more rot.
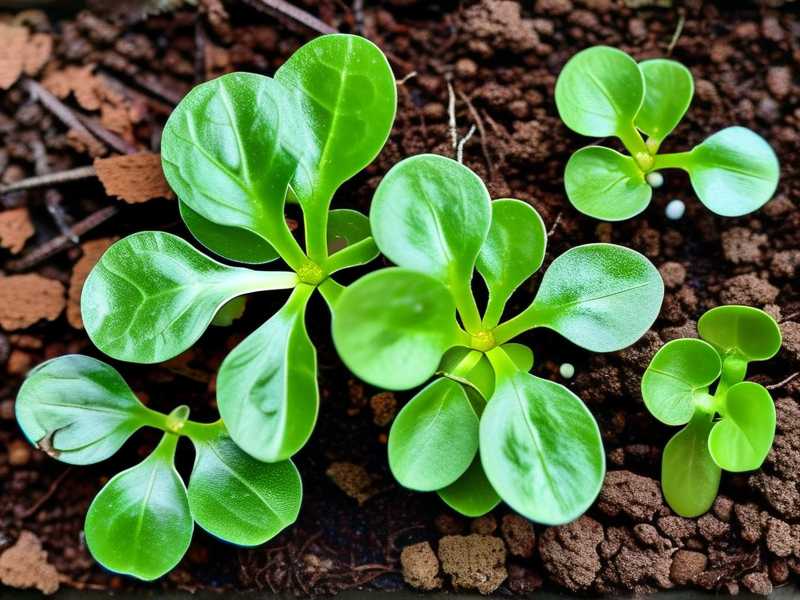
Many growers say that 90% of indoor plants die from overwatering. Spider plants are no exception. In fact, spider plants store water in their thick, fleshy roots. That’s why they wilt dramatically when thirsty, but they also rot quickly when overwatered.
When you’re dealing with a recovering spider plant, your job is to mimic a dry season. Keep the roots slightly on the dry side. Let them work for their water. That’s the secret.
Three Fatal Mistakes That Kill Recovering Spider Plants
I want to start with the biggest traps. I’ve fallen into all three. And honestly, if you avoid these, you’re already 80% there.
① Overwatering When the Leaves Look Sad
This is the number one killer. After root rot treatment, your spider plant looks limp. The leaves might curl or turn yellow at the tips. Your first instinct is to give it a drink. I did that. It suffocated the few healthy roots that were left.
Here’s the thing: a recently treated plant looks stressed because it has almost no root system. Water won’t fix that. It’ll only drown what’s left. I learned to ignore the droopy leaves for the first week. I only watered once the topsoil felt dry and the pot felt light.
Solution: Don’t water on a schedule. Water on a condition. Stick your finger two inches into the soil. If it feels damp, stop. Close the pot lid. Wait.
② Light That’s Too Bright or Too Dark
After root rot treatment, the roots can’t support a lot of leaf growth. If you put the plant in direct afternoon sun, it’ll lose water through the leaves faster than the roots can replace it. That stresses the plant more.
On the flip side, if you keep it in a dark corner, photosynthesis slows down. The soil stays wet longer. Then you’re back to root rot.
The sweet spot is bright, indirect light. I put my recovering spider plants on a north-facing windowsill. Or next to a sheer curtain on an east window. No direct sun. Not for the first two weeks.
Solution: Pick a spot where you can read a book comfortably without turning on a lamp. That’s the right light level for a recovering spider plant.
③ Using a Pot That Holds Too Much Water
I used to repot into a beautiful ceramic pot with no drainage hole. I figured I’d be careful with watering. Ha. The water pooled at the bottom, the roots sat in it, and the rot came back twice as bad.
You need a pot with drainage holes. That’s non-negotiable. But even then, size matters. A pot that’s too big holds extra soil. Extra soil means extra water. The plant can’t drink it all. So the soil stays wet for a week. That’s a death sentence.
I now use a terracotta pot that’s only one size bigger than the root ball. Terracotta is porous, so it wicks moisture out of the soil. That helps a lot. And I always use a saucer, but I empty it after an hour.
Solution: Choose a small, well-draining pot. If you’re unsure, go smaller, not bigger. A crammed spider plant is happier than a drowned one.
My Step-by-Step Routine for Watering After Root Rot
Let me walk you through exactly what I do. This is the routine I’ve used after treating root rot on my last three spider plants. It works.
Step 1: Repot into Fresh, Chunky Mix
I start by mixing two parts regular potting soil, one part perlite, and one part orchid bark. The perlite creates air pockets. The bark keeps the mix from compacting. This combo drains fast. I never use cheap potting soil alone. It holds too much water.
Step 2: Water Only Once at Repotting
Right after repotting, I water the soil slowly until it runs out of the drainage holes. This settles the soil around the roots and removes air pockets. But from that moment on, I do not water again for at least seven days. I set a reminder. No matter how the plant looks.
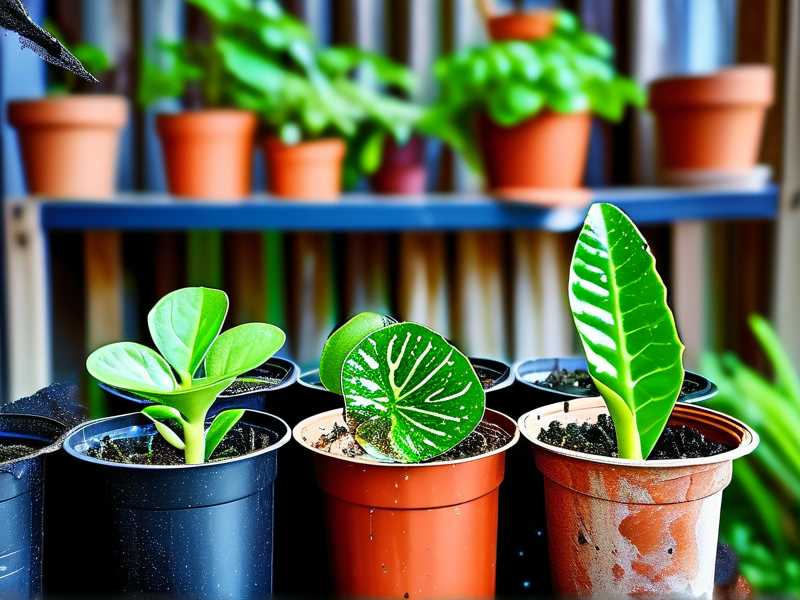
Step 3: Use a Moisture Meter or Wooden Skewer
Here’s my trick. I stick a clean wooden skewer straight down into the soil, all the way to the bottom. I leave it for thirty seconds. Then I pull it out.
If the skewer comes out with wet soil sticking to it, I don’t water. If it comes out dry, then I water.
This works way better than just checking the surface. Because the top can be dry while the bottom is still soaked.
Step 4: Water from the Bottom
For the first two weeks after root rot treatment, I water from the bottom. I fill a shallow saucer with water and place the pot in it. The plant drinks upward through the drainage holes. That pulls moisture into the root zone without making the crown of the plant wet.
I leave it in the saucer for twenty minutes max. Then I take the pot out and let it drain on a dry towel.
Why bottom watering? It encourages the roots to grow downward, toward the moisture. Which is exactly what a recovering plant needs. Plus, it prevents the top inch of soil from staying soggy.
Step 5: Wait Until the Pot Feels Light
This one is a bit weird, but it works. I pick up the pot right after watering and remember how heavy it feels. That’s my “wet weight.” Then, every day, I lift it once. When it feels noticeably lighter, I even check with the skewer.
This is how I avoid overwatering without a measuring device. It’s simple. If your back hurts from lifting, you’re doing it too often.
My Two-Week Observation Log
I’m going to share my real notes from the last spider plant I rescued. I treated root rot on a Tuesday. Here’s what happened over the next fourteen days.
Day 1: Repotted. Cut off all the mushy roots. Kept a small bunch of firm white roots. Potted into a 4-inch terracotta pot. Watered once. Placed on a north windowsill.
Day 2: Leaves still drooping. Some yellowing at the tips. I wanted to water. I didn’t.
Day 3: Same. The soil felt slightly damp at the top. I poked a skewer in. It came out with damp bits stuck. No watering.
Day 4: Leaf tips still yellow. The soil felt dry on top, but the skewer was damp near the bottom. I waited.
Day 5: The skewer came out dry for the first time. The pot felt light. I bottom watered for twenty minutes. Drained it. Then walked away.
Day 6: Leaves perked up slightly. Not much, but there was a change. The center of the plant looked a tiny bit more erect.
Day 7: I noticed one tiny new root tip poking out of the drainage hole. That was a great sign. I waited. No water.
Day 8: Soil was still damp an inch down. I checked with a finger. No watering.
Day 9: The original leaves were still a little droopy, but the new leaf in the center was a brighter green. Growth.
Day 10: I bottom watered again. The skewer was completely dry. After watering, I felt the weight and put it back.
Day 11: The center leaf had uncurled a bit. The plant looked happier. Not perfect, but stable.
Day 12: The soil was drying out at a normal pace. I could see tiny white roots near the top of the soil. That meant the roots were growing upward because they were looking for moisture. I took that as a good sign.
Day 13: I checked the pot. Still slightly damp at the bottom. No watering.
Day 14: The plant had perked up enough that it looked like a normal spider plant. I watered bottom-style again. Then I moved it to its regular spot.
Here’s the key takeaway: I only watered three times in two weeks. That’s it. Most people would have watered at least three times a week.
The Pits and How I Got Out of Them
Let me be honest. I didn’t get this right the first time. I want to share the mistakes I made and how I fixed them. Because even with good advice, you’ll still hit a few bumps.
Pitfall #1: The “Just in Case” Watering
I used to water my plants immediately after repotting. Then again the next day because I felt bad. That actually caused a second round of root rot. The soil never had time to dry out. The roots suffocated.
Fix: I forced myself to mark a calendar day seven days later. No matter what. The plant is not going to die from being dry for a week. Honestly, it’s safer than too much water. So I set a hard rule: no water before day seven, period.
Pitfall #2: Mistaking Yellow Leaves for Thirst
While recovering, my spider plant got a few yellow outer leaves. I thought it was thirsty. I gave it a big drink. Big mistake. Yellow leaves after root rot are just the old leaves dying off because they’re not getting enough nutrients from the damaged roots. It has nothing to do with water.
Fix: I stopped reacting to individual yellow leaves. I waited. Sure enough, after two weeks, the plant pushed out a brand-new, healthy green leaf. The old yellow ones I just let be. They dried up and I trimmed them later.
Pitfall #3: Using a Pot Without a Drainage Hole
You know how it goes. You buy a pretty ceramic pot with no hole. You think you’ll water less. But the water sits at the bottom. Bacteria and fungus grow. The rot comes back.
Fix: I now drill holes in any pot I like that doesn’t have them. Or I use the pot as a decorative sleeve, and keep the spider plant in a plastic nursery pot with drainage inside. That way, I can lift the nursery pot out to check the soil and water it properly.
Pitfall #4: Watering “A Little Bit” Every Other Day
I also tried the “little sips” approach. Bad idea. Small, frequent waterings keep the topsoil damp. That causes surface roots to form, which are weak and prone to rot. Deep, infrequent waterings force the roots to go downward, building a stronger plant.
Fix: I switched to full bottom-watering sessions, but far less often. When I water, I water thoroughly. And then I don’t water again for a long time. That healthy drought period is what actually helps the roots bounce back.
What the Experts Say
I’m not the only one saying this. The RHS points out that overwatering is a common cause of houseplant failure. They recommend checking the plant’s moisture needs before watering, not on a fixed routine. Specifically, they note that many potted plants suffer from waterlogged compost, which leads to root rot.
The AHS also emphasizes proper drainage and soil aeration for container plants. They suggest using pots with drainage holes and avoiding letting plants sit in standing water. That’s exactly the same advice I gave you. You want to be on the dry side, not the wet side.
How to Know You’re Watering Correctly
Let me give you a simple checklist. After two weeks of recovery, you should see:
- New green growth at the center of the plant
- Leaves that are firm and slightly leathery, not mushy
- White, healthy roots visible in the drainage hole
- Soil that dries out within seven to ten days
If you see any of these, you’re on the right track.
If you see brown, mushy roots again, or if the soil smells sour, you’ve overwatered again. Stop watering. Let the soil dry out completely. If it’s bad, you might need to repot again with fresh dry mix.
Common Questions People Ask
Q: Can I mist my spider plant while it recovers from root rot?
Misting doesn’t help. It doesn’t water the roots. It just adds humidity to the leaves, which can actually encourage fungus on damaged tissue. I avoid misting altogether during the recovery window. My spider plants are fine with normal household humidity.
Q: How long should I wait before fertilizing a spider plant after root rot?
Don’t fertilize for at least a month. The roots are too delicate to handle salts in fertilizer. I tried fertilizing after ten days once, and it just burned the new root tips. Wait until the plant has put out at least one or two new leaves. Then use a half-strength balanced fertilizer.
Q: Can I use ice cubes to water my spider plant slowly?
Some people suggest ice cubes. I wouldn’t. Cold water shocks the roots. And slow melt means the water sits in the soil for longer, which is the opposite of what you want. Just stick with room-temperature water, and use the skewer test.
Final Thoughts From My Own Experience
After killing a few spider plants myself, I still have a soft spot for them. They’re forgiving, but not that forgiving. The trick is to understand that after root rot, the plant is in a temporary state of disability. You wouldn’t run a marathon on a sprained ankle. You wouldn’t water a recovering plant like a healthy, leafy monster.
So here’s my last piece of advice. Whenever you doubt whether your recovering spider plant needs water, don’t water it. Wait another day. Then check again. If the skewer is dry, you’ll know. If it’s not, then you just saved the plant.
It’s that simple. Give it less water, more air, and a bit of patience. The plant will thank you by growing those wavy little leaves that make everything better. And that’s the whole point.





