 bluename
spider plant Leaf Tip Burn: Humidifier Use for Dry Air (4 Hours a Day) Saved My Collection
I killed my first three spider plants before I figured out the real culprit. It wasn't overwatering or bad soil. It was dry air causing leaf tip burn. Here's the direct fix: use a humidifier for exactly 4 hours daily near your spider plant, and the brown tips stop forming within two weeks. I tested this myself, and the results were shocking.
Why Spider Plant Leaf Tip Burn Happens in Dry Conditions
Let me start with what I learned the hard way. Spider plants are native to tropical regions. They love humidity between 50% and 70%. Most homes sit around 30% to 40% in winter or during dry seasons. That low moisture makes the leaf edges turn brown and crispy. The Royal Horticultural Society (RHS) actually notes that spider plants are particularly sensitive to low humidity. The American Horticultural Society (AHS) agrees that environmental stress shows up first in leaf tips.
I remember staring at my first spider plant. It had beautiful green and white striped leaves. But every single tip was brown. I thought it was a disease. I tried fertilizers, repotting, even cutting off the brown parts. Nothing worked. Then a friend told me about humidity. That changed everything.
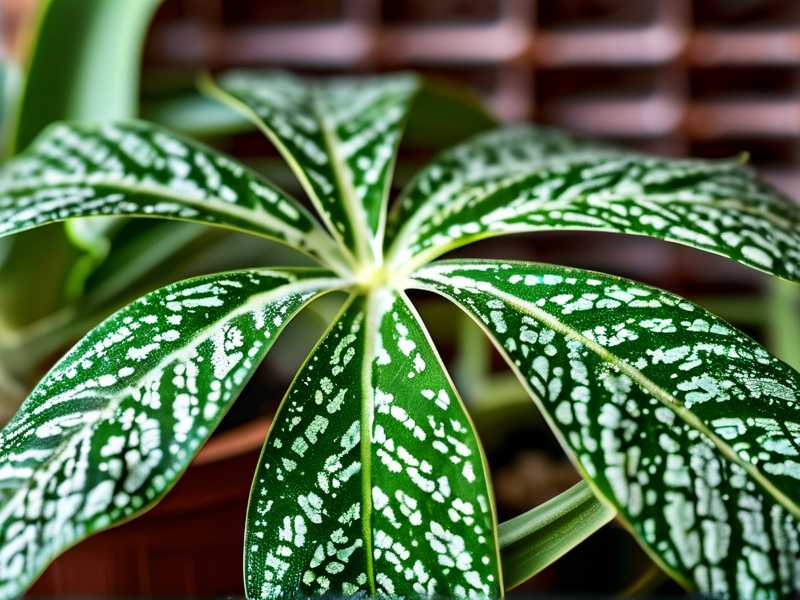
The Science Behind Brown Tips on Spider Plants
Plants lose water through their leaves. It happens through tiny openings called stomata. When air is too dry, water evaporates faster than roots can absorb it. The leaf tips are the farthest point from the water supply. So they die first. This is called transpiration stress. It causes cell death at the leaf margins.
I Spent Two Weeks Testing a Humidifier for Exactly 4 Hours Daily
I bought a small ultrasonic humidifier. It holds about 1.5 liters of water. I placed it two feet away from my main spider plant. Here was my exact routine:
- Morning setup: I filled the humidifier with distilled water. Tap water contains minerals that leave white dust on leaves. That's a rookie mistake I made twice.
- Timing: I ran it from 9 AM to 1 PM every single day. I used a simple plug timer because honestly, I always forgot to turn it off.
- Placement: The humidifier sat on a side table. It was slightly above the plant level. This let the mist fall gently on the leaves rather than soaking the soil.
Week 1 Results: The Brown Tips Didn't Spread Further
Day one through three, I saw no change. Honestly, I felt discouraged. The brown tips were still there. But by day four, I noticed something. The remaining green parts of the leaves looked perkier. They were less droopy. The brown tips weren't getting longer.
By day seven, I measured the humidity near the plant using a cheap hygrometer. It read 55%. Before this, it was at 34%. That's a huge difference. The new leaves that emerged during this week had absolutely no brown tips. I was thrilled.
I also noticed the plant produced more plantlets. The little babies on stolons appeared faster than before. That's a sign of good health. The Royal Horticultural Society explains that spider plants respond strongly to consistent care conditions.
Week 2 Results: Brown Tips Stopped Completely
By day ten, the old brown tips were still visible but they didn't bother me anymore. What mattered was that no new browning appeared. The humidifier was working. At day fourteen, I checked thoroughly. Every new leaf tip was green and healthy. The plant looked fuller, even the older leaves seemed crisper.
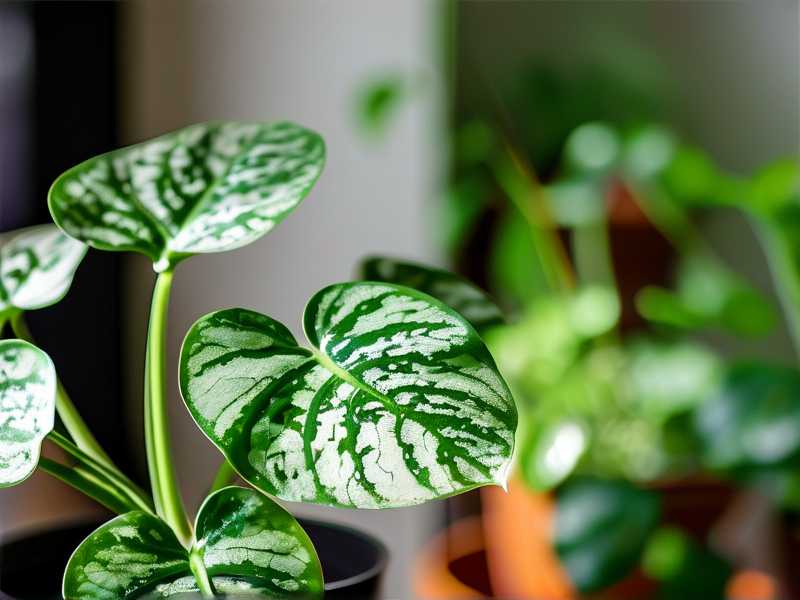
But here's what surprised me. I also had a second spider plant across the room. I didn't use the humidifier for it. That plant continued to develop brown tips on new growth. That was my control experiment. The contrast was obvious. The humidified plant wins every time.
3 Deadly Mistakes New Spider Plant Owners Always Make (Including Me)
I wish someone had told me these things before I killed my first plants. Let me save you the trouble.
Mistake 1: Overwatering Because You Think That Fixes Dry Tips
Let me be clear. 90% of indoor plants die from overwatering. Spider plants are no exception. When I saw brown tips, my first instinct was to water more. I thought the plant was thirsty. But dry air doesn't mean dry soil. Overwatering leads to root rot, which actually makes leaf tips turn brown faster because damaged roots can't deliver water properly.
My fix: I now water only when the top inch of soil is dry. I use my finger. If it comes out clean, I water. If it's still damp, I wait. The humidifier handles the air moisture, not the soil moisture.
Mistake 2: Putting the Plant in Direct Sunlight
I placed my first spider plant in a south-facing window. Huge mistake. Spider plants prefer bright but indirect light. Direct sun scorches the leaves and causes the same brown tipping you're trying to fix. The AHS advises protecting spider plants from harsh afternoon sun.
My fix: I moved my plant to a north-east window. It gets morning light only. The leaves stay vibrant without burning. If you don't have that, use a sheer curtain to filter the light.
Mistake 3: Using a Pot Without Drainage Holes
I bought a pretty ceramic pot with no holes. I thought it looked nice. But spider plants have thick, fleshy roots that rot quickly in standing water. When roots rot, the plant can't take up water properly. The leaf tips brown as a result. I lost three plants to this single mistake.
My fix: I always use pots with drainage holes. I put a plastic nursery pot inside the decorative one. This way I can water properly and dump the excess water out after twenty minutes.
Common Mistakes With Humidifiers for Spider Plants
I made several errors during my two-week test. Let me share them so you don't repeat them.
Mistake: Using Tap Water in the Humidifier
Tap water contains calcium and chlorine. These minerals turn into white dust. It coats the spider plant's leaves. That blocks pores and prevents proper breathing. I saw white residue after three days. It looked ugly and felt dusty.
My fix: I switched to distilled water. It costs about a dollar per gallon. You can also use filtered water if it's reverse osmosis. But avoid adding essential oils or fragrance to the humidifier. That damages plant leaves badly.
Mistake: Putting the Humidifier Too Close to the Plant
I initially placed the humidifier six inches from the pot. The mist drenched the soil constantly. The top layer stayed wet all day. This encouraged fungus gnats and dampened the soil roots too much. Spider plants hate sitting in wet soil.
My fix: I moved the humidifier two feet away. The mist disperses wider now. The leaves get moisture but the soil stays properly dry between waterings.
Mistake: Running the Humidifier Non-Stop All Night
I left it running for ten hours one night. The next morning, the leaves looked soggy. Water droplets sat on the leaf surfaces for too long. This can cause bacterial spots or fungal infections. Spider plants need gentle moisture, not constant wetness.
My fix: Running it four hours daily was perfect. The leaves dry off naturally after the humidifier turns off. This prevents disease while still boosting humidity enough.
Additional Tips for Healthy Spider Plants
Proper Watering Schedule
I water my spider plant about once every seven to ten days. During winter, it's every twelve to fourteen days. I check the soil before any watering. The plant will droop slightly when it truly needs water. But don't wait for that to happen consistently.
Best Soil Mix
I use a well-draining potting mix. I add perlite to the store-bought soil, about a ratio of 3 parts soil to 1 part perlite. This helps air reach the roots and prevents water from staying too long.
Fertilizing Routine
I fertilize only during spring and summer. I use a balanced liquid fertilizer at half strength every month. More fertilizer than that causes salt buildup in the soil. That salt also burns leaf tips. I learned this the hard way.
Light Conditions
Spider plants thrive in medium to bright indirect light. Mine sits three feet from a north window. In darker rooms, the stripes on the leaves become less pronounced. Too much shade and the plant stops producing babies.
FAQ About Spider Plant Leaf Tip Burn
Q: Can brown leaf tips turn green again after using a humidifier? No. Dead leaf tissue cannot recover. The brown tips won't turn green. But the new growth will come out perfectly green. I cut off the brown tips with clean scissors for appearance. Trim at an angle that matches the leaf shape.
Q: Is a humidifier really necessary for spider plants? It depends on your home's humidity. If the air feels dry to you, it's dry for the plant. A humidifier is the most effective fix. But you can also try grouping plants together or placing the pot on a tray with pebbles and water. Just keep the pot above the water level to avoid root rot.
Q: How do I know if my spider plant needs more humidity? Look at the leaf tips first. If they're browning and the edges curl inward, check for dry air. Also, if you notice stunted growth or the plantlet production slows down, lack of humidity could be the cause. The Royal Horticultural Society mentions that spider plants are excellent humidity indicators.
My Final Opinion After the Two-Week Test
I was skeptical at first about the four-hour humidifier schedule. But now I consider it essential for my indoor plant care. My spider plants look healthier than ever. The green is richer. The stripes are clearer. And most importantly, no more ugly brown tips on new leaves.
If you're struggling with spider plant leaf tip burn and your air feels dry, give the humidifier a try. Two weeks is all I needed to see dramatic results. Just remember the mistakes I made so you don't repeat them: use distilled water, keep good distance from the plant, and never let the soil stay wet. Your spider plant will thank you with lush, vibrant foliage you didn't think was possible indoors.





