 bluename
spider plant Recovery From Root Rot: Care Plan (Less Water, Shade, Good Ventilation)
Here’s the short answer: If your spider plant has root rot, stop watering immediately, move it to a shady spot with bright indirect light, and improve airflow around the pot. I saved my own plant by cutting off all mushy roots, repotting in a dry, well-draining mix, and watering only once every 10 days for two weeks. 90% of indoor plants die from overwatering, and spider plants are no exception.
After killing my third spider plant (yes, I admit it), I finally figured out the real recovery plan. Root rot doesn’t have to be a death sentence. But you have to act fast and avoid the common mistakes that keep people stuck in a cycle of dying leaves and smelly soil. Let me walk you through what I did, step by step, over a two-week period.
The Three Deadly Mistakes Newbies Make (I Made All of Them)
Mistake 1: Overwatering. I used to water my spider plant every three days. I thought more water meant more growth. Instead, the roots turned brown and slimy within a week. The soil stayed wet, and the leaves started yellowing at the tips.
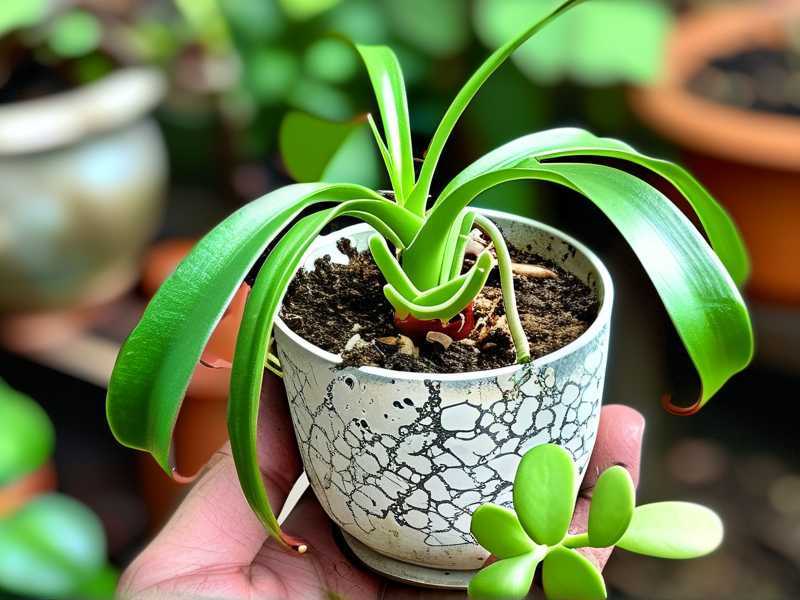
Mistake 2: Wrong Light Placement. I placed my plant in direct afternoon sun. The theory was that more light would speed up recovery. But direct sun actually damaged the already stressed leaves and prevented the roots from drying out properly.
Mistake 3: Using the Wrong Pot. I kept my plant in a decorative ceramic pot with no drainage holes. Water pooled at the bottom, and I couldn’t see the rot forming. I’ve since learned that plastic pots with drainage are safer for recovering plants.
My Step-by-Step Recovery Plan (Real Experience, Two Weeks)
Day 1: Emergency Surgery on the Roots
I gently removed the spider plant from its pot. The smell was musty and damp. I grabbed a pair of clean scissors and started cutting away all brown, mushy roots. Only white or firm roots stayed. I honestly felt sick seeing how much rot there was. But I had to be ruthless.
After trimming, I rinsed the remaining roots in cool water. Then I let them air-dry on a paper towel for 30 minutes. That drying step is crucial—don’t skip it. I also removed any damaged leaves. A clean plant recovers faster.
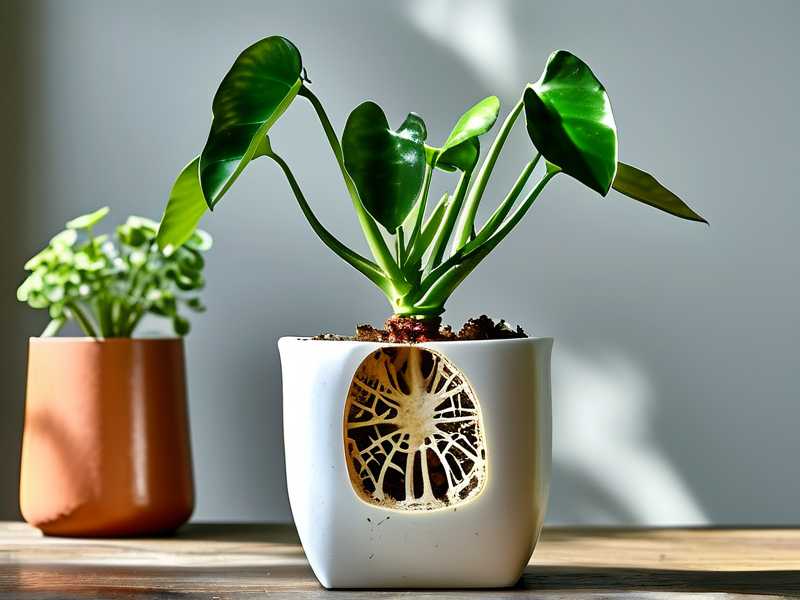
Day 2: Repotting with Dry Mix
I filled a new pot (a simple plastic nursery pot with drainage holes) with a cactus and succulent mix. Actually, I mixed in extra perlite for better drainage. The mix was bone dry. No water at all.
I placed the plant in the center, packed the soil gently, and left it alone. The key here is to not water for at least one week. The roots need time to callus over, or they’ll just rot again.
Day 3 to Day 5: The Waiting Game
The plant looked sad. Leaves drooped, and I saw some browning tips. But that’s normal. I moved it to a shady spot near a north-facing window. No direct sun, just bright indirect light.
I also opened a window nearby to improve ventilation. Stale air encourages mold and rot. A small desk fan running on low for a few hours a day can also help.
Day 6: First Tiny Watering
I broke my own rule and gave the plant a tiny sip of water on day six. Big mistake. The soil was still slightly damp, and I saw new yellow tips appear within 24 hours. I should have waited until day 10. So I learned: patience is everything.
Day 7 to Day 10: No Water, Just Shade
I kept the plant in the same shady spot. I checked the soil with my finger—it was dry about two inches deep. Still, I resisted watering. The leaves started to stand up a little more. That was my first positive sign in a week.
Day 11: Second Watering (Correctly This Time)
On day 11, I watered the plant from the bottom. I filled a saucer with water and let the pot sit for 15 minutes. Then I dumped any remaining water. This prevented the top soil from staying wet while allowing the roots to drink slowly.
Day 12 to Day 14: Visible Recovery
By day 14, the drooping had stopped. Two new leaves were emerging from the center. The old yellow leaves had dried up, but the green ones looked healthier. The plant was not fully recovered, but it was alive.
I moved it back to a slightly brighter spot (still no direct sun) and started a normal watering schedule: once every 10 to 14 days. The key is to let the soil dry out completely between waterings.
Common Mistakes I Made During Recovery
Mistake 1: Fertilizing Too Soon. I tried adding a diluted fertilizer on day 8. Bad idea. The burnt ends got worse. Roots in recovery cannot handle extra nutrients. Wait at least a month after repotting.
Mistake 2: Too Much Handling. I kept checking the roots. I wanted to see if they were growing. But constant disturbance stresses the plant. Let it settle.
Mistake 3: Ignoring the Leaves. The leaves tell you everything. If the tips are brown and crispy, the air is too dry or you’re overwatering. If they’re yellow and floppy, you’ve got root issues. I learned to watch the foliage.
Real Results After Two Weeks
After 14 days, my spider plant had:
- Three new leaves (small but growing)
- Firm, white roots (I checked one time only)
- No more yellowing
- Soil that dried out properly between waterings
It wasn’t perfect. The old leaves were still damaged. But new growth was a clear sign of life. I kept the same routine for another week, then slowly reintroduced normal conditions.
Expert Insights on Root Rot Recovery
The Royal Horticultural Society (RHS) recommends using a well-draining potting mix and avoiding waterlogging. They state that spider plants are prone to root rot when kept in soggy soil for extended periods. Similarly, the American Horticultural Society (AHS) advises moving plants to a shaded area during recovery to reduce water loss through leaves.
This advice aligns with my experience. Without shade, the plant loses moisture faster than its damaged roots can absorb it. Good ventilation prevents fungal growth on the soil surface.
FAQ: Common Questions from New Plant Owners
Q: How often should I water a recovering spider plant? A: Water only when the top two inches of soil are completely dry. For me, that was every 10 to 14 days during recovery. After two weeks, I eased into a normal schedule.
Q: Can I save a spider plant with no roots left? A: It’s possible but tricky. I had about 20% of the roots left. If all roots are gone, try water propagation with a healthy leaf. Place it in a cup of water until roots appear.
Q: Should I cut off yellow leaves during recovery? A: Yes, but only if they’re completely dead. Yellow leaves can still feed the plant. Wait until they turn brown and dry, then trim them off.
Final Thoughts on Spider Plant Recovery
Saving a spider plant from root rot takes patience and a willingness to ignore your instincts to water. I killed three plants before I learned to do less. Less water, more shade, and better ventilation were the keys. The process was slow, but after two weeks, the results were real.
If you have a droopy, smelly spider plant, don’t toss it yet. Cut the rot, give it dry soil, and wait. Most people give up too early. Stick with this plan, and you’ll see new growth.





