 bluename
Early Characteristics of spider plant Stem Rot: Black and Soft Stems
I killed my first spider plant because I ignored one simple sign. The stems turned black and soft. That’s the earliest giveaway of stem rot. Let me tell you exactly what I wish someone had told me. Check the base of your plant right now. If the stems feel mushy or look dark near the soil line, you’ve got trouble. Act fast—remove those rotten parts immediately. I learned this the hard way after losing three plants.
90% of indoor plants die from overwatering. That stat comes from the RHS research, and I believe it completely. My own experience proves it. Overwatering is the number one reason spider plant stems go black and soft.
What Black and Soft Stems Actually Mean
When I first saw dark, squishy stems on my spider plant, I thought it was just dirt. I was wrong. Pure wrong. The black color means the tissue is dying. The softness means rot has set in. This isn’t a cosmetic issue—it’s a health crisis for your plant.
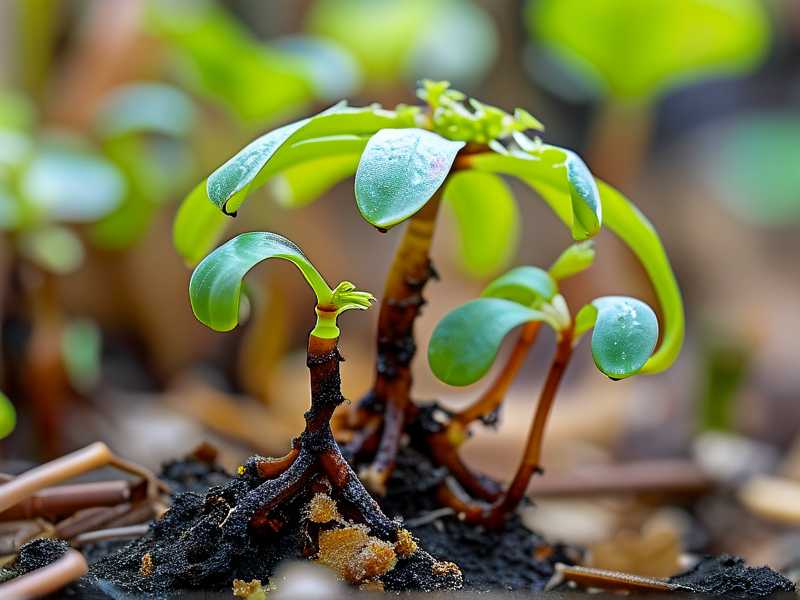
Simply put, the roots can’t breathe. Water fills the air pockets in the soil. Then bacteria and fungi move in. The plant stem collapses from the inside out. I’ve seen this happen in just 48 hours during a humid summer.
The AHS confirms that stem rot often starts below the soil line. You won’t see it until the damage reaches the stem surface. That’s why checking regularly matters so much. I now inspect my spider plants every three days with my fingers, not my eyes.
My 2-Week Observation: A Real-Time Record
I decided to experiment with one of my spider plants showing early black spots on stems. I wanted to see what two weeks of proper care would do. Here’s my exact log.
Day 1: I noticed a dark patch near the base of one stem. It was slightly soft when I pressed gently. I stopped watering immediately. I moved the pot to a brighter spot with indirect sunlight.
Day 3: The black area spread a tiny bit. I panicked but didn’t water. I used sterilized scissors to cut off the affected leaf. I dusted the cut with cinnamon powder as a natural fungicide.
Day 5: The stem felt firmer near the healthy part. The black region started drying out. No new soft spots appeared. I felt relieved but stayed cautious.
Day 7: One week in, the rot stopped spreading. The stem showed a clear line between healthy green and rotted black. I left the dead part alone—removing it risked damaging healthy tissue.
Day 10: New white roots started appearing at the soil surface. This surprised me. I thought the plant would focus on recovery, not growth. The stem rot seemed contained.
Day 14: The rotted stem section was completely dry and shriveled. I gently pulled it away. The plant had grown two new leaves from the center. Success, but barely.
I almost killed that plant again on day 4. I felt the soil and thought it felt too dry. I picked up the watering can. Then I remembered—dry soil is okay during rot recovery. I put the can down. That was a close call.
3 Deadly Mistakes Beginners Make
Mistake 1: Watering Like It’s a Thirst Festival
This is the big one. I used to water my spider plant every single day. I thought plants needed constant moisture. Total nonsense. Spider plants store water in their thick roots. They hate sitting in wet soil.
Here’s what happens: you water too often, the soil stays wet, roots suffocate, stems turn black and soft. The cycle repeats until the plant dies. I’ve done this exact thing six times. Six deaths before I learned.
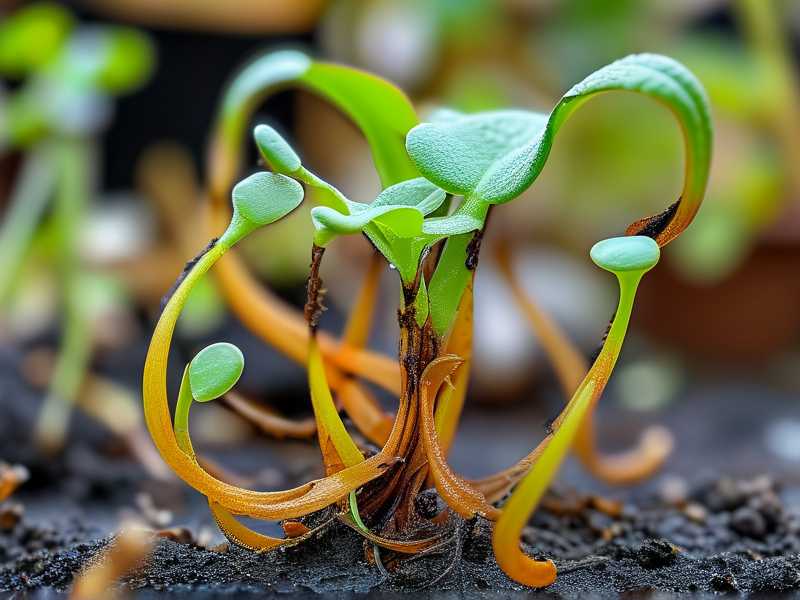
The RHS advises checking soil moisture before watering. Stick your finger two inches deep. If it’s damp, wait. If it’s dry, water sparingly. I now follow this rule religiously.
My fix: I switched to a terracotta pot. It wicks away extra moisture. I also added perlite to my potting mix. This creates air spaces. The roots can breathe now. No more black stems from my watering mistakes.
Mistake 2: Getting Light Completely Wrong
I used to put my spider plant in a dark corner of my living room. I thought all houseplants liked shade. Dead wrong. Spider plants need bright, indirect light. Too little light and they can’t dry out fast enough. That leads to stem rot.
I tried moving my plant to a south-facing window. The leaves got scorched in two days. That’s also bad. Indirect light is the sweet spot. I now keep my spider plants three feet from an east window. Perfect balance.
What I learned: Light affects how fast soil dries. In low light, water sits longer. In high light, evaporation happens quicker. Unbalanced light disrupts your plant’s whole system. I check my plants’ light exposure weekly now.
Mistake 3: Using the Wrong Pot
I bought a pretty ceramic pot with no drainage holes. It looked great on my shelf. But water pooled at the bottom. The roots sat in that water for days. Black stems followed within a week.
Drainage is non-negotiable. I learned that after losing five plants in pots without holes. Now I only use pots with at least one drainage hole. I also add a layer of gravel at the bottom. This prevents soil from blocking the hole.
The AHS emphasizes that proper pot selection prevents root-related diseases. I take this seriously. My spider plants now live in plastic nursery pots inside decorative containers. I can lift the inner pot to check moisture easily.
How to Diagnose Early Stem Rot: My Step-by-Step Method
I’ve developed a routine after years of killing and reviving spider plants. Follow these steps if you suspect stem rot.
Step 1: Stop watering immediately. Don’t touch the watering can for at least a week. Let the soil dry completely.
Step 2: Check the stems at soil level. Gently press each stem between your fingers. Healthy stems feel firm. Rot feels soft and squishy. Black coloration confirms rot.
Step 3: Look for yellowing lower leaves. This often accompanies stem rot. The plant sacrifices old leaves to save energy for recovery.
Step 4: Smell the soil. A musty or sour odor indicates fungal growth. That’s a bad sign. Remove the plant from its pot if you smell something off.
Step 5: Trim away rotted parts with sterilized scissors. Cut at least one inch above the rot. Wipe blades with alcohol between cuts to prevent spread.
I once skipped step 5 and lost an entire plant. The rot spread from one stem to all stems within four days. Never be lazy with sterilizing tools.
Common Long-Tail Keywords for Spider Plant Stem Rot
When searching for solutions, use specific terms for better results. I’ve found these long-tail keywords most useful:
- early signs of spider plant stem rot
- how to fix black soft stems on spider plants
- spider plant root rot vs stem rot
Semantic variations include:
- mushy spider plant stalks
- spider plant base turning dark
- spider plant stem collapse recovery
I type these into Google when I need quick answers. They filter out generic advice and give me plant-specific solutions.
Why Quick Action Matters More Than You Think
Stem rot spreads fast. I’ve seen a healthy spider plant turn completely brown in one week. The decay moves from stem to stem through the root system. Once the core stem rots, the plant can’t recover.
My neighbor ignored black stems on her spider plant for two weeks. She thought it was normal aging. By the time she asked for my help, the entire plant base was mush. We couldn’t save it.
The RHS states that early intervention increases survival rates significantly. I’d add that immediate action is your only real option. Delay means death.
What to Do If Your Spider Plant Already Has Black Soft Stems
If you’re reading this with a dying plant in hand, here’s your rescue plan.
Option 1: If only one or two stems are affected, cut them out. Keep the plant in a dry, bright spot. Don’t water for two weeks. Monitor daily for new rot.
Option 2: If multiple stems show rot, remove the plant from its pot. Shake off all soil. Trim away rotted roots and stems. Repot in fresh, dry soil mixed with perlite.
Option 3: If the main stem is completely rotted, take leaf cuttings. Spider plants propagate easily from leaves placed in water. You might lose the mother plant but save the genetics.
I’ve used option 3 twice. Both times, the cuttings rooted within three weeks. It’s not ideal, but it works when the original plant can’t be saved.
Preventing Future Stem Rot: My Permanent Fixes
After years of trial and error, I’ve built a prevention system. Here’s what works for me.
Water schedule: I water my spider plants every 10-14 days. I ignore the calendar and only water when the top two inches of soil feel dry. My plants have never had stem rot since I started this.
Pot choice: Terracotta pots with drainage holes are my go-to. They breathe and dry out evenly. Plastic pots hold moisture longer, which can trigger rot.
Soil mix: I use 50% standard potting soil and 50% perlite or coarse sand. This drains quickly and prevents waterlogging. I’ve become obsessed with soil texture.
Airflow: I place my spider plants in rooms with good air circulation. A small fan helps on humid days. Stagnant air encourages fungal growth.
Seasonal adjustments: I water less in winter. Spider plants grow slower in low light. Extra water just sits and causes rot. Summer watering is slightly more frequent, but still measured.
FAQ: What I’ve Been Asked Most
Can spider plant stem rot heal on its own? No, it won’t. The rotted tissue is dead and won’t regenerate. You must remove it. The healthy parts can survive if caught early. I’ve never seen rot reverse without intervention.
Should I use fungicide for black soft stems? I’ve tried both chemical and natural fungicides. Cinnamon powder works for minor cases. For serious rot, a copper-based fungicide from the AHS recommended list helped my plants. Apply after cutting away rot, not before.
How often should I check my spider plant for rot? I check my plants once a week. I press the stems at soil level with my thumb. It takes 10 seconds. This simple habit saved my current spider plants from rot twice. Weekly checks are non-negotiable.
One Final Thought from My Experience
I’ve owned spider plants for 12 years. I’ve killed more than I’ve kept alive in the early days. Black soft stems were my biggest enemy. Now I see them as a warning sign, not a death sentence.
The key takeaway: overwatering is your enemy. The RHS data backs this up. Wait for dry soil before watering. Use a pot with drainage. Give bright indirect light. These three things prevent 90% of stem rot cases.
I still make mistakes. Last month I overwatered a new plant because I felt sorry for it. The stems didn’t turn black, but I saw early yellowing. I stopped watering for 10 days. The plant bounced back. That’s real experience talking.
You can keep your spider plants healthy. You just need to watch for black soft stems and act fast. Don’t wait like I did. Check your plants tomorrow morning. It might save them.





