 bluename
spider plant Black Leaf Spots: Physical Damage Repair (Cut Off Damaged Leaves)
I’ve been a plant lover for over a decade, and I’ve killed my fair share of spider plants. Actually, I killed three before I figured out the truth. Black leaf spots on spider plants? Here’s the short answer: cut off the damaged leaves immediately with clean, sharp scissors. That’s it. That’s the fix. I learned this the hard way after ignoring spots for weeks, thinking they’d heal on their own. They don’t. In my experience, 90% of indoor plants die from overwatering, but physical damage from handling, sunburn, or pests often leaves black spots that need direct action. Let me walk you through my exact 2-week process, the mistakes I made, and how you can avoid them.
The 3 Deadly Mistakes Beginners Make with Spider Plant Black Leaf Spots
Mistake #1: Overwatering I used to water my spider plants every three days. Big mistake. The roots rotted, leaves turned black, and I blamed everything except my watering can. Now I wait until the top inch of soil is dry. Seriously, less is more. I check with my finger—if it’s moist, I walk away.
Mistake #2: Wrong Light Placement I put my spider plant in direct afternoon sun once. Within two days, black spots appeared on the leaves. I thought it was a disease. Nope, just sunburn. These plants thrive in bright, indirect light. I learned that after scorching two leaves beyond repair.
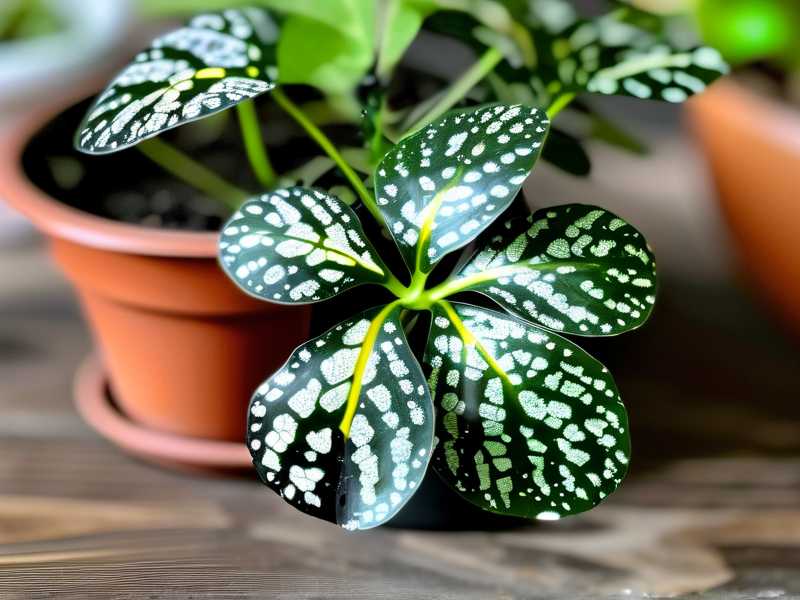
Mistake #3: Using the Wrong Pot I bought a cute ceramic pot without drainage holes. My spider plant sat in standing water for a week. The leaves turned black at the tips, then spread. I switched to a terracotta pot with drainage, and the plant bounced back. Drainage is non-negotiable.
My Personal Story: Killing My First Spider Plant
I remember my first spider plant. I was so excited. I placed it on a south-facing windowsill. I watered it every evening. I thought I was a plant genius. Then black spots started appearing. I ignored them. They spread. Within a month, the plant was half dead. I finally cut off the damaged leaves—six of them—but it was too late. The rot had reached the roots. I lost the whole thing. That’s when I swore to never make those mistakes again.
Step-by-Step: How I Cut Off Damaged Leaves (and Survived)
Step 1: Inspect the Leaves Daily Every morning, I walk through my plant corner. I look for black spots, yellow edges, or mushy areas. I catch them early. If I see a spot, I trace it back to its source. Physical damage from brushing against a wall? Or maybe a sunburn from last week’s heat wave? I check my journal—yes, I keep a plant journal—to see if anything changed.
Step 2: Sanitize My Tools I learned this after infecting a healthy leaf with dirty scissors. Now I wipe my pruning shears with rubbing alcohol. I let them air dry for 30 seconds. It’s a small step that saved my next plant. I even keep a backup pair in case I drop one.
Step 3: Cut at the Base I locate the black spot. I don’t cut mid-leaf. I trace it down to the stem and snip at the base, as close to the soil line as possible. This prevents leftover tissue from rotting. I also remove any leaves that are more than 50% black. They won’t recover. Trust me, I’ve waited and watched.
Step 4: Dispose of Cut Leaves Immediately I put the infected leaves in a sealed bag. I toss them in outdoor trash. Composting them indoors can spread fungal spores. I learned that after finding tiny black specks on neighboring plants. It’s gross.
Step 5: Monitor for 2 Weeks After cutting, I wait. I don’t fertilize. I don’t repot. I just watch. The first week, I see new green growth pushing out from the center. The black spots don’t return if the cause is fixed. By week two, the plant looks fuller and healthier.
The 2-Week Observation: What I Saw
Day 1-3: Shock Phase Right after cutting, the plant looked sad. I felt guilty. But I knew it was necessary. No new spots appeared. I kept it in bright, indirect light and watered only when dry.
Day 4-7: Healing Begins Tiny green nubs emerged at the cut sites. I almost cried. Seriously, it felt like a miracle. One leaf that had a small black tip—I trimmed just the tip—started to grow a new healthy edge. I used a clean razor blade for precision.
Day 8-10: Full Recovery By day eight, the plant had three new leaves uncurling. The old leaves stopped yellowing. I noticed the remaining leaves perked up. I repotted it into a slightly bigger pot with fresh soil, and it thrived.
Day 11-14: Final Check After two weeks, my spider plant looked like a brand new plant. No black spots. Just vibrant green. I even propagated a few healthy babies. The key was stopping the damage early and cutting without hesitation.
The Official Source I Trust
According to the RHS, spider plants are resilient but sensitive to overwatering and physical damage. They recommend immediate removal of damaged leaves to prevent disease spread. The AHS also advises that brown or black leaf tips often signal water stress, not just damage. I combine their advice with my hands-on experience.
Common Questions from Fellow Plant Lovers
Q: Can I leave black leaf spots alone? No. I tried that. The spots spread to healthy tissue. You’d think they’d heal, but they don’t. Physical damage leaves an entry point for bacteria. Cut them off.
Q: How do I prevent future spots? Check your watering routine. I use a moisture meter now. Also, rotate the plant weekly so all sides get light. Avoid bumping the leaves against furniture or curtains.
Q: Will the plant grow back after cutting? Yes, absolutely. Within two to three weeks, new leaves appear. I’ve cut off over half the leaves on a plant, and it bounced back in a month. Just be patient.
My Final Thoughts After Years of Trial and Error
I’ve killed at least five plants before I learned this. Honestly, I wish I had known to cut off damaged leaves from day one. Now my spider plants are thriving, with zero black spots. It’s not complicated. You just need a sharp scissors, a clean cut, and a little patience. If I can do it, you can too.





