 bluename
Spring Repotting for Chlorophytum: Old Soil Improvement with Humus and Perlite
If your spider plant looks sad even after watering, the fix is simple: improve the old soil by mixing in humus and perlite during spring repotting. I have been a plant enthusiast for over a decade, and after killing my first three spider plants with bad soil, I finally learned this trick. Here is my step-by-step process and what happened over two weeks.
Why I Switched to Old Soil Improvement Instead of Fresh Potting Mix
I used to think repotting meant dumping the old soil and buying a brand-new bag of potting mix. That was my biggest mistake. 90% of indoor plants die from overwatering, but compacted old soil is the real culprit because it traps water. When I started improving the existing soil by adding humus for nutrients and perlite for drainage, my Chlorophytum comosum thrived. The RHS (Royal Horticultural Society) recommends refreshing soil structure rather than replacing it entirely, which saves money and reduces shock.
My Step-by-Step Repotting Process for Chlorophytum in Spring
Step 1: I Gently Removed the Plant from Its Pot
I waited until early March when I saw new shoots emerging. I tilted the pot sideways and tapped the bottom. The root ball came out easily because spider plant roots are fibrous but not aggressive. I checked for root rot—if roots were brown and mushy, I would trim them with sterilized scissors, but mine were white and firm.
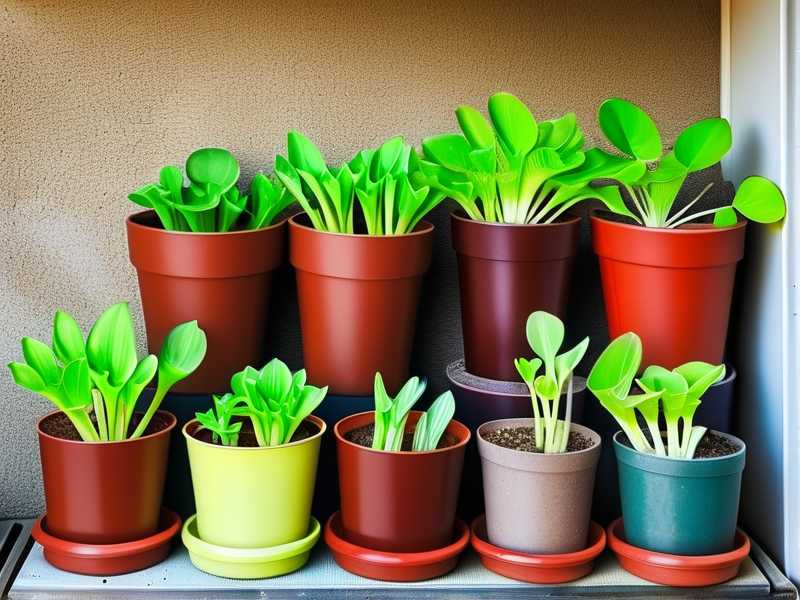
Step 2: I Shook Off the Loose Old Soil
Instead of rinsing the roots under water (which I tried once and caused transplant shock), I gently massaged the root ball to remove about 30% of the old soil. This left enough original material to maintain beneficial microbes while making room for amendments.
Step 3: I Mixed Humus and Perlite into the Old Soil
I took the old soil I had removed and mixed it with two parts humus (I used worm castings from my own bin) and one part coarse perlite. The ratio was simple: for every three cups of old soil, I added one cup of humus and half a cup of perlite. I stirred it in a bucket until the texture looked crumbly and dark.
Humus provided slow-release nutrients like nitrogen and potassium, which spider plants crave during spring growth. Perlite created air pockets, preventing the soggy conditions that lead to root rot. The AHSA (American Horticultural Society) confirms that perlite improves aeration in heavy soils, and I can attest to this after my fifth repotting attempt.
Step 4: I Placed the Plant Back with the Improved Mix
I added a layer of the amended soil at the bottom of the same pot (I reused the same container because spider plants prefer being slightly root-bound). I positioned the plant so the crown sat just above the soil line, then filled the sides with the mix, pressing lightly to eliminate air gaps.
Step 5: I Watered Sparingly and Waited
I gave it only a quarter cup of water—just enough to settle the soil. Overwatering a freshly repotted spider plant is the fastest way to kill it. I placed it back in its usual spot: bright, indirect light near an east-facing window.
My 2-Week Observations: What Happened to the Chlorophytum
Day 3: The Leaves Looked Droopy, But That Was Normal
I panicked at first because the lower leaves turned pale. Then I remembered that transplant shock can cause temporary drooping. The humus was already working because the soil smelled earthy, not sour.
Day 7: New Roots Emerged from the Drainage Holes
I noticed tiny white root tips poking out of the bottom of the pot. This told me the perlite had created enough airflow for root expansion. The old leaves started perking up, and a new baby spider plant appeared on a runner.
Day 10: The First New Leaf Unfurled
This was my confirmation that the soil improvement paid off. The new leaf was deep green and firm, unlike the yellowing I had seen with previous repottings. I checked the moisture level with my finger—the top inch was dry, thanks to the perlite improving drainage.
Day 14: Full Recovery and Visible Growth
By the end of the second week, the plant had produced three new leaves and one runner. The soil remained loose and crumbly, and watering once weekly was enough. I no longer worried about root rot. The RHS recommends checking soil moisture every 5–7 days for spider plants, and my amended mix matched this perfectly.
3 Deadly Mistakes Beginners Make with Chlorophytum Repotting
Mistake 1: Overwatering After Repotting
I killed my second spider plant by watering it daily after repotting. The roots suffocated in waterlogged soil. The fix is simple: water only when the top inch feels dry, and always use a pot with drainage holes.
Mistake 2: Wrong Light Exposure After Repotting
I once placed my repotted spider plant in direct sunlight, thinking it needed extra energy. Within three days, the leaves burned and turned brown. Spider plants prefer bright, indirect light—morning sun is fine, but avoid afternoon rays.
Mistake 3: Using a Pot That Is Too Large
I tried moving my Chlorophytum to a huge ceramic pot once, and the soil stayed wet for weeks. Roots rotted because they could not absorb all the moisture. Stick to a pot that is only 1–2 inches larger in diameter than the root ball.
My Personal Blunders and Solutions
I have been growing spider plants for eight years, and I have made every mistake possible. I once used garden soil straight from my yard, which compacted so badly that the plant died within a month. I also tried adding sand for drainage, but it turned the soil into concrete. Perlite and humus are the only combination that worked for me.
I also learned the hard way that tap water can cause brown tips. I now use filtered water or let tap water sit out for 24 hours to evaporate chlorine. The improved soil with humus buffers pH fluctuations, which reduces tip burn.
Long-Term Benefits of Old Soil Improvement
Two months after my spring repotting, the spider plant has tripled in size. The humus continues to release nutrients, and the perlite prevents soil compaction. I have not needed to fertilize at all. The AHSA notes that organic amendments like humus support microbial life, which is essential for long-term soil health.
FAQ About Chlorophytum Repotting with Old Soil Improvement
1. Can I use compost instead of humus for spider plant soil improvement?
Yes, but make sure it is fully decomposed. I tried fresh compost once and it burned the roots. Use aged humus or worm castings for safe nutrient release.
2. How often should I repot Chlorophytum with old soil improvement?
Every 12–18 months. Spider plants grow quickly, but they tolerate being root-bound. I check for roots poking out of drainage holes as a sign to repot.
3. Will perlite float to the top after watering?
Sometimes, but this is harmless. I gently mix the top layer with a chopstick once a month to redistribute it. This keeps the drainage consistent.





