 bluename
Chlorophytum Hydroponics: Mastering the Complete Water Change Method for Lush, Healthy spider plants
I love my spider plants. Their graceful, arching leaves and cheerful little plantlets have filled my home with green life for years. But like many plant enthusiasts, I hit a wall with soil. The constant guesswork with watering, the fear of root rot, and the messy repotting sessions left me searching for a cleaner, more controlled method. That’s when I turned my focus to Chlorophytum hydroponics.
Specifically, I wanted to master the complete water change method. It sounded simple: grow the plant in water, refresh it all regularly. But my initial attempts led to yellowing leaves, slimy roots, and a lot of frustration. Through trial, error, and research, I’ve perfected a system that works. This is my hands-on guide, detailing every step, my two-week observation journal, and the crucial lessons I learned the hard way.
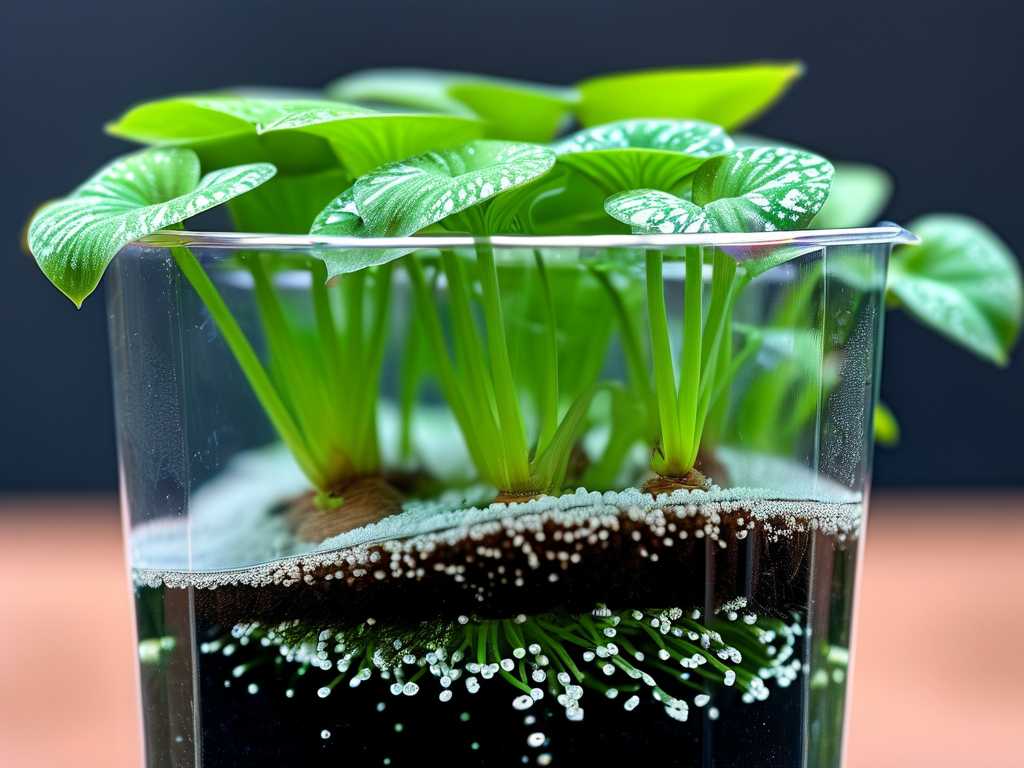
Why the Complete Water Change Method? Moving Beyond Stagnant Water
Many guides suggest simply topping off the water in a vase. I found this to be a recipe for disaster. Stagnant water becomes a breeding ground for bacteria and algae, depletes oxygen, and allows harmful mineral salts to concentrate. The complete water change technique solves this by providing a full reset. It ensures fresh nutrients, optimal oxygen levels, and a clean environment, mimicking the fresh rainfall these plants would experience in their natural habitat.
According to principles often cited by the American Horticultural Society (AHS), good root health is the cornerstone of plant vitality. They emphasize the importance of aeration and preventing pathogen buildup in any growing medium—including water. A full water change directly supports these principles.
My Step-by-Step Process for Transitioning to Hydroponics
This isn't just theory. Here’s the exact process I followed with a mature, soil-grown Chlorophytum comosum ‘Vittatum’.
Step 1: The Initial Preparation and Root Washing I gently removed the plant from its pot. The next part is critical and messy. Under a gentle stream of lukewarm water, I meticulously washed away every speck of soil from the roots. This took patience—teasing apart the root mass to avoid damage. Any soil left behind can decompose and foul the water. I then trimmed away any brown or mushy roots with sterilized scissors.
Step 2: Choosing the Vessel and Water I selected a glass vase with a narrow neck but a wide body. The narrow neck helps support the plant’s crown, keeping leaves dry, while the wide body gives roots room to breathe. For water, I used filtered tap water left out for 24 hours to dissipate chlorine. Chloramine, however, won’t evaporate. If your municipality uses chloramine, a drop of dechlorinator for aquariums is a wise investment.
Step 3: The First Placement and Supporting the Plant I placed the plant in the vase, ensuring only the roots were submerged. The base of the plant (the crown) must stay high and dry to prevent rot. I used a simple hydroponic net cup inserted into the vase mouth to hold it perfectly in place. You can also use a piece of foam or a supportive grid of clear plastic. The goal is stability without pressure.
Step 4: Implementing the Complete Water Change Schedule This is the core of the method. I did not add any liquid fertilizer initially. The plant needs to focus on adapting its roots to water. My change schedule was strict:
- Days 1-7: Changed the water completely every other day.
- Week 2 onward: Settled into a routine of a full water change once per week.
Each change involved: removing the plant, rinsing the roots gently under water, scrubbing the vase to remove any biofilm, and refilling with fresh, tempered water.
The Two-Week Observation Log: What Actually Happened
Days 1-3: The plant looked slightly wilted—a sign of transplant shock. Some smaller, older roots looked a bit dark. I maintained my every-other-day water change. Day 5: I noticed the first signs of new root growth! Tiny, bright white nubs were emerging from the root mass. The wilting had stopped. This was a major victory. Day 7: The new white roots were longer, almost translucent. The darkening on the old roots seemed to have halted. No foul odor from the water. Day 10 (First weekly change): The root system was visibly adapting. The new "water roots" were thicker and crisper. The leaves felt firm and showed no new yellowing. Day 14: The plant was not just surviving; it was thriving. The center of the plant showed a new, pale green leaf spike beginning to unfurl. The root vase was a tangle of healthy white and cream-colored roots. The transition was a clear success.
The Pitfalls I Encountered (And How I Fixed Them)
My journey wasn't flawless. Here are the problems that almost derailed my project and how I solved them.
Pitfall 1: The Slimy Root Syndrome Around my first solo try (before this documented attempt), I changed water weekly but didn’t rinse the roots or vase. By day 10, the roots were coated in a clear, slippery biofilm and the water smelled off.
- Solution: The complete water change is not just about swapping water. It must include root rinsing and vessel cleaning. Now, during every change, I gently swish the roots in a bowl of fresh water and use a bottle brush on the vase. This removes the biofilm before it becomes pathogenic.
Pitfall 2: Leaf Tip Burn from Fertilizer Eager to boost growth, I added a standard liquid fertilizer during week two in my early experiment. Within days, the iconic leaf tips began browning severely.
- Solution: I learned that hydroponic plants need specialized, water-soluble hydroponic nutrients at half strength. General garden fertilizers can cause salt burn. I now wait 4-6 weeks until the plant is fully acclimated, and I use a balanced hydroponic formula at a very dilute rate, only adding it to the fresh water once a month.
Pitfall 3: Algae Bloom in the Vase Using a clear glass vase in bright light turned my root chamber green with algae, competing with the roots for oxygen and nutrients.
- Solution: I either use a opaque vase now or simply wrap the clear vase in aluminum foil or decorative paper to block light from the roots. Light exclusion is the simplest and most effective algae prevention method.
Nutrient Management and Long-Term Care
After the acclimation period, nutrition is key. I follow a less-is-more approach. Once a month, I add a diluted, balanced hydroponic fertilizer to the fresh water during my weekly change. I never fertilize two weeks in a row. I also ensure the water level never submerges more than 2/3 of the root system, leaving the top part to access atmospheric oxygen—a concept supported by hydroponic research into root zone oxygenation.
Frequently Asked Questions
How often should I really change the water for my hydroponic spider plant? For established plants, a full water change once a week is the golden rule. In hotter weather or if the water looks cloudy, increase to every 5-6 days. Consistency is more important than frequency.
Can I use the plantlets (spiderettes) for this method? Absolutely! They are perfect candidates. Snip a plantlet, place its base in a small vessel of water, and follow the same change protocol. You’ll see roots develop in days, often faster than in soil.
Why are my spider plant’s leaves pale or losing variegation in water? This is usually a light issue, not a water issue. While spider plants tolerate low light, their vibrant variegation requires bright, indirect light. Move your vase to a brighter location (but not direct hot sun) and the color should return.
Mastering Chlorophytum hydroponics through the complete water change method has transformed how I care for these resilient plants. It offers a fascinating window into root development, eliminates watering guesswork, and results in strikingly clean, lush growth. It requires a bit more routine discipline than simply ignoring a potted plant, but the payoff—a thriving, soil-free spider plant with cascading healthy leaves—is utterly rewarding. Start with a healthy plant, be meticulous with your changes, and enjoy the process of watching your spider plant flourish in its new aquatic home.





