 bluename
Chlorophytum Soft Leaves: Even Spraying Skills to Avoid Water Accumulation
If you’ve ever noticed your spider plant’s leaves turning soft, limp, or even developing brown, mushy spots at the base, you know that sinking feeling. I’ve been there, staring at my once-perky Chlorophytum comosum, wondering where I went wrong. For years, I assumed more water equaled more love. It wasn’t until I lost a beautiful variegated specimen to crown rot that I dug deeper. The culprit, I discovered, wasn’t just how much I watered, but how I watered—specifically, how I misted and sprayed. The journey to revive my plants led me to master a critical skill: even spraying to prevent water accumulation. This technique, focused on avoiding water pooling in the crown, transformed my spider plant care.
My goal here is simple: to share the hands-on steps, the two-week experiment, and the lessons learned so you can avoid the same pitfalls and enjoy consistently firm, vibrant spider plant leaves.
Why Soft Leaves Happen: It’s Not Just About Thirst
Before we get to the solution, let’s understand the problem. Soft, limp leaves in spider plants are rarely a sign of underwatering alone. In fact, overwatering is the more common villain. Spider plants store water in their thick, tuberous roots. When we water too frequently or, crucially, when water consistently collects in the tight central whorl of leaves (the crown), it creates a perpetually damp environment.
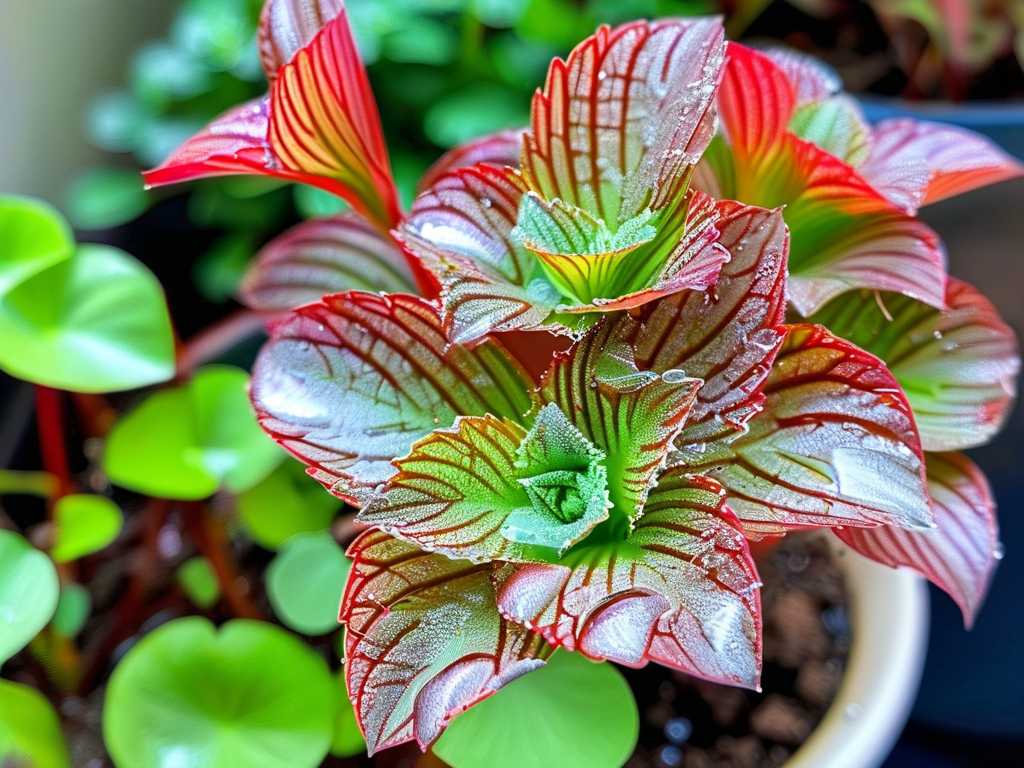
This is a perfect breeding ground for fungal and bacterial pathogens. They attack the base of the leaves, disrupting their ability to draw water and nutrients, leading to that soft, rotten feel. The Royal Horticultural Society (RHS) explicitly warns against wetting the center of rosette-forming plants like Chlorophytum, as it significantly increases the risk of crown rot. So, the challenge is providing the humidity these plants enjoy without drowning their heart.
My Two-Week Experiment: Mastering the Art of Even Spraying
I decided to take a systematic approach with a recovering spider plant that showed early signs of soft lower leaves. I committed to a new spraying regimen for two weeks, observing daily.
Week 1: Recalibrating My Tools and Technique
I started by ditching my old spray bottle. It produced a heavy, drenching stream of large droplets that would inevitably pool in the crown. I invested in a fine-mist spray bottle, the kind often used for hair or delicate fabrics. This was game-changer number one.
My new, careful spraying routine became:
- The Golden Rule: Never spray directly downward into the plant’s center. Always aim from the side or from below the foliage.
- The Motion: I used a gentle, sweeping motion, holding the bottle about 12 inches away. The goal was to create a fine, misty cloud that would settle evenly on the tops and bottoms of the leaves, not a targeted shower.
- The Timing: I did this only in the early morning. This allowed any accidental droplets on the leaves to evaporate quickly with the rising sun, minimizing the window for fungal issues. The American Horticultural Society (AHS) emphasizes morning watering to ensure foliage is dry by nightfall, a practice I now swear by.
- The Follow-Up: After misting, I would gently tilt the pot to shake off any visible beads of water that had gathered where leaves met the soil or in the crown.
Initial Observations (Days 1-3): The plant looked refreshed. The existing soft leaves didn’t miraculously recover, but they stopped getting worse. No new softness appeared.
Mid-Experiment Check (Days 4-7): I noticed the newer, central leaves felt turgid and firm to the touch. The soil surface also seemed to dry more evenly, as I wasn’t accidentally soaking it with a spray bottle. This was a subtle but important sign I was on the right track.
Week 2: Observing Recovery and Refining the Process
I continued the regimen. The core focus remained on avoiding water accumulation in the crown through disciplined, even spraying.
Deep Dive Observation (Days 8-14): By the end of the second week, the plant’s overall posture improved. Leaves were perkier. Most importantly, when I gently parted the inner leaves to inspect the crown, it was dry and clean—no more the slightly slimy feel it had before. The existing damaged leaves began to dry out crisply at the tips, which I then snipped off for aesthetics. The plant was clearly directing energy to new, healthy growth rather than fighting decay.
The Pitfalls I Encountered (And How I Fixed Them)
The path wasn’t perfectly smooth. Here are the mistakes I made and how you can skip them:
-
The “More is Better” Mistake: Early on, I thought a heavier morning mist would help. Wrong. One cloudy morning, the excess moisture didn’t evaporate, and I saw a faint gray fuzz (the start of botrytis) on one older leaf. Solution: I immediately removed the affected leaf, increased air circulation with a small fan on low (not directly on the plant), and dialed back my misting to just one or two light passes. Humidity is a supplement, not a soak.
-
Ignoring Environmental Context: I was misting on schedule, even on cool, humid days. This was redundant and risky. Solution: I learned to check the room’s humidity with a simple meter. If it was already above 50%, I skipped the misting entirely. Spider plants are adaptable; they don’t need daily misting if the air isn’t dry.
-
Neglecting the Undersides: At first, my side-aiming technique mostly hit the top surfaces. I learned spider plants can host pests like spider mites, which thrive on dry leaf undersides. Solution: I consciously angled my spray upward from beneath the foliage during some sessions, ensuring a comprehensive, even coating that also helped deter pests.
Integrating Even Spraying into Holistic Spider Plant Care
Perfecting your spray technique is vital, but it works best as part of a complete care strategy.
- Watering Basics: Always water at the soil level until it runs freely from the drainage holes. Then, let the top third of the soil dry out completely before watering again. This deep-but-infrequent method encourages strong roots and works in tandem with your careful misting.
- The Right Environment: Place your spider plant in bright, indirect light. Strong light helps the plant use water efficiently and dries the foliage faster post-misting. Ensure excellent air circulation around the plant.
- Soil and Pot: Use a well-draining, peat-free potting mix. A terracotta pot, which breathes and wicks away moisture, is an excellent choice to further prevent soggy conditions.
Frequently Asked Questions
Can I use leaf shine products on my spider plant to make it look better? I strongly advise against it. Most commercial leaf shines can clog the stomata (pores) on the leaves, hindering the plant’s ability to breathe and transpire. A clean, damp cloth to gently wipe dust off leaves is far safer and more effective. The best shine comes from healthy care.
My spider plant’s leaves are soft but also have brown tips. Is that the same issue? Not exactly. Brown tips are often a separate sign of low humidity, fluoride in tap water, or a build-up of salts in the soil. While crown rot from water accumulation causes softness and rot at the base of the leaf, brown tips start at the end. Use distilled or rainwater, flush the soil periodically, and maintain consistent humidity with your even spraying technique.
How often should I be spraying my spider plant? There’s no universal schedule. It depends entirely on your home’s humidity. In dry, heated homes in winter, you might lightly mist every other morning. In a naturally humid climate in summer, you might rarely need to. Always let the plant’s condition and the environment be your guide, not the calendar.
Watching a spider plant struggle with soft leaves is disheartening, but it’s almost always a fixable problem. The shift from haphazard watering to intentional, even spraying to avoid water accumulation was the single most effective change I made. It requires a bit of mindfulness—checking the plant’s center, adjusting your aim, reading the room’s humidity—but the reward is a resilient, thriving plant. My two-week experiment proved that prevention is straightforward: keep the crown dry, the leaves lightly moistened, and the soil appropriately watered. Your Chlorophytum will respond with the robust, arching beauty it’s known for.





