 bluename
How to Reuse Clean Cardboard Sheets as Temporary Shade for Nursery spider plants
I kill spider plant babies more often than I'd like to admit, and it's almost never because I forget them. It's because I fry them. If you want the short answer on how to reuse clean cardboard sheets as temporary shade for nursery spider plants, here it is: cut a clean, unprinted piece of cardboard to roughly 1.5–2 times the width of your pot, fold it into a tent or lean it on the sunny side of the plant, and move it as the sun travels. That's it. It blocks harsh midday light, keeps the soil from baking, and costs nothing. I've run this setup for two weeks straight on six spider plant offsets, and the difference between the shaded ones and the unshaded ones was honestly not even close.
Let me back up a bit and explain why nursery spider plants need this in the first place, because a lot of people skip straight to "they're low light plants, they'll be fine" and then wonder why the leaves go pale and crispy.
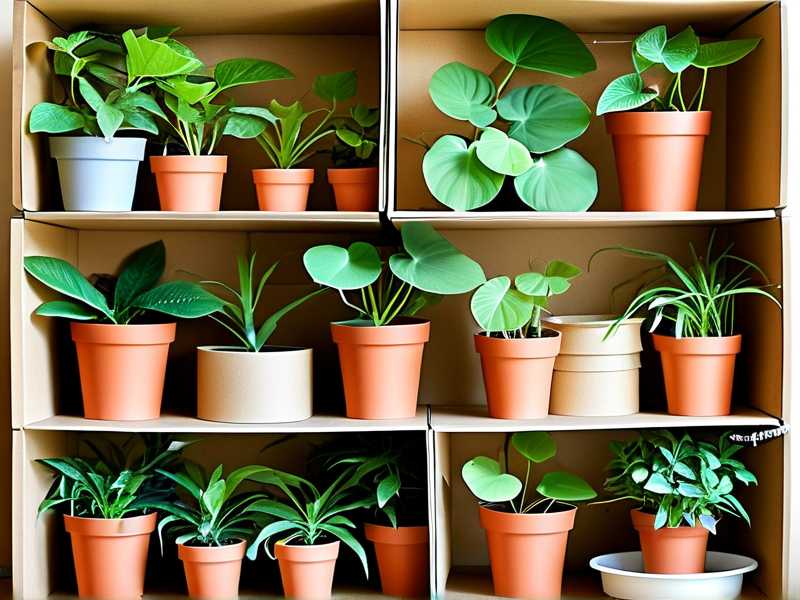
Why Nursery Spider Plants Get Burnt So Easily
Spider plants (Chlorophytum comosum) have a reputation as tough, forgiving houseplants. And they are, once they're established. But nursery offsets—the little babies you pull off the mother plant, or the tiny plugs you buy—are a different story.
Their roots are shallow. Their leaves are thin. Their whole system is not built yet to handle direct sun. The RHS notes that Chlorophytum prefers bright but indirect light, and that scorching shows up as bleached, brown-tipped foliage. In my experience, a nursery offset in a south-facing window in July can go from "cute little baby" to "straw" in about three days.
That's the core problem. Not pests. Not disease. Just too much light, too fast, on a plant that hasn't developed the tissue to cope with it.
What Counts as a "Clean" Cardboard Sheet
This matters more than people think. I've made the mistake of grabbing a random Amazon box with glossy print and tape on it, and it warped weirdly in the humidity and smelled faintly chemical. Not great next to something I'm trying to keep alive.
Here's what I use now:
- Plain brown corrugated cardboard, no wax coating
- No glossy print, no ink-heavy graphics
- No packing tape, staples, or adhesive residue
- Cut edges are fine, they don't need to be pretty
Honestly, the flap of a plain shipping box is perfect. So is the backing of a notepad, or the cardboard insert that comes in some plant shipments. If it's brown, matte, and dry, you're good. If you can scratch the surface and it flakes off in shiny bits, skip it.
How I Set Up the Cardboard Shade (Step by Step)
This is the exact process I used for my last batch of six spider plant offsets. I started them in late spring, which in my area means strong afternoon sun through a west window.
Step one: I cut a rectangular piece of clean cardboard, roughly 8 inches by 6 inches. That's about 1.5 times the width of the 3-inch nursery pots I was using. You want it wider than the pot so the shadow actually falls across the soil, not just the edge.
Step two: I folded it along the middle to make a shallow tent, like a little A-frame. This is better than a flat sheet because it stands on its own and doesn't flop over when the soil shifts.
Step three: I placed the tent on the west side of the pots, between the plant and the window. This is the side that gets the hardest light in the afternoon.
Step four: I rotated the cardboard every couple of days, because the sun angle shifts. A shade that works on Monday might leave a gap by Thursday.
That's the whole setup. No tape, no sticks, no fuss. The cardboard just sits there and does its job.
What I Saw Over Two Weeks
I kept notes, mostly because I'd killed enough of these plants that I wanted actual data instead of vibes.
Days 1–3: The shaded offsets stayed a steady medium green. The two I left unshaded (as a control) started showing pale patches on the leaf edges by day three.
Days 4–7: Shaded plants pushed new growth. Small, but visible—a tight new leaf in the center of each rosette. The unshaded ones stalled completely.
Days 8–14: The shaded group had noticeably fuller centers and no brown tips. The unshaded group had two leaves with crispy ends and one plant that had basically stopped growing.
Here's the part that surprised me: the shaded plants also needed less water. The cardboard kept the soil surface cooler, so it didn't dry out as fast. That's a nice side benefit, and it matters because of what I'm about to say next.
The Three Mistakes That Kill Most Nursery Spider Plants
I've made all three of these, multiple times. If you avoid them, you're already ahead of most beginners.
Mistake 1: Overwatering
90% of indoor plants die from overwatering. That's not a guess—it's the single most common cause of houseplant death across every source I've ever read, and it matches what I've seen in my own pots.
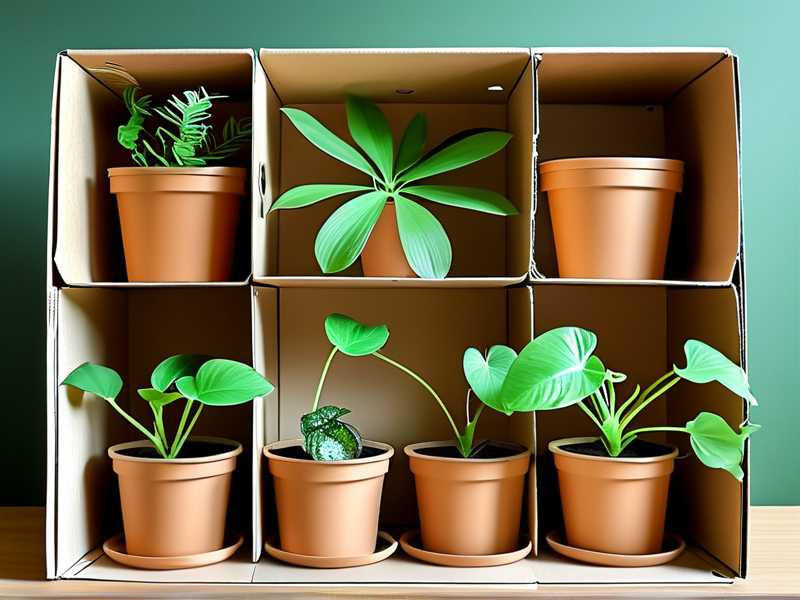
Spider plant offsets in small nursery pots are especially vulnerable. The pot is small, the soil volume is tiny, and it's very easy to pour in more water than the roots can use. The soil stays wet, the roots suffocate, and the plant collapses from the bottom up.
I used to water on a schedule. Every three days, no matter what. That's how I killed my first four spider plant babies. Now I water when the top inch of soil is dry, which with the cardboard shade was about every five to six days instead of every three.
Mistake 2: Light Mismatch
This is the one the cardboard shade is designed to fix. A nursery spider plant needs bright, indirect light. "Bright" means it should be able to read a book near the plant. "Indirect" means no direct sunbeams hitting the leaves.
The problem is most windows don't give you that naturally. A west window gives you harsh afternoon sun. A south window gives you sun almost all day. Even an east window can be too strong in summer.
I've tried moving plants to different rooms, and it's exhausting. The cardboard shade is simpler. You leave the plant where it is and just block the worst of the light.
Mistake 3: Wrong Pot
I once planted a spider plant offset in a pot that was way too big—like a 6-inch pot for a 2-inch root ball. The soil around the roots stayed wet for weeks, and the plant rotted.
The fix is simple: use a pot only slightly larger than the root system. A 3-inch nursery pot for a fresh offset is perfect. You'll repot sooner, but the plant will actually survive to get there.
How Long Should You Keep the Cardboard Shade On?
In my case, two weeks was enough for the offsets to settle in and start growing steadily. After that, I removed the shade gradually—first during the morning, then all day.
The reason for the gradual removal is that sudden light changes stress plants just like sudden shade does. I learned this the hard way with a pothos that I moved from a dim corner to a bright window in one day. It dropped three leaves in a week.
So: two weeks of shade, then a week of partial shade, then full exposure to whatever indirect light you have. That timeline worked for me. Your plants might need more or less, depending on your climate and window.
A Few Things I've Learned the Hard Way
Cardboard gets soggy if you water heavily and it's sitting right against wet soil. Keep a small gap between the cardboard and the pot rim, or water from the bottom if you can.
Don't use cardboard that's been stored in a damp garage or basement. It can harbor mold, and mold near a plant's soil is a problem you don't need.
If your plant is in a spot with no natural airflow, check the cardboard every few days for dampness. In a still room, it can stay wet longer than you'd expect.
I also want to mention that the AHS has some good general guidance on light requirements for houseplants if you want to go deeper on the science side. I've found their material useful for understanding why certain plants react the way they do.
When Cardboard Isn't the Right Tool
This method works best for small nursery pots indoors. It's less useful for:
- Large established plants (the cardboard isn't big enough to matter)
- Outdoor plants in full sun (you need actual shade cloth)
- Plants in very humid rooms (the cardboard will stay damp)
For those situations, you'd want a proper shade cloth or just a different location for the plant. But for the specific case of nursery spider plant offsets in a sunny window, cardboard is honestly hard to beat. It's free, it's adjustable, and you can throw it in the recycling when you're done.
FAQ
Will the cardboard attract pests or mold?
Clean, dry cardboard from a plain box won't attract pests on its own. The risk is moisture. If it stays wet for days, mold can grow. Keep it slightly away from the soil and check it after watering.
Can I use this method for other houseplant babies?
Yes, for most small offsets that need bright indirect light. It works well for pothos, philodendron, and similar plants. It's less useful for succulents or anything that actually wants direct sun.
How often should I move the cardboard?
Every two to three days is enough in most cases. The sun angle changes slowly, so you're just adjusting for that. If you notice a hot spot or a pale patch on a leaf, move it immediately.
Final Thoughts
I've spent more money on plant gadgets than I'd like to admit, and the thing that actually saved my spider plant offsets was a piece of cardboard from a shipping box. Two weeks of shading, a little patience, and a lot fewer crispy leaves. If you're starting nursery spider plants and your window gets strong sun, try this before you buy anything fancy. It's the cheapest fix I know, and it works.





