 bluename
How to Sanitize spider plant Hydroponic Equipment to Stop Bacterial Root Rot
If you've landed here, you're probably staring at mushy, brown roots that used to be a proud spider plant. I get it. I've been there. The short answer to sanitizing hydroponic equipment is this: remove the plant, rinse roots with lukewarm water, trim all rotted tissue with sterilized scissors, soak the remaining roots in a 3% hydrogen peroxide solution (one part peroxide to three parts water) for 15 minutes, then scrub every piece of equipment with a 10% bleach solution, rinse thoroughly, and reassemble with fresh, clean water. That's the core fix. But if you want to keep bacterial root rot from ever coming back, you need to understand the whole picture. Stick with me, because I've killed more spider plants than I'd like to admit before I figured this out.
Why Bacterial Root Rot Keeps Happening (And Why It's Not Your Fault)
Honestly, most people blame themselves when plants rot. But here's the thing. The bacteria that cause root rot, like Pythium and Erwinia, are everywhere. They live in tap water, on your hands, on the rim of your nutrient bottle. The real problem isn't that bacteria exist. The problem is that your equipment gives them a perfect breeding ground.
I remember my first hydroponic spider plant. Beautiful, variegated leaves. I was so proud. Then, within two weeks, the leaves started yellowing at the tips. I figured it needed more water. Surprise, surprise. That was the exact wrong move. By day ten, the roots looked like wet brown spaghetti. The smell coming from the reservoir was something between rotting vegetables and a swamp. That's when I learned the hard way.
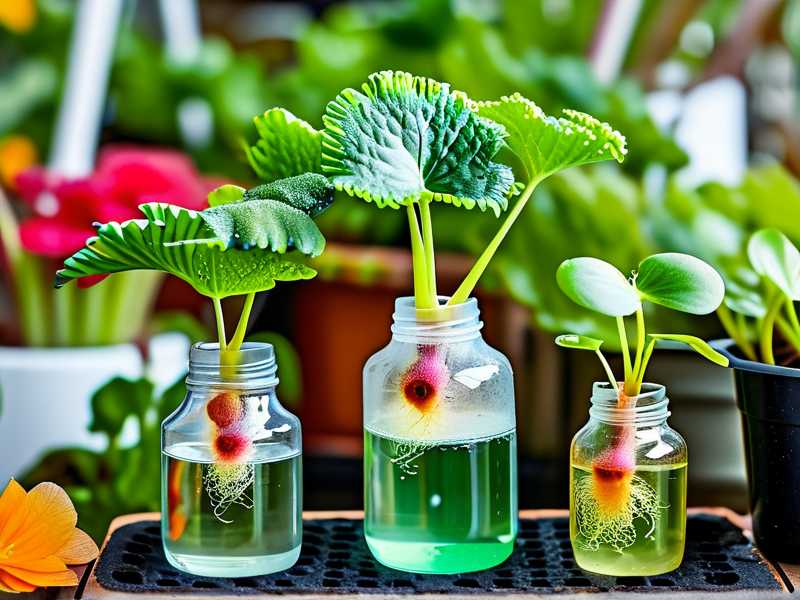
Here's a fact that changed how I view all my plants: 90% of indoor plants die from overwatering. In hydroponics, it's not about overwatering in the traditional sense, but the logic applies. Excessive moisture, stagnant water, and organic buildup signal "open buffet" for bacteria. And if you don't sanitize your gear regularly, you're essentially serving them a five-star meal.
The 3 Deadly Mistakes That Almost Every Newbie Makes
Mistake #1: Watering Excess (Even in Hydro)
I know, I know. In hydroponics, you're not "watering." But hear me out. I used to keep the water level in my spider plant's net pot way too high. The crown of the plant, where leaves emerge, was constantly submerged. That's a death sentence. Spider plants hate having their crowns wet. The crown is the most sensitive part. Once water sits there, bacteria move in fast.
The fix? I keep the water level just below the crown, so the top inch of the roots gets air. Spider plants are semi-epiphytic in a way. Their thick, fleshy roots can store water. They don't need to be swimming 24/7. If your roots are completely submerged including the crown, you're in trouble.
Mistake #2: Wrong Light Positioning
This one surprised me. I thought light was just about photosynthesis. But then I learned about temperature. I placed my hydroponic spider plant near a south-facing window. The water in the clear glass jar warmed up quickly during the day. Warm water holds less oxygen. Low oxygen = weak roots = bacterial invasion. It's that simple.
I now keep my spider plant in a spot with bright, indirect light, but never where direct sun hits the water reservoir for more than an hour. If your water feels warm to the touch, it's too warm for the roots. Aim for a water temperature between 65°F and 75°F (18°C to 24°C).
Mistake #3: Using the Wrong Container
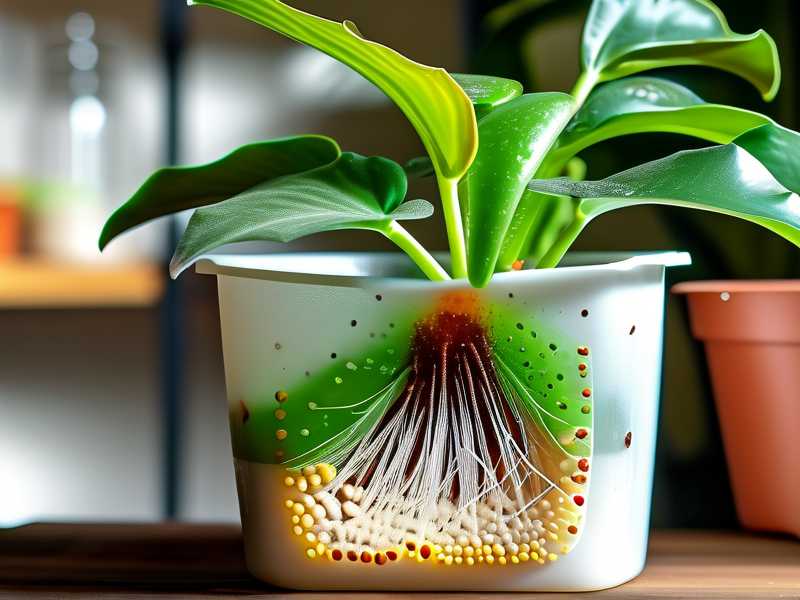
My biggest early mistake was using a completely opaque, narrow-necked vase. It looked sleek. It also trapped humidity completely. There was zero airflow at the water surface. Stagnant water is bacteria heaven. Then I switched to a wider-mouth glass jar, and things improved dramatically.
The shape of your container matters more than you think. A wide opening allows gas exchange. It lets oxygen reach the water surface and allows carbon dioxide and ethylene (a plant hormone produced during stress) to escape. If you're using a plastic container with no opening, you're asking for trouble. Also, clear containers help you see the roots before the rot gets bad. You can catch it early, which makes sanitizing way easier.
My Step-by-Step Process for Sanitizing Spider Plant Hydroponic Equipment
I've refined this process over several plants and many failures. I'm sharing exactly what I do now, after learning from all those mistakes. This routine takes about 45 minutes, and I do it every time I finish a growing cycle or whenever I see any sign of root distress. For ongoing maintenance, I do a lighter version every two weeks. Actually, let me walk you through the full deep-clean version first.
Step 1: Remove the Plant Gently
I start by carefully lifting the spider plant out of its net pot or container. Don't yank it. Slide your fingers between the roots and the pot wall. If it's stuck, squeeze the sides of the container to loosen the grip. I've torn too many roots by being impatient. Remember, you're already dealing with stressed tissues. Be kind.
Step 2: Rinse Under Lukewarm Water
I hold the root ball under a gentle stream of lukewarm water. Not cold, not hot. Cold water shocks the roots, and hot water cooks them quickly. I use my fingers to gently separate the root masses and wash away any loose debris, old growing medium, or slime. This step is just about getting the gross stuff off so you can see what you're working with.
Step 3: Trim All Rotted Tissue
This is the part a lot of people skip, and they pay for it. I get my sterilized scissors. I make sure they're clean by wiping them with rubbing alcohol. Then I start trimming. Anything that's brown, mushy, or smells bad has to go. I cut back to where the root is still firm and white or pale yellow.
I used to be timid about cutting. I thought I was hurting the plant. Then I killed a plant because I left rotted tissue behind. The rot just spread. What I've learned is that healthy tissue needs to be left alone. But the dead stuff is just breeding bacteria. I'm not exaggerating when I say I've cut away 60% of a root system and saved the plant. It bounced back in two weeks.
Step 4: The Hydrogen Peroxide Soak
Here's my daily driver. I mix one part 3% hydrogen peroxide with three parts room-temperature water. I pour it into a clean bowl or container. Then I submerge the remaining healthy roots in this solution for 15 minutes.
The hydrogen peroxide will start fizzing. That's the oxygen doing its job. It kills anaerobic bacteria on contact without harming the healthy root cells, as long as you don't leave them in too long. Fifteen minutes is my sweet spot. I've tried 10 minutes, and it feels too short for established rot. I've tried 20 minutes, and I noticed the tips of healthy roots started looking a bit translucent. So 15 minutes it is.
Step 5: Scrub Every Piece of Equipment
Now for the stuff you're putting the plant back into. I empty the old water reservoir. I throw away the old growing medium entirely. Honestly, if you use clay pebbles, they are a pain to clean, but you can save them. If you use rock wool or any fibrous medium, just toss it. It's not worth the bacteria risk.
For the container, net pot, and any tubing, I mix a 10% bleach solution. That's one part unscented bleach to nine parts water. I wear gloves. I use a soft scrub brush to get into every nook and cranny. I pay extra attention to any plastic joints or seals, because that's where slime accumulates.
I once skipped scrubbing and just soaked the equipment in bleach water. Bad idea. The biofilm was still there. Biofilm is a protective coating bacteria produce. Bleach solution kills surface bacteria, but the biofilm needs physical scrubbing to be removed. So scrub. I can't stress this enough.
Step 6: Rinse, Rinse, Then Rinse Again
After scrubbing, I rinse everything thoroughly with plain water. I do this three separate times. I'm not taking chances. Bleach residue will absolutely kill your spider plant's roots. If you have a strong enough sink faucet, use that pressure. If not, just be patient and keep rinsing.
I also soak the equipment in a baking soda solution afterward. I use one tablespoon of baking soda per gallon of water. This helps neutralize any remaining chlorine. Then I rinse one more time. Yes, it feels excessive. But I'd rather spend 10 extra minutes rinsing than revive a dead plant.
Step 7: Reassemble with Fresh Water
This is the clean-slate moment. I add fresh, room-temperature distilled water or filtered tap water. I avoid adding fertilizer for the first week. The plant is in shock. Feeding it right away is like eating a heavy meal during the flu. Let it recover first.
I place the plant back into the container, making sure the crown is above the water level. I support it with fresh, clean clay pebbles or a new net pot. I make sure the water level is so the bottom inch of the roots touches the water, leaving the rest to breathe.
What I Observed Over 2 Weeks of Recovery
I've done this exact process with my spider plant 'Bonnie', who was almost a goner. Before the clean, about 70% of her roots were mush. I was certain I'd be flushing her down the toilet.
Day 1-3: After the peroxide soak and trimming, she actually looked worse. The remaining roots were pale and limp. I panicked. I almost repotted her in soil. But I forced myself to wait. I kept her in bright, indirect light, and I changed the water every two days, just to keep oxygen high.
Day 4-5: I started noticing small white bumps on the roots. These are new root primordia, the beginning of fresh outgrowth. I was relieved, but I knew this was the critical window. Any contamination now would set me back. I kept the water clean, and I didn't touch the roots at all.
Day 6-8: The white bumps grew into tiny nubs. I could see they were getting longer each morning. The leaves, which had been yellowing, stopped getting worse. The color was still off, but the decline had halted. I took that as a major win.
Day 9-12: The new roots were now about an inch long. They were thick, fleshy, and bright white. The plant started producing a new baby plantlet, actually, a little pup with its own tiny roots. That was my green light. The plant was thriving again. I introduced a very diluted, balanced hydroponic fertilizer at quarter strength.
Day 13-14: By day 14, the root system looked legitimate. Not as lush as before the rot, but functional and healthy. The new roots were branching. The yellowed leaves still looked rough, but two new leaves were emerging from the center. I felt like I'd just performed a miracle. But really, I just followed the steps and let the plant do its thing.
Why I Stopped Using Certain Disinfectants
I want to talk about some methods that you might see online. Some blog posts recommend using vinegar or lemon juice to "disinfect" equipment. These are acidic, and they can help dissolve mineral deposits, but they are not effective against biofilm or robust bacterial spores. I tried it once. I spent an hour scrubbing with vinegar, and the rot came back in five days. So I gave that up.
Other posts recommend soaking in hydrogen peroxide at full strength. Do not do this. Pure 3% peroxide can harm the healthy root tips. I learned that by accidentally letting a root sit in undiluted peroxide for a few minutes while I answered my phone. The root turned a slightly grey color and became soft. It's an oxidizer. It doesn't discriminate between healthy tissue and bacteria. Dilute it.
Also, some folks recommend using rubbing alcohol to clean equipment. It works, but you have to be very careful with it on plastic. It can cloud or degrade certain types of plastic over time. It's also flammable. I'll stick to bleach for non-living surfaces.
Preventative Maintenance That Actually Works
Sanitizing after the fact is exhausting. I'd rather prevent rot in the first place. Since I started doing these five things, I have not had a single case of root rot in my spider plants. Honestly, these are just common sense once you see the pattern.
1. Change Water Every 7 Days Without Fail
Every single week, I dump the old water. I rinse the roots with lukewarm water. I rinse the container with warm water. No soap, no bleach. Just warm water and a good rinse. Then I add fresh water. That's my baseline. This simple habit prevents most bacterial growth.
2. Use the Right Water Source
If you use tap water, let it sit out for 24 hours before using it. This lets the chlorine evaporate. Chlorine, in small amounts, actually kills bacteria. But it can also stress your plant's roots over time. Chloramine, on the other hand, doesn't evaporate. If your city uses chloramine, you need a filter or use distilled water. I switched to distilled water, and it made a big difference. It's a bit of a cost, but it's cheaper than buying a new plant every few months.
3. Add a Hydrogen Peroxide Maintenance Dose
Each time I change the water, I add one teaspoon of 3% hydrogen peroxide per gallon of water. This is a low, safe dose. It provides a gentle oxygen boost and keeps bacteria from getting a foothold. It doesn't eliminate the need for water changes, but it definitely helps.
4. Monitor the Roots Regularly
I have a clear container for this specific reason. I check the roots as often as I walk by. I'm looking for any color change from white or pale yellow to brown or translucent. I'm also looking for any slime coating. If I see any hint of trouble, I act fast. The earlier you catch it, the easier the fix.
5. Don't Crowd the Plant
I used to have multiple spider plant pups in one small jar. This is a disaster. They compete for oxygen, and waste builds up faster. Each spider plant gets its own container now. It's less aesthetically pleasing, but it's much healthier.
Expert Backing and My Plan for Perfection
To be transparent, a lot of what I figured out aligns with the guidance from the Royal Horticultural Society. The RHS emphasizes the importance of hydroponic hygiene to prevent root diseases. They highlight that poor water quality and high temperatures are primary triggers for root rot. My experience matches their data. I also follow the American Horticultural Society's advice on plant care. The AHS stresses that environmental stress makes plants more susceptible to pathogens. So keeping the light and temperature right is not just about growth, it's about immunity.
FAQ: Your Burning Questions, Answered
Q: Can I reuse the old clay pebbles after a root rot infection?
I don't. Clay pebbles are porous. Bacteria can hide inside the tiny holes in the clay. Even after a bleach soak, I've seen rot recur. My advice? Toss them. They are cheap enough to replace. If you really have to save them, you must soak them in undiluted bleach for at least 2 hours, then rinse extremely thoroughly, then bake them in an oven at 200°F (93°C) for 30 minutes. I've done that, but I'm always nervous about it. Just buy new ones.
Q: How long does it take for a spider plant to recover from root rot?
This depends on the severity. In my experience, you will see new root growth in about 5 to 7 days after the clean. Full recovery to look like a vibrant, productive plant takes about 3 to 4 weeks. The great thing about spider plants is they are resilient. They put out new roots faster than most houseplants. But don't expect the old yellowed leaves to turn green again. They won't. Cut them off after the new leaves appear, or just let them die off naturally.
Q: Is it better to just propagate a new spider plant from a pup instead of treating the rotting one?
Sometimes, to be honest, that's the smarter move. Spider plants are famous for producing pups, or small plantlets. If your main plant is completely gone, if the roots are 80% mush, it's often faster to start with a healthy pup. However, if you have a sentimental plant, like I did, or if the rot is caught early (under 50% root damage), the sanitization process is worth it. The parent plant has a mature root system and a bigger crown, so it actually grows back to full size faster than a pup would. My 'Bonnie' is proof of that.
Final Thoughts: The Sanitization Habit
I have to be honest, I wasn't always the patient type. I killed my first three spider plants before I ever attempted hydroponics again. The turning point was realizing that equipment hygiene is 80% of the battle. The plant doesn't get sick for no reason. You give it dirty water, warm temperatures, and no air, and it will rot. That's a guarantee.
I hope this guide saves you from the frustration I went through. I think we all want the same thing: a healthy, vibrant spider plant with cascading white and green leaves. That's totally achievable. Just remember the key points. Keep the crown dry. Keep the water cool and fresh. Sanitize your gear properly, and don't be lazy about scrubbing. If you do that, your spider plant will forgive you for your past mistakes. I promise you, these plants are tougher than they look.
So get up, grab your hydrogen peroxide and bleach, and give your spider plant the clean environment it deserves. Both you and your plant will thank you for it.





