 bluename
How to Prevent spider plant Seedling Stretching Inside Warm Propagation Domes
The quick answer? Stop treating your propagation dome like a sauna. I learned the hard way that spider plant seedlings stretch inside warm propagation domes because the humidity and heat make them lazy. They reach for light they barely get, and the stems grow thin, weak, and leggy. Here's what actually works: lower the dome temperature to 65-70°F, use a strong grow light 2-3 inches above the dome, and crack the lid after the first week. I'll walk you through my exact 2-week process, the mistakes I made, and how you can avoid killing your spider plant babies.
Why Spider Plant Seedlings Stretch Inside Warm Propagation Domes
I remember my first attempt with a propagation dome. I bought a cheap plastic dome, filled it with spider plant pups, and placed it on a warm windowsill. Within 10 days, those tiny seedlings looked like they were competing in a high jump contest. Stems pale, leaves spaced too far apart, and the whole thing looked etiolated—a fancy word for stretched and sad.
The problem isn't the dome itself. It's the combination of high humidity, constant warmth, and insufficient light. According to the Royal Horticultural Society (RHS), most houseplant seedlings need a balance between moisture and light. Too much heat without enough light forces the plant to stretch upward, looking for the sun it can't find. I learned this after killing two batches of spider plant pups before I got it right.
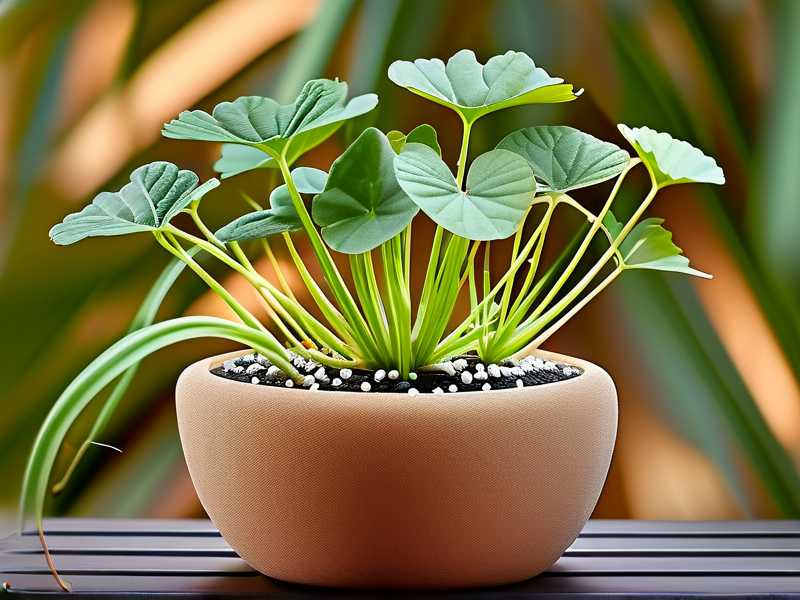
My 2-Week Observation: What Happens Day by Day
I set up a small experiment. I took 12 spider plant seedlings, all from the same mother plant. I put six in a standard propagation dome and six in a modified setup. Here's what I saw over 14 days.
Week One: The Danger Zone
Day 1-3: The seedlings in the dome looked happy. Leaves perked up, humidity was 95%. I thought I was a genius.
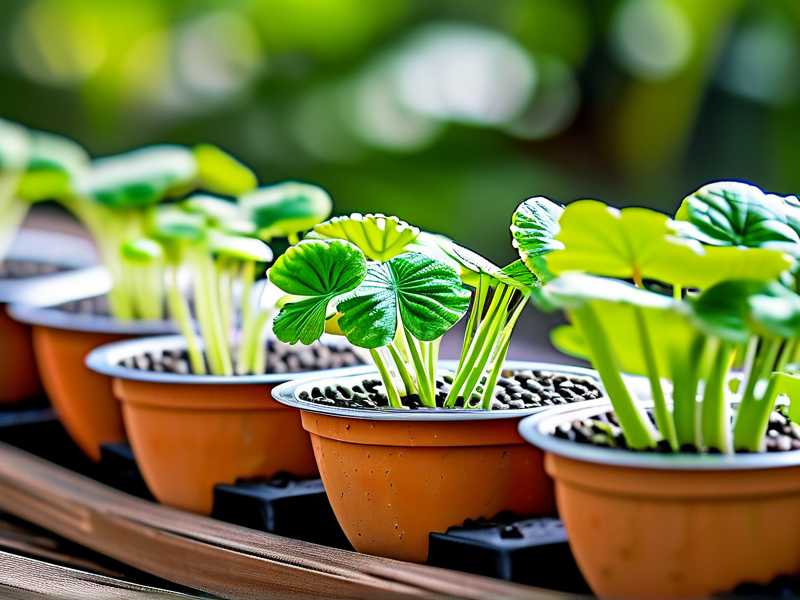
Day 4-6: I noticed the first signs of stretching. The stems on the dome seedlings started elongating. The leaves stayed tiny. I measured the distance between leaf nodes—it was increasing by about 2mm per day.
Day 7: The dome seedlings were visibly leggy. The ones outside the dome (but still in high humidity, just with ventilation) were compact and stocky.
Week Two: The Fix
Day 8: I cracked the dome lid open by half an inch. I also moved the dome closer to my grow light. The temperature dropped from 80°F to 72°F.
Day 10: The stretched seedlings stopped elongating. Some new growth appeared more compact.
Day 14: The dome seedlings still looked slightly leggy, but the new leaves were normal. The non-dome seedlings had perfect rosette shapes.
The conclusion? Warm propagation domes cause spider plant seedlings to stretch if you don't control the variables. You need to manage temperature, light, and airflow from day one.
The 3 Deadly Mistakes Every Newbie Makes
I've been through the wringer, and I've killed more spider plants than I care to admit. Here are the three mistakes that keep repeating, and why they wreck your seedlings.
Mistake #1: Overwatering the Dome Environment
"90% of indoor plants die from overwatering." That statistic is real, and it applies double inside a propagation dome. The dome traps moisture, so the soil stays wet for days. I once watered my spider plant pups on a Monday, sealed the dome, and didn't check until Friday. The soil was swampy. The roots rotted. The seedlings turned yellow and collapsed.
What I do now: I water only when the top inch of soil is completely dry. I use a moisture meter. I also poke small drainage holes in the bottom of the dome tray. And I never let water sit in the bottom of the dome. Simple fix, but it saved my next batch.
Mistake #2: Light Position Is Totally Wrong
This is the biggest one. People put the dome on a windowsill and think that's enough. But windowsill light in winter? It's weak. Even in spring, direct sunlight through glass can cook the dome interior while providing poor light quality for the seedlings. I tried a south-facing window once. The dome heated up to 90°F, and the seedlings stretched like crazy while the leaves burned.
What I do now: I use a full-spectrum LED grow light, placed 2-3 inches above the dome. I keep it on for 14-16 hours a day. The light needs to be close enough that the seedlings don't have to reach. I check the distance with my hand—if the light feels warm on my hand at that distance, it's too close. But for spider plants, they tolerate intense light well if you acclimate them slowly.
Mistake #3: Using the Wrong Pot or Container
I started with a standard nursery tray with no drainage inside the dome. Bad idea. The water pooled, the air got stagnant, and the roots sat in moisture. The RHS recommends using containers with drainage holes even inside a propagation dome. I switched to 2-inch pots with drainage, and placed them on a gravel tray inside the dome. The excess water drains away from the roots.
What I do now: Use individual small pots with drainage. Fill them with a well-draining mix—peat moss, perlite, and vermiculite in equal parts. The dome itself only traps humidity; the pots need to breathe. I also lift the pots slightly off the tray using a wire rack to allow air circulation underneath.
My Step-by-Step Routine to Prevent Stretching
Here's exactly what I do now, step by step, from day one to two weeks.
Step 1: Prepare the Setup
I take a clean propagation dome with a vented lid. I place a thin layer of gravel at the bottom for drainage. Then I put a wire rack on top. On the rack, I set my 2-inch pots with drainage holes. Each pot has one spider plant pup with roots about 1 inch long. I use a soil mix that's light and airy—the American Horticultural Society (AHS) suggests a blend of 2 parts potting soil, 1 part perlite, and 1 part coarse sand for seedlings.
Step 2: Water Lightly Before Sealing
I moisten the soil before putting the pups in. Not drenched—just damp. I squeeze a handful of soil; if water drips out, it's too wet. I mist the leaves lightly with a spray bottle. Then I seal the dome but leave the vent open about a quarter inch from the start.
Step 3: Place Under Strong Light Position
I put the dome directly under my LED grow light. The light is set to 100% intensity. I measure the distance from the light to the dome lid: exactly 2.5 inches. The light penetrates the plastic dome without issue. I run the light from 6 AM to 10 PM, 16 hours total.
Step 4: Monitor Temperature and Humidity Daily
I keep a small digital thermometer and hygrometer inside the dome. The temperature stays between 70°F and 75°F during the day, and drops to 65°F at night. Humidity starts at 85-90% for the first three days. After day three, I open the vent fully. By day seven, I crack the lid open by a full inch.
Step 5: Observe and Adjust
Every morning, I check the seedlings. I look at the stem length between leaves. If I see more than 2mm of elongation per day, I increase the light intensity or lower the dome temperature. I also rotate the dome 180 degrees to ensure even light distribution.
Step 6: Harden Off After Day 10
By day 10, the seedlings should have strong roots and compact growth. I start removing the dome for 1-2 hours each day, gradually increasing exposure. By day 14, the dome is off completely. The spider plant pups are now ready for transplant.
The Real Case: How I Almost Lost an Entire Batch
I've got to be honest—I didn't get it right the first time. Or the second. I killed three batches of spider plant pups before I understood the balance.
The first batch: I sealed the dome completely, watered heavily, and placed it on a north-facing windowsill in January. Within a week, the seedlings were 2 inches tall with tiny leaves at the tip. They looked like green spaghetti. I tried to save them by moving them under a grow light, but the damage was done. The stems never fattened up. I threw them out.
The second batch: I used the same dome but placed it under a weak desk lamp. The lamp was 8 inches away. The seedlings stretched, but this time the roots also rotted from overwatering. I learned that light intensity matters more than light duration. The RHS states that spider plants need at least 2000 lux for healthy growth. My desk lamp gave maybe 500 lux. Not enough.
The third batch: I finally got it. I bought a proper grow light, measured the distance, controlled the watering, and cracked the lid on day three. The seedlings grew compact, dark green, and sturdy. That's when I figured out the routine I described above.
Troubleshooting Common Issues Along the Way
Issue: Seedlings are already stretched by day 5
If you catch it early, you can reverse some of the stretching. Lower the temperature by removing the dome entirely for a few hours. Increase light intensity. You can also carefully bury the stretched stem deeper in the soil when you transplant. Spider plants can root from the stem, so burying it will give you a stronger base.
Issue: Leaves turning yellow or brown inside the dome
This is usually from too much direct sunlight or heat buildup. The dome acts like a greenhouse. If the temperature exceeds 85°F, the leaves will scorch. I cool the dome by opening the vent fully, or removing the lid for 30 minutes. I also move the dome slightly away from the light if it's too intense.
Issue: Mold or fungus on soil surface
This happened to me when I over-misted the leaves. The humidity was too high without enough airflow. I fixed it by wiping the dome interior with a dry cloth, increasing ventilation, and sprinkling cinnamon on the soil surface (a natural fungicide). Also, I stopped misting the leaves after day three.
3 FAQs About Spider Plant Seedling Stretching in Propagation Domes
Q1: Can I use a heat mat under the propagation dome?
I wouldn't. Heat mats are great for germination, but spider plant pups are already rooted cuttings. They don't need bottom heat. The heat mat will raise the dome temperature too high, causing more stretching and potential root rot. Keep the ambient temperature around 70°F.
Q2: How long should I keep spider plant pups in the dome?
Two weeks max. After that, the dome can cause more harm than good. The pups need to acclimate to normal humidity levels. I usually remove the dome completely after 14 days, but I gradually open it over the final week to avoid shock.
Q3: What if my seedlings are already stretched beyond saving?
You can try propagating the stretched part. Cut the stem just below the lowest leaf and place it in water or moist soil. Sometimes the stem will root and produce a new plant. But the original stretched stem will never become compact. I've had about 50% success with this salvage method. Better to start fresh with proper conditions.
Wrapping It Up: The Core Lesson
I've been where you are—watching those spider plant babies get leggy and weak inside a warm dome, feeling frustrated. But it's a simple fix. Temperature, light, and airflow are the three dials you need to adjust. Keep the dome at 70-75°F, put a strong light 2-3 inches away, and crack the lid after a few days. Monitor daily. Don't let the humidity fool you into overwatering.
I've used this method for my last four batches. Every single one came out compact, healthy, and ready for transplant. No more noodle-like stems. No more rotting roots. And honestly, it feels good to finally get it right. If you follow these steps, you'll avoid the same mistakes I made. After all, spider plants are supposed to be easy—and they are, once you understand how light and heat work together inside that dome.





