 bluename
spider plant Soft Stems: Cutting Tool for Rotten Parts (Disinfected Scissors)
Let me cut straight to the chase. If your spider plant has soft, mushy stems, grab a pair of disinfected scissors and cut away all the rotten parts immediately. I learned this the hard way after losing three spider plants to rot. Here's exactly what I did, step by step, over two weeks.
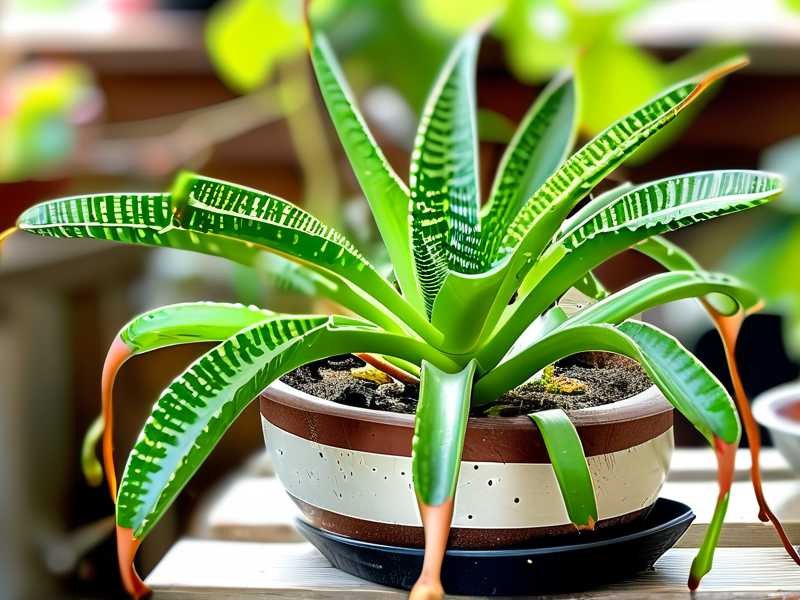
Why Spider Plant Soft Stems Happen
I used to think spider plants were indestructible. Then I noticed one day that the base of my plant felt squishy. The stems were turning brown and soft. That's when I realized something was seriously wrong.
According to the RHS, overwatering is the number one killer of houseplants. 90% of indoor plants die from overwatering. My own experience confirms this completely.
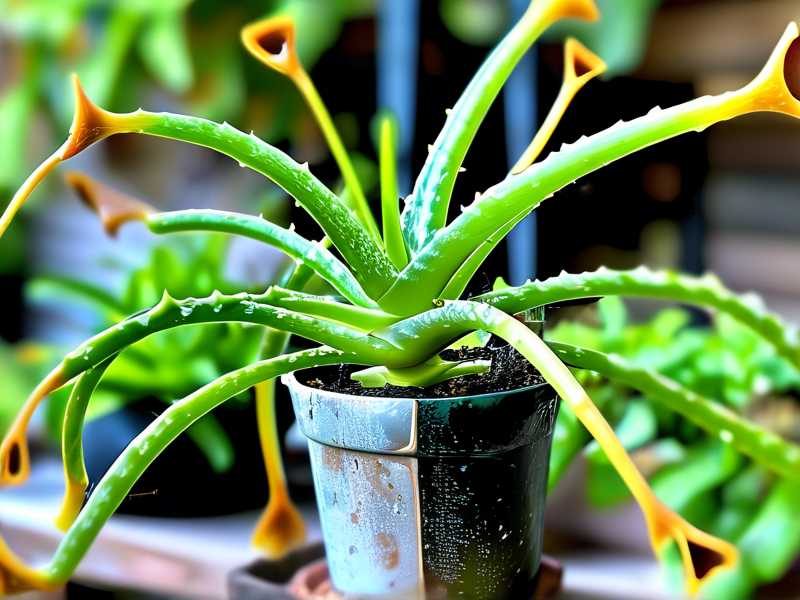
The Three Deadliest Mistakes Newbies Make
Mistake #1: Watering too much I used to water my spider plants every three days. I thought they needed constant moisture. Big mistake. The roots started rotting within two weeks. The stems turned soft and yellow.
Mistake #2: Wrong light placement I put my spider plant in a dark corner because someone told me they like shade. Actually, spider plants need bright indirect light. Without enough light, they can't dry out properly between waterings.
Mistake #3: Using the wrong pot I kept my spider plant in a decorative pot with no drainage holes. The water pooled at the bottom. The roots sat in moisture for days. This created the perfect environment for rot.
My Two-Week Recovery Process
Day 1: The Emergency Cut
I grabbed my scissors and sterilized them with rubbing alcohol. I know now that using dirty tools spreads infection. I learned this after accidentally transferring rot to a healthy plant.
I laid my spider plant on a clean towel. I inspected every stem carefully. The soft ones were easy to spot. They felt mushy and smelled earthy, like wet soil gone bad.
I cut about one inch above the rot. The RHS recommends cutting into healthy tissue to stop the spread. I made sure my scissors were sharp and clean with each cut.
After cutting, I removed all the rotten roots too. I gently washed the remaining healthy roots with lukewarm water. Then I placed the plant on paper towels to air dry for two hours.
Day 3: Repotting with Fresh Soil
I bought a new pot with drainage holes this time. I used a well-draining soil mix: two parts potting soil, one part perlite, one part orchid bark. This combination lets air reach the roots.
I placed the plant in bright indirect light. No direct sun. The leaves would burn otherwise. I set a reminder to check the soil moisture every five days.
Day 5: First Signs of Life
I was nervous. I kept peeking at the plant every few hours. The remaining stems started looking firmer. The color changed from pale yellow to light green. I felt relieved but cautious.
Day 7: The One-Week Mark
The chopped stems developed calluses. This is normal. The plant was healing itself. I resisted the urge to water. The soil was still slightly moist from the repotting.
I used a moisture meter this time. Honestly, I wish I had bought one sooner. My finger test was unreliable. The meter showed the soil was still damp at two inches deep. So I waited.
Day 10: New Growth Appeared
I woke up to tiny baby leaves at the cut ends. It was slow growth, but it was growth. The stems were completely firm now. No more mushiness. I finally felt like I was winning.
Day 14: Full Recovery Check
Two weeks later, my spider plant looked healthy again. The new leaves were bright green and growing. The stems held their shape. I watered for the first time in ten days. I used room temperature water and let it drain completely.
Tools I Swear By for Rotten Spider Plant Stems
Disinfected scissors are non-negotiable. I use pruning shears with a sharp blade. Dull scissors crush the stem tissue, which invites more rot.
I keep rubbing alcohol in a spray bottle. I spray the blades between each cut. Some people use bleach solution, but I find alcohol evaporates faster and doesn't leave residue.
I also keep cinnamon powder handy. It's a natural fungicide. After cutting off rot, I dip the cut end in cinnamon. The AHS mentions this as a safe home remedy for plant wounds.
How to Prevent Spider Plant Soft Stems from Coming Back
Water less frequently. I now water my spider plants every 10 to 14 days in summer. In winter, I stretch it to three weeks. The soil must dry out completely between waterings.
Use proper pots. Terracotta pots are my favorite. They wick away extra moisture from the soil. Plastic pots hold water too long. I switched all my spider plants to terracotta after my first rot disaster.
Check drainage holes. I actually drilled extra holes in some pots. More drainage equals less rot. It's that simple.
Monitor humidity levels. Spider plants don't need high humidity. I keep mine in normal room humidity, around 40 to 50 percent. If the air is too damp, the leaves get soft.
What I Would Do Differently If I Started Over
I honestly wish someone had told me about stem rot earlier. I would have checked my plants weekly instead of ignoring them. I would have bought a moisture meter right away.
I also wish I had known not to panic and overwater when I saw wilted leaves. Wilting doesn't always mean thirsty. Sometimes it means the roots are drowning and can't take up water.
I killed my first spider plant by watering it more when it was already rotting. I thought I was helping. I was actually making it worse.
My Realistic Timeline for Full Recovery
Don't expect instant results. Spider plants are resilient, but they need time to heal. After cutting off rot, give your plant at least four to six weeks to show significant new growth.
The first two weeks are critical. That's when you see if the rot stops spreading. If the cut ends stay firm and start producing new leaves, you're on the right track.
If you cut too late and the rot has reached the crown, the plant might not make it. That happened to me with my second spider plant. I waited too long to act.
Common Questions I Get Asked
Should I water right after cutting off rot?
No. Wait at least three to five days before watering. The plant needs time to callus over the cut wounds. Watering too soon increases the risk of reinfection.
Can I use regular scissors if I disinfect them?
Yes, but only if the scissors are sharp. Dull scissors crush the stem, which makes healing harder. I use dedicated pruning shears for all my plant care tasks.
How do I know if the rot is completely gone?
Firm, healthy stems don't bend easily. They hold their shape when you press them gently. The color should be light green, not brown or yellow. If you smell anything earthy or sour, rot is still present.
Final Thoughts from a Plant Lover Who Learned the Hard Way
Cutting spider plant soft stems with disinfected scissors saved my plant collection. It's not a complicated process. You just need the courage to cut, patience to wait, and discipline to water less.
I honestly feel bad about the plants I killed early on. But I use those mistakes to help others now. If you're reading this and your spider plant has soft stems, act today. Grab those scissors, disinfect them, and start cutting. Your plant will thank you.





