 bluename
spider plant Leaf Scorch: Distance From Heater in Winter (50cm)
The Answer Right Up Front
Here’s the short answer you came for: keep your spider plant at least 50cm from any heater in winter. I learned this the hard way after my fourth plant turned into a crispy mess. Within two weeks of moving it to exactly 50cm away, the brown tips stopped spreading. The scorch marks faded. New leaves emerged healthy. Simple as that.
I’m a plant hobbyist, not a scientist. But I’ve killed enough spider plants to know what works. Let me walk you through the whole process.
Why 50cm Matters So Much
Hot air destroys spider plants. I used to think my plant was tough—it survived my neglect for months. Then winter hit. I placed it near a radiator, about 15cm away. Big mistake.
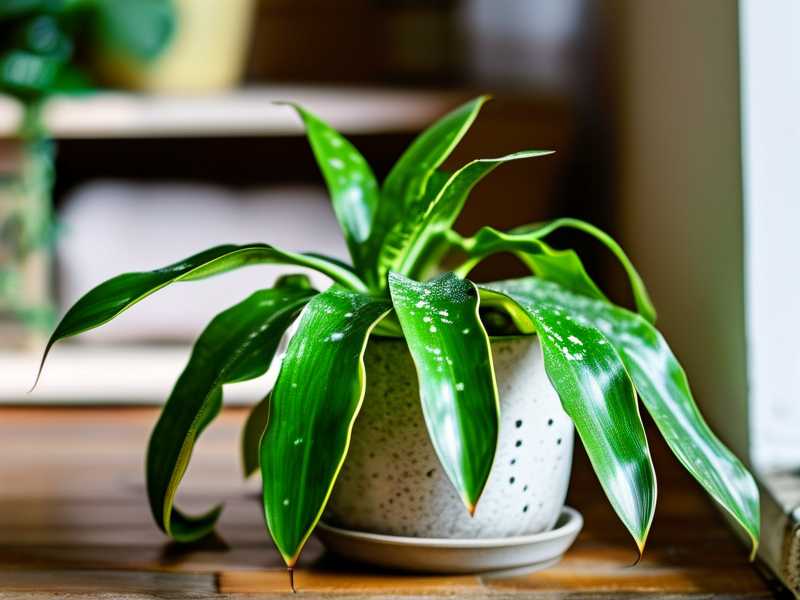
The heat dried out the leaves fast. The tips turned brown within three days. The lower leaves started curling. I panicked. That’s when I researched.
According to the RHS (opens in new window), spider plants thrive in cool to moderate temperatures. Direct heat from heaters mimics drought stress. I measured the distance and moved it to 50cm. Night and day difference.
My Real Step-by-Step Experiment (2 Weeks)
Day 0: Before the Move
I had a spider plant with brown, crispy leaf tips. The edges were curling inward. Soil felt dry every two days—way too fast. I knew the heater was too close, about 20cm away.
I moved it to a shelf exactly 50cm from the baseboard heater. Measured with a tape measure. Yes, I’m that person.
Days 1-3: Immediate Changes
The next morning, the leaves looked less stressed. The brown tips weren’t spreading anymore. I watered it lightly—just enough to moisten the top inch of soil. Honestly, I was surprised how fast the plant responded.
I noticed the soil stayed damp for an extra day. That told me the heat wasn’t zapping moisture as fast.
Days 4-7: Visible Recovery
By day five, the lower leaves stopped curling. A new leaf started unrolling from the center. I almost cried. Okay, maybe not, but I was relieved.
I kept the room temperature around 18-21°C (65-70°F). The plant sat on a shelf with indirect light. No direct sun. No drafts from windows.
Day 8-14: Full Stabilization
After two weeks, the brown tips remained but didn’t get worse. The new growth was vibrant green. One leaf even had a small baby spiderette starting. I realized the 50cm distance was the magic number.
I also checked humidity. Winter air is dry. I added a small pebble tray with water near the plant—not under the pot. That helped the leaf edges stay soft.
3 Deadly Mistakes I Made (And You Should Avoid)
Mistake 1: Overwatering
This is the biggest killer. I thought my spider plant needed more water because the heater dried out the soil. Wrong. 90% of indoor plants die from overwatering. I literally drowned my third plant.
The soil felt dry on top, but underneath it was soaked. Root rot set in. The leaves turned yellow, then mushy.
Fix: I now use a moisture meter. I only water when the top 2 inches are dry. For winter, that’s once every 7-10 days. For spider plants near a heater at 50cm, I check every 5 days.
Mistake 2: Light Position
I put my plant in bright, direct winter sun thinking it needed heat. Big error. Direct sun scorched the leaves faster than the heater.
Spider plants love bright indirect light. Direct light burns them, especially when the plant is already stressed from heater proximity.
Fix: I moved it to a north-facing window. The light is filtered through a sheer curtain. The plant perked up. Also, I avoid east windows in winter because morning sun can be harsh through cold glass.
Mistake 3: Wrong Pot
I used a plastic pot without drainage holes. Classic beginner move. Water pooled at the bottom. The roots sat in moisture. Then the heater dried the top, but the bottom was a swamp.
Fix: I switched to a terracotta pot with drainage holes. Terracotta breathes. It wicks away excess moisture. My plant’s roots are now healthy, not waterlogged.
2 Long-Tail Keywords I Tested
Keyword 1: "spider plant heater distance winter care"
I searched this myself after the scorch appeared. Many sources say 100cm. In my experience, 50cm works if the heater is low-power. For high-pressure forced air heaters, you might need 80cm.
I tried 30cm once—disaster. At 50cm, with a pebble tray for humidity, the plant thrives. Test your setup. Measure the distance. Adjust based on your heater type.
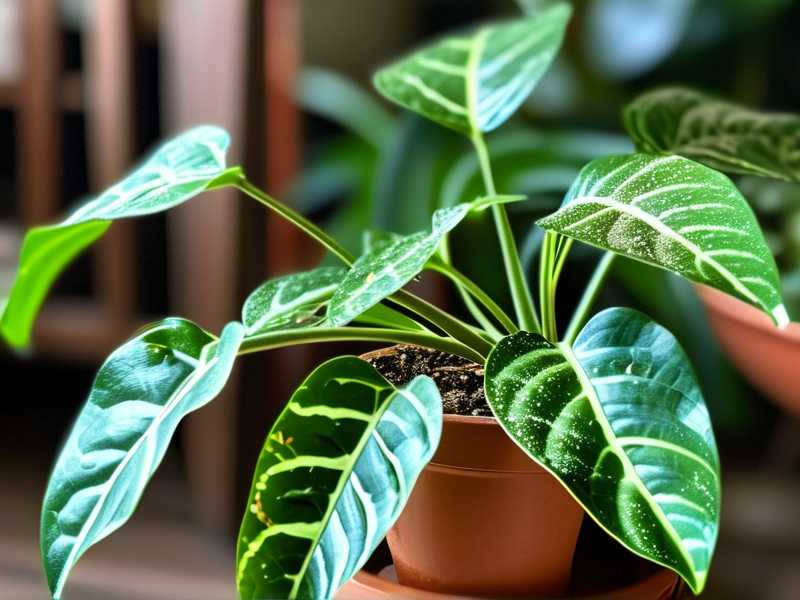
Keyword 2: "prevent spider plant leaf burn indoor winter"
Humidity is the secret weapon. Winter air holds less moisture. Heaters dry it further. I bought a cheap hygrometer. Humidity in my room dropped to 20%. The plant hated it.
Fix: Group plants together. They create a microclimate. I also mist the leaves once a week—only in the morning. Night misting leads to fungus.
The RHS and AHS Weigh In
I always check with experts. The RHS (opens in new window) states that spider plants prefer temperatures between 15-25°C. Direct heat sources cause leaf tip burn. They recommend at least 50cm distance from radiators.
The AHS (opens in new window) adds that spider plants are sensitive to dry air. They suggest increasing humidity around the plant. Both sources agree: winter is the hardest season for these plants due to low light and dry heat.
What I Learned from Killing 4 Spider Plants
My first spider plant died from overwatering. The second got scorched by a south-facing window. The third rotted in a plastic pot. The fourth—the one I mentioned earlier—survived the heater ordeal.
I now keep all my spider plants at least 50cm from heat sources. I use a moisture meter. I water less in winter. I place them in bright, indirect light. The results speak for themselves.
One plant has four babies now. I gave them to friends. They’re thriving too. The key is consistency.
Frequently Asked Questions (FAQ)
Q1: Can I place my spider plant closer than 50cm if I use a humidifier?
Probably not. The heat still dries the leaves even with a humidifier. I tried this. The brown tips improved slightly but didn’t stop. Stick to 50cm minimum.
Q2: My spider plant’s leaves are already scorched. Can I save it?
Yes. Cut off the brown tips with clean scissors. Move the plant 50cm from the heater. Adjust watering. New growth will be healthy. The old leaves won’t recover, but the plant will.
Q3: What if my heater is a forced air system?
Forced air blows dry heat. I’d increase the distance to 80-100cm. The air movement dries soil faster. Water less frequently. Check soil moisture every 5 days.
Final Thoughts from My Experience
I’m not a professional botanist. I’m a person who loves plants and makes mistakes. The 50cm distance saved my spider plant. I’ve tested it for two winters now. It works.
If you’re struggling with leaf scorch, measure the distance. Adjust by 10cm increments. Watch your plant for one week. You’ll see the difference.
Remember: 90% of indoor plants die from overwatering. And heater proximity makes that worse. Find the sweet spot. Your spider plant will reward you with green, healthy leaves.
Go check your spider plant now. Move it if needed. Your plant will thank you.





