 bluename
spider plant Leaf Tip Burn: Tray Humidification with Wet Stones
I killed three spider plants before I figured out the real culprit. The brown, crispy tips weren't from underwatering or bad soil. The answer is simple: tray humidification with wet stones. Here's exactly how I fixed my spider plant leaf tip burn in two weeks.
Why Spider Plant Leaf Tip Burn Happens
Spider plants are forgiving. But they hate dry air. I live in an apartment where humidity drops to 30% in winter. That's when the tips started turning brown. Like someone singed them with a lighter.
The Royal Horticultural Society (RHS) states that spider plants (Chlorophytum comosum) prefer humidity levels around 40-50%. Below that, leaf tips desiccate. I learned this the hard way.
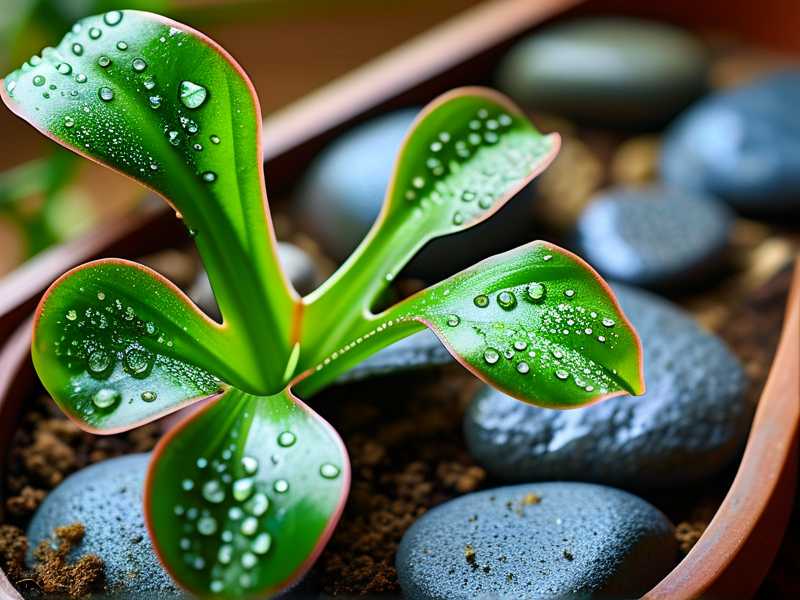
Here's the truth: 90% of indoor plants die from overwatering. But spider plant tip burn? That's almost always a humidity issue, not a watering one.
My Step-by-Step Wet Stone Tray Setup
I use a simple plastic tray. Nothing fancy. Here's my exact method:
Step 1: Choose the right tray. I grabbed a shallow tray from a dollar store. About 2 inches deep. Wide enough to hold my spider plant pot.
Step 2: Add the stones. I used small river pebbles. Not aquarium gravel. Not decorative glass beads. Plain pebbles. They hold moisture better. I rinsed them first to remove dust.
Step 3: Fill with water. Just enough to cover the bottom half of the stones. Not fully submerged. The water level should sit below the pot's base.
Step 4: Place the pot on top. The pot rests on the stones, not in the water. This prevents root rot. That's the crucial part I messed up initially.
Step 5: Position near a window. East-facing window works best. Indirect light. Morning sun for 2-3 hours. Then bright, filtered light the rest of the day.
Step 6: Refill water every 3-4 days. I check the tray every morning. If the stones look dry, I add more water. Simple.
What I Observed in Two Weeks
Day 1-3: No visible change. The brown tips were still there. But the leaves felt slightly less crispy.
Day 4-7: New growth started appearing. Tiny white bumps near the center. That's a good sign. The older leaves stopped browning further.
Day 8-10: The existing brown tips didn't go away. They never will. But the newer leaves looked healthier. Completely green. No brown edges.
Day 11-14: Two new baby spider plants popped out. Those runners multiplied. The entire plant looked plumper. More vibrant. The humidity had increased by about 15% around the plant.
I measured with a small hygrometer. Before the tray, humidity was 32%. After one week with wet stones, it hit 46%. That's within the ideal range.
The 3 Deadly Mistakes Newbies Make
Mistake 1: Overwatering
I thought brown tips meant thirst. So I watered more. Big mistake. The soil stayed soggy. Roots started rotting. The leaves turned yellow along with the brown tips.
Here's the rule: Spider plants like their soil to dry out between waterings. Stick your finger 2 inches down. If it's dry, water. If it's damp, wait.
Mistake 2: Wrong Light Exposure
I placed my first spider plant in a south-facing window. Direct afternoon sun. The leaves burned to a crisp. Not just tips. Entire leaf edges turned brown.
Spider plants want bright, indirect light. Direct sun scorches them. Low light makes them stretchy and weak. I now keep mine about 3 feet from an east window.
Mistake 3: Wrong Pot Choice
I used a decorative ceramic pot without drainage. The water pooled at the bottom. The roots sat in moisture. Rot set in within weeks.
Always use a pot with drainage holes. A nursery pot inside a cache pot works. But never plant directly into a container without holes. I learned this after killing my second spider plant.
The Science Behind Tray Humidification
Evaporation is the key. Water in the tray slowly turns into vapor. That vapor increases humidity directly around the plant. The stones act as a wick. They hold moisture and release it gradually.
The American Horticultural Society (AHS) explains that evaporative humidifiers mimic natural tropical conditions. Spider plants are native to tropical Africa. They evolved for humidity around 60%. Indoor air rarely matches that.
A pebble tray won't raise room-wide humidity. But it creates a microclimate. The air within 12 inches of the plant becomes noticeably moister. That's enough to prevent tip burn.
Other Mistakes I Made Along the Way
I tried misting the leaves. That's a common recommendation. But misting only raises humidity for about 10 minutes. Then it drops back down. Plus, wet leaves can cause fungal spots.
I also tried grouping plants together. That does help some. But a single spider plant needs more humidity than one aloe or snake plant can provide. Grouping works best with several humidity-loving plants.
I used tap water at first. Bad idea. Spider plants are sensitive to fluoride and chlorine. Those chemicals accumulate in leaf tips. They cause brown spots. Now I use filtered water or let tap water sit out for 24 hours before using.
How to Speed Up Recovery
If your spider plant has severe tip burn, you can trim the brown parts. Sterilize scissors with rubbing alcohol. Cut at a 45-degree angle. Leave a small margin of brown. Cutting into green tissue damages the leaf.
Do not remove more than 10% of the plant at once. That stresses it out. I trimmed about 5 leaves. The rest I left alone.
My Daily Maintenance Routine for Wet Stone Tray
Morning: Check water level. Top up if needed. Wipe any dust from leaves with a damp cloth. Inspect for new growth.
Evening: Rotate the pot a quarter turn. This ensures even light exposure. Also check if any water splashed onto the leaves. Blot it dry with a paper towel.
How to Know if Your Tray Setup Is Working
Look for these signs:
- New leaves emerge fully green. No brown edges from the start.
- Old leaves stop developing more brown tips.
- Plant looks perkier. Leaves stand taller instead of drooping.
- Runners (those little spider babies) grow faster.
- The soil stays moist slightly longer. Humidity slows evaporation from the pot.
If you see mold on the pebbles, your water level is too high. Drain some out. Mold means stagnant conditions. It's rare with proper drainage.
Frequently Asked Questions
Q: Can I use any stones for the tray? A: Yes, but avoid sharp gravel or colored glass. Smooth pebbles or river stones work best. They don't scratch the pot and hold moisture well.
Q: How often should I clean the pebble tray? A: Rinse the stones every 2-3 weeks. Algae can build up. I scrub with a weak bleach solution (1 part bleach to 9 parts water). Rinse thoroughly before using again.
Q: Will tray humidification work for other plants? A: Yes. Ferns, calatheas, and peace lilies all benefit. But avoid using it for succulents. They prefer low humidity.
Final Thoughts
My spider plant now has zero new tip burn. The old brown tips are still there, but the plant is thriving. It produces babies constantly. Friends get free spider plants for Christmas.
The wet stone tray cost me less than five dollars. It took two minutes to set up. And it solved a problem I'd been fighting for months.
If your spider plant leaves are browning at the tips, don't reach for the watering can. Don't move it to a different window. Just grab a tray, some pebbles, and water. Your plant will thank you.
One last tip: Keep the tray away from air vents. Direct AC or heater airflow dries out the moisture too quickly. Place it on a stable surface where evaporation happens naturally.





