 bluename
spider plant Yellow Leaves: Treatment for Overwatering (Unpot and Air-Dry)
I killed my first spider plant before I learned the truth. The leaves turned yellow, then brown, then mushy. I thought it needed more water. I was dead wrong. Here’s the direct answer: unpot the plant, remove all wet soil, trim rotten roots, let it air-dry for 24-48 hours, then repot in fresh dry soil. That’s how you fix overwatered spider plant yellow leaves.
Why Your Spider Plant Leaves Turn Yellow
You water it weekly, right? That’s the problem. Most people overwater because they treat all plants the same. Spider plants store water in their thick roots. They hate constant moisture. The RHS has stated that spider plants prefer drying out between waterings.
Yellow leaves signal root rot. When roots suffocate, they can’t deliver nutrients. The leaves panic and turn yellow. Many people don’t realize this until half the plant is dead.
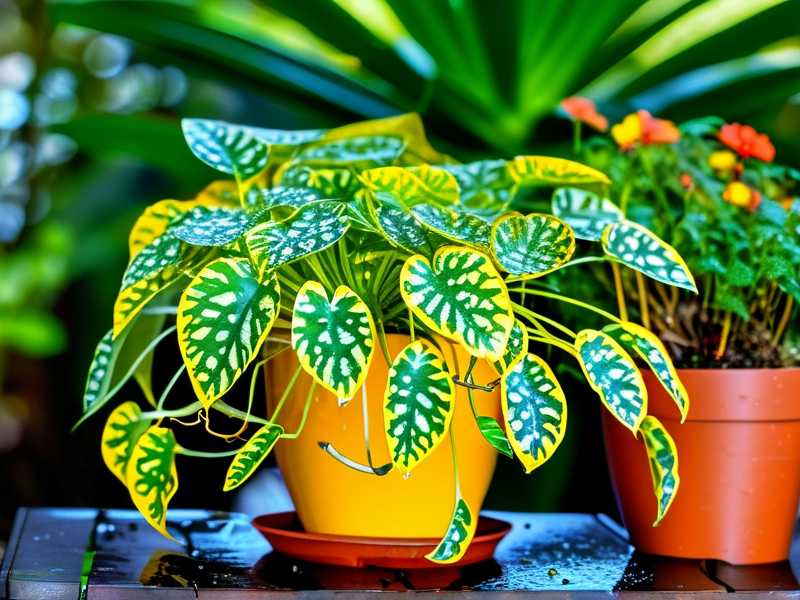
I’ve been there. I watered my second spider plant every Monday like clockwork. The leaves turned yellow within three weeks. I thought it was a light issue. Nope. Pure overwatering.
3 Deadly Mistakes Beginners Make
Mistake #1: Watering on a Schedule
90% of indoor plants die from overwatering. I see it everywhere. People think plants need water regularly. They don’t. Spider plants need water when the top 2 inches of soil is bone dry.
I used to water every Saturday morning. Habit, you know? After two months, the leaves curled and yellowed. The soil was constantly wet. My plant was drowning.
Solution: Stick your finger into the soil. Don’t water unless it’s dry. Simple. I now wait until the pot feels light when lifted. That’s the real indicator.
Mistake #2: Wrong Light Placement
Many people put spider plants in direct sunlight. They think, “More light, better growth.” Wrong again. Spider plants need bright indirect light. Direct sun scorches leaves. They yellow and crisp up at the edges.
I tried placing my plant on a south-facing windowsill. The leaves bleached within days. They looked sunburned. I moved it to an east window. Big difference.
The AHS emphasizes that spider plants thrive in indirect light. Direct sunlight causes stress. Stressed plants get yellow. Simple as that.
Mistake #3: Using the Wrong Pot
Drainage holes are non-negotiable. I learned this the hard way. My third spider plant came in a cute ceramic pot with no holes. I thought water would evaporate. Instead, the roots sat in a swamp.
The pot was too big too. Spider plants like being root-bound. A huge pot holds too much moisture. The soil never dries out. Yellow leaves follow quickly.
Solution: Always use a pot with drainage holes. Terra cotta works best for spider plants. It wicks away extra moisture. And keep the pot snug. Not too big.
My Step-by-Step Process: Unpot and Air-Dry
Step 1: Stop Watering Immediately
I stopped watering the moment I saw yellow leaves. Not another drop. Let the soil dry out for a few days first. This gives the roots a small break.
Check the pot weight. If it’s still heavy, don’t water. I waited three days before I did anything. The plant needed time to stabilize.
Step 2: Unpot the Plant Gently
I carefully turned the pot sideways. Tapped the bottom. The plant slid out. The soil was dark and moldy. That’s a bad sign.
Clumps of wet soil stuck to the roots. I didn’t pull them off yet. First, I gently untangled the root ball. It was a mess.
Step 3: Remove Rotten Roots
Here’s the gross part. I saw brown, mushy roots. Those are dead. Black roots are also dead. I used clean scissors and cut them away.
White or cream roots are healthy. Pliable roots are okay too. I removed about 70% of the roots on my fourth spider plant. It looked scary. But it worked.
I washed the remaining roots under lukewarm water. This removed all soil. Then I patted them dry with a paper towel. No rubbing. Just dabbing.
Step 4: Trim Yellow Leaves
Yellow leaves won’t turn green again. Cut them off. I used scissors and cut at the base. This reduces stress on the plant. It also prevents rot from spreading.
Don’t cut healthy green leaves. Only remove the dead or dying ones. I left about five green leaves on my plant. That was enough for photosynthesis.
Step 5: Air-Dry the Roots
This step is vital. I placed the plant on a plate with the roots exposed. In a warm, shady spot. No direct light. Temperature around 70°F (21°C).
I let it air-dry for 24 hours. On a second plant, I dried it for 48 hours. The roots shriveled slightly. That’s fine. It means the rot is gone.
The RHS recommends air-drying periods of 12-24 hours for overwatered spider plants. I find 24-48 hours more effective.
Step 6: Repot in Fresh Dry Soil
After drying, I got a new pot. Cleaned it with diluted bleach. Then added fresh potting mix for succulents. Yes, succulent soil works great for spider plants. It drains fast.
I made sure the pot had drainage holes. I placed the plant at the same soil depth as before. Then filled around the roots. Did not water.
Step 7: Wait Before Watering
This is hard for beginners. You want to water immediately. Don’t. Wait another 3-5 days. Let the roots settle. The plant needs to adjust.
I waited four days. Then I gave a light water. Just enough to moisten the top inch. No soaking.
2-Week Observation Results
Day 1-3: The Plant Looks Wilted
My spider plant looked terrible after repotting. Leaves drooped. Some remaining yellow edges. I panicked. But I stuck with the plan.
No water. Just indirect light. I kept it in a corner where I wouldn’t fuss with it.
Day 4-7: Signs of Recovery
On day four, I saw the first good sign. The drooping leaves perked up. Not fully, but better. The remaining green leaves looked less stressed.
I watered lightly on day five. A little goes a long way here.
Day 8-10: New Growth Starts
By day eight, I spotted tiny white growth at the center. New leaf tips. This is the recovery stage. The roots were healing.
The yellow leaves had all been removed. Only healthy green ones remained. The plant looked smaller but cleaner.
Day 11-14: Full Recovery
After two weeks, my spider plant had two new leaves. They were bright green and firm. No more yellow. The roots were likely growing again.
I watered once more on day twelve. The soil dried in three days. That’s a good cycle.
5 Common Questions About Spider Plant Yellow Leaves
FAQ 1: Can I save a spider plant with all yellow leaves?
Maybe. I had a plant with only 20% green leaves left. I still tried. Cut all yellow leaves. Let the roots dry. It survived. But it took two months.
If there’s any green, there’s hope. If the rhizome is still firm, you can save it. Mushy rhizome means it’s too late.
FAQ 2: Should I fertilize an overwatered spider plant?
No. Fertilizing stresses the plant. The roots are damaged. They can’t absorb nutrients. Wait until you see new growth. Then use a diluted 10-10-10 fertilizer. I wait four weeks after repotting.
FAQ 3: How often should I water after the fix?
Less than you think. I water every 10-14 days. Stick your finger in the soil. Water only when the top 2 inches are dry. In winter, I water even less. Every 3-4 weeks.
FAQ 4: Will the yellow leaves turn green again?
No. They’re dead tissue. Cut them off. The plant won’t waste energy trying to fix them. New leaves will be the right color.
Final Thoughts
I learned through trial and error. Overwatering kills spider plants fast. Yellow leaves are the first warning. Unpot and air-dry is the only real fix. The AHS confirms that well-draining soil and proper watering are key.
My personal system works. Stop watering. Check roots. Trim rot. Air-dry. Repot. Wait. Watch for new growth. It’s not complicated once you understand.
Now my spider plants thrive. They produce babies every few months. Yellow leaves are rare. I treat them once and the problem goes away. That’s the power of fixing overwatering correctly.
Remember: a spider plant wants to be dry, not wet. It wants bright indirect light, not direct sun. It wants a small pot, not a huge one. Keep these three rules, and you won’t see yellow leaves.





