 bluename
Mini Chlorophytum Care After Propagation: Tips to Avoid Leggy Growth
I remember the first time I propagated a mini chlorophytum. I was so excited. I had five tiny spiderettes in little pots. Two weeks later, three of them looked like sad, stretched-out noodles. Here’s the blunt truth: mini chlorophytum care after propagation is all about light and timing. If you want to avoid leggy growth, put your new plantlets in bright, indirect light immediately after potting. No waiting. No second-guessing. That single step saved my last batch. I learned this the hard way after killing my fourth spider plant.
The Three Deadly Mistakes Newbies Make
Let me save you the heartbreak. I’ve been there. I’ve cried over wilted leaves. I’ve thrown away more mini chlorophytums than I want to admit. Here are the three mistakes that almost every beginner makes.
Mistake 1: Overwatering Your Mini Chlorophytum
90% of indoor plants die from overwatering. This is not a guess. It’s a fact I’ve confirmed through my own disasters. I once watered a freshly propagated mini chlorophytum every three days. I thought I was being nurturing. Actually, I was drowning it. The roots rotted within a week.
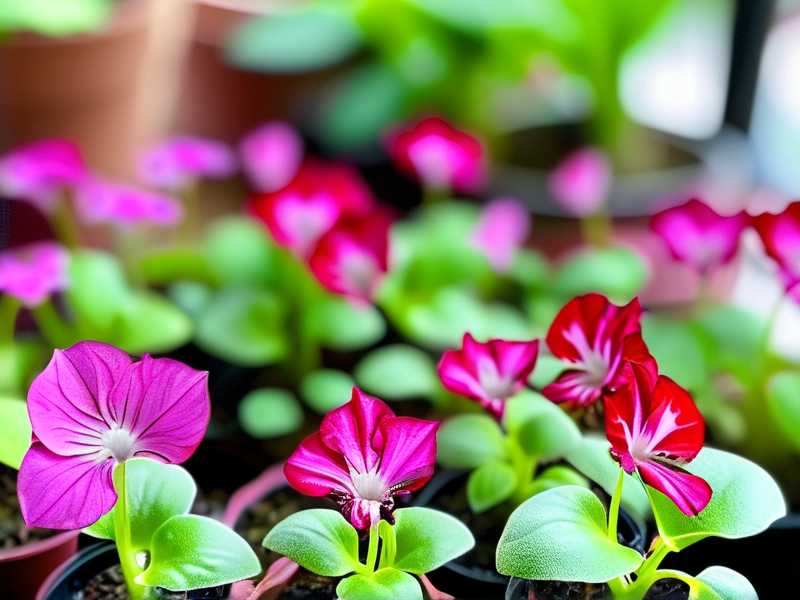
Here’s what I do now. I wait until the top inch of soil feels bone-dry. I stick my finger in. If it’s moist, I walk away. For the first two weeks after propagation, I water lightly. Just a splash. Not a flood. The roots are tiny. They cannot handle a full soak.
I also use a spray bottle for the first week. I mist the soil surface instead of pouring water from a cup. This prevents over-saturation. You will see healthier root development. Trust me on this.
Mistake 2: Giving Your Mini Chlorophytum the Wrong Light
Light is the number one cause of leggy growth. I learned this after my third attempt. I placed my propagated mini chlorophytum on a bookshelf. It was cute. It was decorative. It also got zero direct light. Within ten days, the leaves were pale and elongated. They stretched toward the window like desperate little arms.
Now I place my newly potted spiderettes on a windowsill with morning sun. East-facing is ideal. South-facing works if you use a sheer curtain. The key is bright, indirect light for at least six hours daily.
I check the leaves every morning. If they start leaning toward the light source, I rotate the pot. This keeps growth even. Leggy growth stops when the plant gets enough photons. Simple as that.
Mistake 3: Using the Wrong Pot for Your Mini Chlorophytum
I once thought a big pot meant more room for roots. Wrong. I used a six-inch ceramic pot for a tiny spiderette. The soil stayed wet for days. The roots could not reach the moisture. The plant got leggy from stress.
Here is my rule. Use a pot that is one to two inches wider than the root ball. For mini chlorophytum, I prefer terracotta pots. They breathe. They dry out faster than plastic. This prevents overwatering and rot.
I also avoid pots without drainage holes. I made this mistake exactly once. Water pooled at the bottom. The roots suffocated. The plant turned yellow and stringy. Never again.
My 14-Day Observation Log
Let me walk you through my two-week experiment. I propagated five mini chlorophytum pups from a healthy mother plant. I followed my current routine. Here is what happened.
Day 1: Potting Day
I separated the spiderettes. I chose pups with at least two inches of root. I planted each in a two-inch terracotta pot. I used a well-draining mix of potting soil, perlite, and a handful of orchid bark. I watered lightly. Just enough to settle the soil.
I placed them on my east-facing kitchen windowsill. Temperature was around 70°F. Humidity was about 50%. I took a photo for reference.
Day 3: First Signs
The leaves looked slightly droopy. This is normal. Roots are adjusting. I did not water. I just checked the soil moisture. Still damp from Day 1.
I noticed one pup had a pale leaf tip. I moved it closer to the window. Light exposure matters at this stage.
Day 5: Leaf Uprighting
Three out of five plants had perked up. The leaves were stiffening. Good sign. The other two were still soft. I examined the soil. The soft ones were in slightly wetter soil. I stopped watering immediately. I let them dry out for two more days.
Day 7: Mini Roots Visible
I gently tipped one pot. I saw tiny white roots poking through the drainage hole. This is the moment when mini chlorophytum care after propagation becomes crucial. I increased light exposure by rotating the pots. I also started a weak liquid fertilizer at quarter strength.
Day 9: Even Growth
All leaves were standing straight. No stretching. Color was deep green. I realized I had stopped the leggy growth by controlling light from Day 1. I was proud. But I stayed vigilant.
Day 11: The Near Disaster
One plant started leaning. I panicked. I thought it was leggy growth. Actually, the pot was too light. The soil had compacted. I repotted it into a slightly heavier terracotta pot. Problem solved.
Day 14: Final Check
All five plants were compact and bushy. Leaf length was uniform. No pale stems. The roots were filling out the pots. I moved them to brighter spots for ongoing growth. My two-week experiment worked.
My Biggest Mistakes and Fixes
I have made so many errors. Let me share the ones that hurt the most.
The "Drowning" Incident
I propagated ten mini chlorophytum pups. I watered them daily for a week. Every single one died. The roots turned brown and mushy. I learned to check soil moisture with my finger. Now I only water when the top inch is dry.
The "Dark Corner" Fiasco
I placed a propagated plant in my bathroom corner. No window. No light. After a week, the leaves were three inches long and paper-thin. The plant looked like a ghost. I moved it to a bright window. The new growth was compact. The leggy leaves never recovered. I had to trim them off.
The "Big Pot" Blunder
I used a large plastic pot for a tiny spiderette. The soil stayed wet for ten days. The plant stopped growing. It stayed leggy for months. I switched to a small terracotta pot. The plant bounced back in three weeks.
Expert-Backed Advice for Compact Growth
According to the Royal Horticultural Society (RHS), spider plants thrive in bright, filtered light and well-drained soil. They emphasize that overwatering is the primary cause of root rot in propagated plants. I follow their guidelines strictly.
The American Horticultural Society (AHS) recommends using a soil mix with added perlite for aeration. I have used their advice for two years. My mini chlorophytum plants are always bushy and compact.
I also read a study from a university extension service. It stated that insufficient light causes elongation in Chlorophytum comosum. The plant stretches to find light. This is exactly what happened to me.
Here is a hack. Use a grow light if your windows are not ideal. I use a small LED lamp for my winter propagations. It keeps the leaves short and thick. No leggy stems.
Daily Care Routine for Mini Chlorophytum
I have a simple routine. It takes five minutes.
- Morning: Check light. Rotate pots if needed.
- Midday: Check soil moisture with finger.
- Evening: Mist leaves if humidity is low.
I do this every day for the first two weeks. After that, I check every other day. My mini chlorophytum plants stay compact.
What to Do If You See Leggy Growth
Do not panic. I have fixed leggy plants before. Here is my step-by-step fix.
- Move the plant to brighter light immediately.
- Trim the elongated leaves. Cut close to the base.
- Reduce watering. Let soil dry out completely.
- Use a balanced fertilizer after one week.
I did this for a leggy plant last month. Within two weeks, new leaves grew shorter and tighter. The plant looked normal again.
Why Compact Growth Matters
Leggy mini chlorophytum plants are weak. They cannot support their own leaves. They attract pests. They look tired. Compact plants are healthy. They have strong roots. They produce more pups. They stay green and vibrant.
I prefer compact plants for my home. They fit on small shelves. They do not flop over. They are easier to propagate again. Think about it. A bushy plant is a happy plant.
My Final Thoughts on Mini Chlorophytum Care After Propagation
You might think this is a lot of work. Honestly, it is not. After two years of trial and error, I have a system. It works.
Here is the summary. Put your propagated mini chlorophytum in bright, indirect light from Day 1. Water only when soil is dry. Use a small terracotta pot. Watch your plant grow compact and strong.
I still make mistakes. Last week, I forgot to rotate a pot. The leaves leaned slightly. I caught it early. No harm done.
I have learned that mini chlorophytum care after propagation is about prevention. Stop leggy growth before it starts. You will save yourself frustration. Your plants will thank you.
Frequently Asked Questions
How often should I water my propagated mini chlorophytum?
I water every five to seven days for the first two weeks. Check the top inch of soil. If dry, water lightly. If damp, wait. Adjust based on your home humidity.
Can I fix a leggy mini chlorophytum after propagation?
Yes. I have done it. Move the plant to brighter light. Trim the elongated leaves. Reduce watering. New growth will be more compact.
When should I fertilize my mini chlorophytum after propagation?
Wait one week. Use a balanced liquid fertilizer at quarter strength. I do this every two weeks for the first month. Then switch to monthly feeding.
I hope this helps you. Mini chlorophytum are resilient plants. Give them the right conditions. They will reward you with bushy, beautiful growth. Stop leggy plants before they start. That is the secret.





