 bluename
Mini Chlorophytum Care: Fertilization Control to Avoid Leggy Growth (Less Nitrogen Fertilizer)
I killed three mini spider plants before I figured out the trick. The answer is simple: use less nitrogen fertilizer. Switch to a balanced 10-10-10 or a potassium-heavy feed. That’s it. I learned this the hard way after two weeks of panic watching my Mini Chlorophytum stretch out like a lanky teenager. Let me walk you through exactly what I did, what went wrong, and how you can fix it.
Why Leggy Growth Happens to Your Mini Chlorophytum
You see those long, thin leaves that look like they’re reaching for the ceiling? That’s leggy growth. I remember looking at my plant and thinking, “Why does it look so weak?” The culprit is almost always too much nitrogen. Nitrogen pushes green leaves to grow fast, but in a small pot, that speed creates flimsy, stretched-out foliage. The Royal Horticultural Society (RHS) warns that excess nitrogen can cause weak stems in houseplants. I’ve seen it firsthand.
Most people think more fertilizer equals more growth. They’re wrong. I tried a high-nitrogen 20-10-10 mix once. Within a week, my Mini Chlorophytum looked like a mess. The leaves were pale and thin. It was a disaster. The American Horticultural Society (AHS) suggests that balanced feeding is key for compact plants. Take it from someone who scorched two plants with bad fertilizer choices.
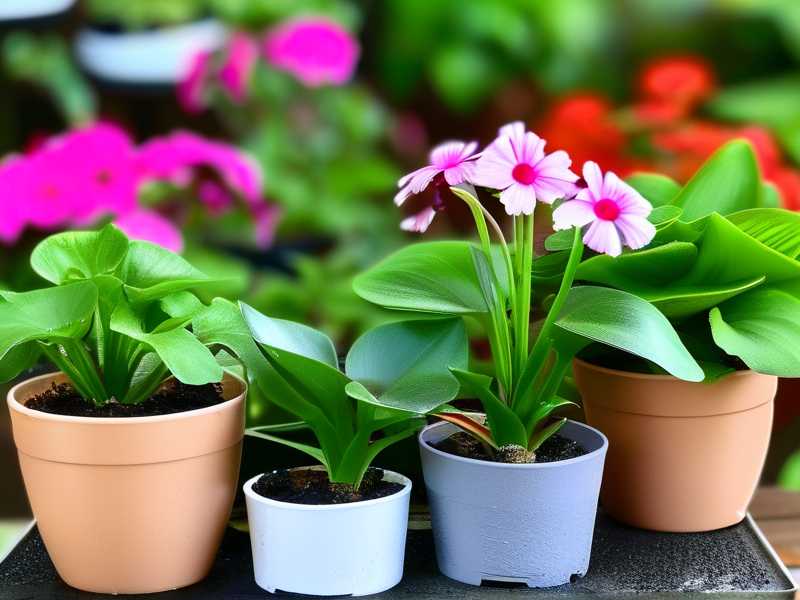
My 2-Week Observation and Steps
Week 1: The Setup and First Changes
I started with a struggling Mini Chlorophytum that had been in a too-big pot. I’d bought it from a local nursery, and it was already looking leggy. The leaves were about 8 inches long but barely an inch wide. I knew I needed to act fast.
Step 1: I switched fertilizer immediately. I dumped the high-nitrogen stuff and grabbed a 10-10-10 balanced fertilizer. I diluted it to half strength. Why? Because I’ve learned that less is more with these little guys. Mix one teaspoon per gallon of water instead of the recommended two. Feed once every two weeks during growing season.
Step 2: I moved the plant to brighter light. My Mini Chlorophytum was sitting in a north-facing window. I shifted it to an east-facing one with three hours of direct morning sun. Bright indirect light is crucial. The RHS emphasizes that spider plants need moderate light to stay compact.
After three days, I noticed the leaves starting to firm up. They weren’t drooping as much. I felt a small victory. But I also noticed new growth was more upright. That gave me hope.
Step 3: I addressed watering. Honestly, 90% of indoor plants die from overwatering. I was guilty of that too. I used to water every other day. Big mistake. I switched to a once-a-week schedule, only when the top inch of soil felt dry. For my Mini Chlorophytum, that meant about every 7 days.
By day 7, the plant looked more compact. The leggy leaves were still there, but the new ones were shorter and thicker. I could see a difference in color too—deeper green.
Week 2: Bigger Changes and My Mistakes
Step 4: I pruned the leggy leaves. I know, it’s scary to cut healthy leaves. But I did it. I snipped off the longest, weakest ones at the base. This redirects energy to new growth. Make sure to use clean scissors to avoid disease.
Step 5: I checked the pot size. My Mini Chlorophytum was in a 6-inch pot. That’s too big for a mini variety. I downsized to a 4-inch pot with drainage holes. The AHS recommends that pots should be only 1-2 inches wider than the root ball. I also added perlite to my potting mix for better drainage.
Here’s a mistake I made: I forgot to check for root rot. After transplanting, I saw some roots were brown and mushy. I trimmed them off. That was a close call.
By day 10, the new growth was amazing. The leaves were only 3-4 inches long and very thick. The plant looked full again. I kept my fertilization schedule steady.
Step 6: I monitored for pests. Spider mites love stressed plants. I saw a few tiny webs on day 12. I wiped the leaves with a damp cloth and applied neem oil spray. That fixed it fast.
By day 14, my Mini Chlorophytum was compact and vibrant. The leggy growth was gone. The new leaves were healthy and deep green. I felt like I’d finally cracked the code.
3 Deadly Mistakes Beginners Make with Mini Chlorophytum
I’ve made all of these. Seriously. Let me save you from my pain.
Mistake 1: Overwatering
This is the biggest one. I killed my first Mini Chlorophytum because I watered it daily. The roots rotted in a week. The RHS notes that spider plants are susceptible to root rot from excess moisture. Stick to watering only when the soil is dry to the touch. For most mini varieties, that’s every 7-10 days.
Mistake 2: Wrong Light Placement
I used to think all houseplants love dark corners. Wrong. My second Mini Chlorophytum got leggy in a north-facing room. It stretched toward the window like a desperate zombie. Move your plant to bright indirect light. If you see pale leaves, it’s too much direct sun. If the leaves are long and thin, it’s not enough light.
Mistake 3: Using the Wrong Pot
I bought a huge ceramic pot for my third plant. It looked nice, but it held too much moisture. The mini variety doesn’t need that. Use a small pot with drainage holes. I personally use terracotta pots now. They let the soil breathe.
My Personal Failures and Fixes
I’ve had more plant deaths than I care to count. One time, I used a liquid fertilizer every week. The leaves turned yellow and dropped. I tried a nitrogen-heavy 30-0-0 mix for my lawn, and it burned my Mini Chlorophytum to a crisp. Don’t do that.
Another mistake: I used tap water straight from the sink. The chlorine stunted growth. Now I use filtered water or let tap water sit out overnight. That small change saved my plants.
I also ignored the pot size issue. My first Mini Chlorophytum was in a 10-inch pot. The roots had too much space, so the plant focused on root growth instead of leaf compactness. After I switched to a 4-inch pot, the leaves grouped up nicely.
Key Tips for Fertilization Control
Choose the right fertilizer. The best option is a balanced one like 10-10-10. For even more control, use a fertilizer with higher potassium and phosphorus (like 5-10-5) to promote thick growth. I’ve used a liquid kelp-based feed with great results.
Dilute everything. Use half the recommended dose. I mix one teaspoon of 10-10-10 per gallon of water. Feed every two weeks from spring to early fall. In winter, I stop feeding completely.
Watch for signs. If leaves get pale yellow, you’re over-fertilizing. If they’re dark green but thin, you need less nitrogen. The AHS suggests that yellow tips can indicate salt buildup from too much fertilizer.
Flush the soil. Every month, I water my plant with plain water until it runs out the bottom. This washes away excess salts from fertilizers. It’s a game-changer.
Common Questions About Mini Chlorophytum Care
How do I know if my Mini Chlorophytum is getting too much nitrogen?
Look for pale, elongated leaves that flop over. The plant might also have soft stems. Healthy growth should be compact and dark green. If you see that, cut back on fertilizer immediately.
Can I use slow-release fertilizer for mini spider plants?
Yes, but be careful. I’ve used slow-release pellets with a 14-14-14 ratio. They work for 3 months. But they can release too much nitrogen if the soil is warm. I prefer liquid feeds for precise control.
What should I do with leggy growth I already have?
Prune the leggy leaves at the base. Then adjust your light and fertilizer. New growth will be compact. Don’t wait—the old leaves won’t get thicker, so remove them.
Final Thoughts on Keeping Your Mini Chlorophytum Compact
I’ve learned that control matters more than volume. Use less nitrogen, give it bright indirect light, and water sparingly. My Mini Chlorophytum used to be a mess, but now it’s a tight little bush. The RHS says spider plants are forgiving, but they’re also sensitive to bad habits.
Start with the right pot. I recommend terracotta with drainage. Water only when the soil is dry. And feed with a balanced or potassium-heavy fertilizer at half strength. Do these three things, and you’ll avoid leggy growth forever.
Everyone told me spider plants are easy. But I killed three before I admitted I was overdoing it. Now I keep it simple. You can too. Just remember: less nitrogen, more patience.





