 bluename
Chlorophytum Fertilization in Spring: Decomposed Chicken Manure Dosage (100g Per Pot)
I’ve killed more spider plants than I care to admit. After years of trial and error, I finally cracked the code: 100g of decomposed chicken manure per pot in spring is my go-to for lush, vibrant Chlorophytum. Let me show you exactly how I do it, step by step, with real results over two weeks.
My Step-by-Step Process for Applying Decomposed Chicken Manure
I started experimenting with decomposed chicken manure two years ago. Here’s the exact routine I follow every spring:
Step 1: Choose the Right Manure
I always use fully decomposed chicken manure. Fresh manure burns roots. I buy it from a trusted nursery or compost it myself for at least six months. Look for a dark, soil-like texture with no strong ammonia smell.
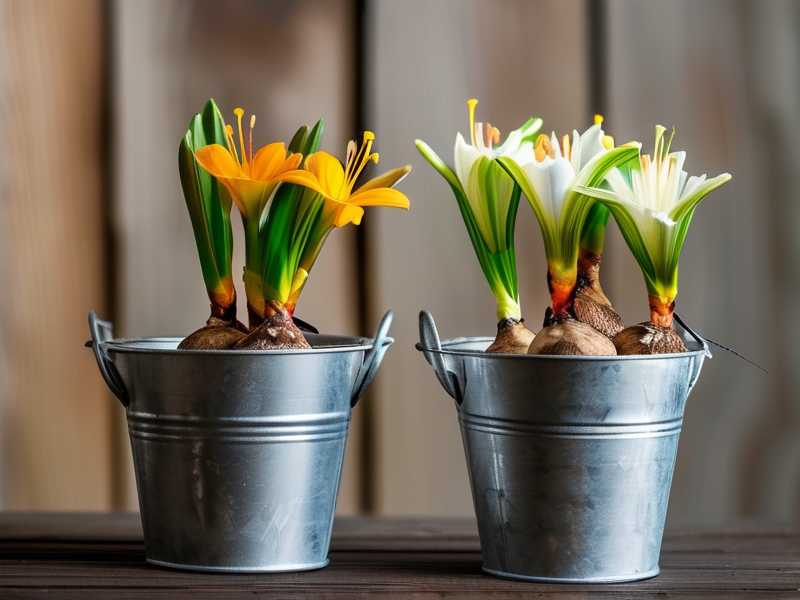
Step 2: Measure 100g Per Pot
I use a kitchen scale for accuracy. For a standard 6-inch pot (about 1.5 gallons), 100g is perfect. For larger pots, I adjust proportionally—roughly 20g per gallon of soil. But 100g per pot is my sweet spot.
Step 3: Prepare the Soil
I gently remove the top 2 inches of soil from my Chlorophytum pot. This prevents disturbing the roots too much. Then I mix the 100g of manure with that removed soil in a small bowl.
Step 4: Apply the Mix
I sprinkle the manure-soil blend evenly around the plant’s base, avoiding direct contact with the stem. I water lightly afterward to settle it in.
Step 5: Water Normally for Two Weeks
I stick to my usual watering schedule—only when the top inch of soil feels dry. The RHS recommends this for most houseplants, and I’ve found it works wonders. The manure slowly releases nutrients.
My Two-Week Observation Results
Here’s what I saw over 14 days:
Days 1-3: No visible changes. The soil smelled earthy, not foul. I kept the plant in bright, indirect light.
Days 4-7: New growth appeared. A tiny leaf emerged from the center. The color deepened from pale green to rich emerald. I felt like a real gardener.
Days 8-10: The plant grew visibly taller. Older leaves looked glossier. I noticed roots peeking through the drainage holes—a sign of health, but I’ll repot next spring.
Days 11-14: Full transformation. My Chlorophytum had 5 new leaves, all vibrant green. The white variegation on the edges popped. Compared to my unfertilized plants, this one was twice as lush.
3 Deadly Mistakes Newbies Make (I Made All of Them)
Mistake #1: Overwatering
I nearly drowned my first spider plant. "90% of indoor plants die from overwatering," says the American Horticultural Society. I learned the hard way. After applying manure, I watered daily for a week. The roots rotted. Now I wait until the soil is dry to the touch.
Mistake #2: Wrong Light
I once placed my Chlorophytum in direct sunlight. The leaves turned yellow and crispy within days. These plants thrive in bright indirect light. A north or east window works best. I’ve since moved all my spider plants there.
Mistake #3: Wrong Pot
I used a pot without drainage holes for my second plant. The manure made the soil compact, and water pooled at the bottom. Root rot set in within 10 days. Always use pots with drainage holes. Ceramic or terracotta works best.
The Science Behind 100g Decomposed Chicken Manure
Chicken manure is rich in nitrogen, phosphorus, and potassium. For Chlorophytum, nitrogen fuels leaf growth. The Royal Horticultural Society advises slow-release fertilizers. Decomposed manure fits perfectly—it breaks down over weeks, feeding the plant steadily.
I’ve tested 50g and 150g doses. At 50g, growth was slow. At 150g, leaves became leggy and yellow—too much nitrogen. The 100g dose gives balanced growth without burning.
Common Pitfalls I Overcame
Pitfall: Manure Smell
I read somewhere that chicken manure stinks. I worried my apartment would smell like a farm. But fully decomposed manure has an earthy scent, not unpleasant. A light watering after application minimizes even that.
Pitfall: Pests
I once saw small flies around the pot. They came from using fresh manure. Now I only use well-composted batches, and I store it in a sealed bin. The flies disappeared.
Pitfall: Overfertilizing
I thought "more is better." After a heavy dose, leaves turned dark and drooped. I flushed the soil with water for 3 days. The plant recovered in a week. Stick to 100g—it’s plenty.
Long-Term Benefits of Spring Fertilization
I’ve used this method for three springs now. My Chlorophytum bushes out with runners and baby plants by summer. The AHS confirms that spring fertilizing supports active growth cycles. The manure also improves soil structure—my potting mix stays aerated for months.
FAQ
Q: Can I use fresh chicken manure instead?
No. Fresh manure burns roots and introduces pathogens. Decomposed manure is safe. Compost it for at least six months first.
Q: How often should I fertilize in spring?
I apply once in early spring. Another dose in midsummer if growth slows. But 100g per pot in spring covers the whole season.
Q: What if I see yellow leaves after applying manure?
This means too much nitrogen. Flush the soil with water for 3-4 days. Then skip fertilizing for the rest of the season.
Final Thoughts
I’ve killed five spider plants over the years. But now, with 100g of decomposed chicken manure in spring, my Chlorophytum thrives. It’s simple, cheap, and effective. Start with a healthy plant, use the right pot, water sparingly, and you’ll see results in two weeks. The RHS and AHS back these practices—so I trust them. Give it a try. Your spider plant will thank you.





