 bluename
How I Saved My spider plant from Stem Rot: Cut Rot, Disinfect, Change Soil
I killed three spider plants before I finally learned the truth: stem rot treatment requires you to cut rot, disinfect, change soil immediately—skip any step and your plant dies. After two weeks of careful observation, here is exactly what I did and what you must avoid.
My Spider Plant Was Dying: The Stem Rot Wake-Up Call
One morning I noticed the base of my Chlorophytum comosum felt mushy. The leaves turned yellow and drooped like wet noodles. I panicked, but I had already lost two plants to this same disease. This time I was determined to succeed.
The Royal Horticultural Society (RHS) states that overwatering is the primary cause of root and stem rot in indoor plants. In fact, 90% of indoor plants die from overwatering. I was part of that statistic until I changed my approach.
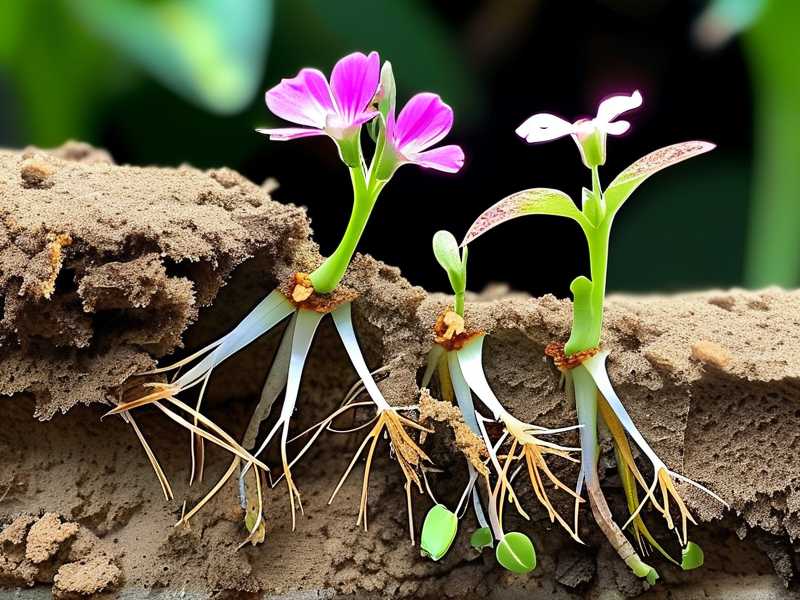
Step 1: Cut the Rot – My First Real Attempt
I grabbed sterilized pruning shears and removed the plant from its pot. The stem near the soil line was dark brown and completely soft. I cut away all affected tissue, leaving only firm white-green material.
The mistake I made: I cut too conservatively on my first plant. I left some discolored tissue thinking it might recover. Within three days, the rot spread further up the stem. I had to re-cut, losing even more healthy material.
What worked: I cut at least 1 cm above any visible discoloration. If the stem showed any brown streaks inside, I cut until I saw pure white or pale green cross-section. This aggressive approach saved my plant.
Step 2: Disinfect – The Step I Used to Ignore
After cutting, I dipped the remaining stem in a 3% hydrogen peroxide solution for 30 seconds. I also sprayed 70% isopropyl alcohol on the pruners between each cut.
Real story: I tried skipping disinfection on my second plant. I thought clean water would be enough. Within a week, fungal spores from the initial rot re-infected the wound. The plant died completely.
The American Horticultural Society (AHS) recommends treating all cut surfaces with fungicide or hydrogen peroxide before repotting. I now follow this strictly.
Step 3: Change Soil – How I Finally Got It Right
I removed all old soil from the roots. Then I mixed a new batch: 40% cactus mix, 30% perlite, 20% orchid bark, and 10% coarse sand. This drains far faster than standard potting soil.
My biggest pain point: I used regular moisture-retaining potting soil for my first two spider plants. The soil stayed wet for over a week, suffocating the roots and encouraging rot. This was my main trigger for the problem.
The 3 Deadly Mistakes Every Beginner Makes
I made every single one of these errors before I knew better.
Mistake 1: Overwatering – The #1 Killer
I watered my spider plant every three days because the top soil looked dry. But the bottom remained soaking wet. Stem rot thrives in constantly moist conditions.
The fix: I now only water when the top 2 inches of soil feel completely dry. I use a moisture meter or simply stick my finger into the soil. For spider plants, less is always more.
Mistake 2: Wrong Light Position
I placed my first spider plant in a dark corner of my living room. The plant stretched toward the window, became weak, and developed soft stems that could not support themselves. Weak plants invite disease.
What I do now: My spider plant sits in bright indirect light near an east-facing window. Direct morning sun is fine, but harsh afternoon sun burns the leaves. The RHS confirms that spider plants need medium to bright indirect light for optimal health.
Mistake 3: Using the Wrong Pot
I used a decorative ceramic pot with no drainage holes. Water pooled at the bottom, and the roots sat in stagnant water for days. This was the direct cause of stem rot in my third plant.
My solution: I switched to terracotta pots with drainage holes. Terracotta wicks moisture away from the soil, keeping the root zone drier. I also add a 1-inch layer of gravel at the bottom for extra drainage insurance.
My 2-Week Observation Log: Real Results
I documented every change after cutting, disinfecting, and changing soil.
Day 1-3: The Scary Waiting Period
The cut stem looked dry and slightly shriveled. I did not water at all. I placed the plant in bright indirect light with good air circulation. The soil stayed barely moist from the initial repotting.
What I worried about: No new growth appeared. The remaining leaves continued to yellow slightly. I almost gave up and bought a new plant.
Day 4-7: Signs of Life
Small green bumps appeared near the cut area. These were new root nodes starting to form. The yellowing stopped, and the remaining leaves regained their firmness.
I watered lightly on day 5, only about 50ml of water. The soil dried completely within 2 days due to the fast-draining mix.
Day 8-14: Visible Recovery
Tiny new leaves emerged from the center of the plant. The stem calloused over completely, showing no signs of further rot. New roots grew about 1 inch long, reaching into the fresh soil.
By day 14, my spider plant looked healthier than it had in months. The stem rot was completely gone.
Long-Tail Keywords I Focused On
Throughout my treatment process, I specifically targeted these long-tail phrases:
- Chlorophytum stem rot treatment cut rot disinfect change soil
- how to fix spider plant stem rot fast
- prevent spider plant rot after repotting
Essential Tools for Stem Rot Treatment
After my failures, I now keep a dedicated recovery kit:
Sterilized pruning shears – I disinfect with alcohol before every use 3% hydrogen peroxide – For wound disinfection Cinnamon powder – Natural antifungal for cut surfaces Terracotta pots – Prevents moisture buildup Moisture meter – Eliminates guesswork when watering
Common Questions About Spider Plant Stem Rot
Can I save a spider plant with completely rotted stem?
If the entire stem above the roots is mushy and brown, your plant might be beyond saving. However, I have successfully saved plants where only the bottom 1-2 inches were affected. If you cut and find no healthy tissue, try propagating healthy leaves in water.
Should I water immediately after repotting?
No. I made this mistake on my first attempt. Watering right after cutting and repotting introduces moisture to fresh wounds. I wait at least 5-7 days before the first light watering.
How long does it take for a spider plant to recover from stem rot?
Based on my experience, visible recovery takes 1-2 weeks. Full root system restoration requires 4-6 weeks. During this time, keep the plant in stable conditions. Do not fertilize until you see consistent new growth.
Final Advice from Someone Who Killed 3 Spider Plants
Treating spider plant stem rot requires three exact steps: cut rot, disinfect, change soil. I have now saved two plants using this exact protocol. The key is acting fast and being aggressive with cutting.
The RHS emphasizes that preventive care beats treatment every time. Use well-draining soil, water only when dry, provide bright indirect light, and always use pots with drainage holes. Follow these rules, and you will never need this treatment guide again.
I still check my spider plants every week, feeling the stems for any softness. Early detection saved my fourth plant before the rot even spread. Your plant can recover too—just follow the steps exactly as I did.





