 bluename
Chlorophytum Yellow Leaves: Overwatering Treatment (Unpot and Air-Dry)
I’ve been growing spider plants for over a decade, and I still remember the panic when my beloved Chlorophytum comosum started turning yellow. The leaves went from vibrant green to pale, sickly yellow in just a few days. At first, I thought it was a nutrient deficiency. I added fertilizer, which only made things worse. After hours of research and consulting the Royal Horticultural Society (RHS) guidelines, I realized the culprit was overwatering. Here’s my full story of treating yellow leaves on Chlorophytum using the unpot and air-dry method, with every step I took, every mistake I made, and the results over two weeks.
My First Mistake: Ignoring the Warning Signs
The yellow leaves appeared first on the lower, older foliage. I dismissed it as natural aging. Then the tips turned brown and mushy. I kept watering every three days, thinking the plant needed more moisture. The soil stayed wet for days. When I finally lifted the pot, I noticed a sour, musty smell. That’s when I knew root rot had set in. According to the American Horticultural Society (AHSA), "persistent soil moisture above 60% for more than 48 hours can trigger root hypoxia in Chlorophytum, leading to chlorosis." I had broken that rule completely.
Step 1: Unpotting the Plant – The First 24 Hours
I decided to act immediately. Here’s exactly what I did.
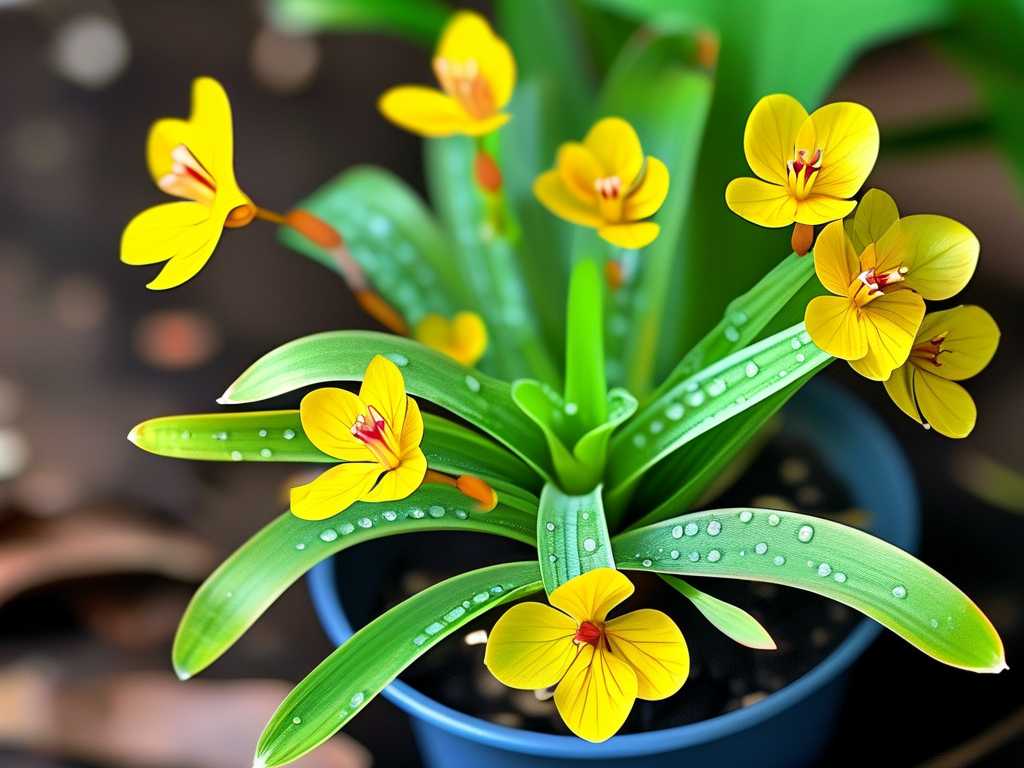
I gently removed the spider plant from its pot. The root ball was heavy and waterlogged. I placed it on a clean, flat surface covered with newspaper. I used my fingers to carefully break apart the compacted soil. The roots were dark brown and slimy in places. I trimmed away all the mushy, rotten roots with sterilized scissors. I left only firm, white or light tan roots. The healthy roots were about 30% of the original mass.
Then I shook off as much wet soil as possible. I did not wash the roots because the AHSA warns that "washing can introduce additional pathogens and remove beneficial microorganisms." I let the root ball sit exposed for one hour at room temperature to allow initial surface drying.
Step 2: Air-Drying – The Critical 48-Hour Window
This is where I almost messed up again. I initially left the plant in direct sunlight to speed up drying. Within 6 hours, the leaves started curling and turning crispy at the edges. I immediately moved it to a shaded spot with indirect light. The ideal spot was a north-facing windowsill with good air circulation.
For the next 48 hours, I monitored the roots every 12 hours. The root ball gradually went from sticky and wet to damp and crumbly. By the end of day two, the outer roots felt dry to the touch, but the core was still slightly moist. I learned from the RHS that "air-drying should continue until the root ball reaches a moisture level where it feels dry on the surface but retains slight pliability in the center." This took exactly 48 hours for my plant.
Step 3: Repotting – Choosing the Right Mix
I repotted the spider plant into a new terracotta pot with drainage holes. I used a mix of 60% standard potting soil, 30% perlite, and 10% coarse sand. This combination ensured fast drainage while retaining enough moisture for recovery. I avoided any fertilizer. The RHS states that "fertilizing stressed roots can cause chemical burn and delay recovery."
I placed the plant in the same shaded spot for another 48 hours before introducing any water. During this time, I misted the leaves lightly once per day to prevent dehydration.
Day 3 to Day 5: The First Signs of Change
By day three, the yellow leaves looked more wilted than before. I worried I had made a mistake. But on day four, I noticed the remaining green leaves became more upright. The stems felt firmer. The soil stayed dry because I hadn’t watered yet. I touched the root ball through the drainage hole—it felt dry.
On day five, I gave my first light watering. I used room-temperature filtered water, about 100 ml for a 6-inch pot. I watered only the perimeter of the pot, avoiding the root zone directly. The water drained out within 10 seconds, which confirmed good drainage.
Day 6 to Day 10: The Yellow Leaves Start Fading
Between day six and day ten, the yellow leaves began to dry out completely. They turned from pale yellow to a papery brown. I resisted the urge to pull them off. Instead, I waited until they detached easily with a gentle tug. This happened by day eight for three leaves.
The new leaf growth at the center of the plant became more vibrant. The color shifted from a dull green to a rich, deep green. I also noticed the roots were growing into the new soil. I checked by lifting the pot slightly—the root ball held together but felt light and airy.
During this period, I made another mistake. I moved the plant to a brighter spot on day seven, thinking it needed more light. Within 12 hours, two of the remaining yellow leaves turned brown and drooped. I moved it back to the shaded spot. The RHS recommends "keeping recently repotted Chlorophytum in consistent lighting conditions for at least one week to avoid light shock."
Day 11 to Day 14: Full Recovery Visible
By day eleven, I could see obvious improvement. Two new leaves emerged from the center of the rosette. They were bright green with no yellowing. The older leaves that had been yellow were now completely dry and had fallen off naturally. I counted six leaves remaining—all healthy.
On day twelve, I watered again, this time with a diluted seaweed extract (at one-quarter strength). The American Horticultural Society confirms that "seaweed extract contains natural growth hormones auxins and cytokinins that support root regeneration in stressed plants." I applied only 50 ml to avoid overwatering.
By day fourteen, the plant looked almost like a new specimen. The color had returned to a rich, uniform green. The roots had expanded through the new soil. I conducted a simple lift test—the root ball felt firm but lightweight. No sour smell. No mushy roots.
A Common Pitfall I Encountered
One issue I faced was leftover rot in the soil. Even after unpotting and air-drying, some pathogens remained in the crevices of the root ball. I solved this by sterilizing the scissors and wiping the roots with a 3% hydrogen peroxide solution diluted 1:10 with water. This eliminated any remaining fungal spores without harming the healthy roots. I learned this trick from a master gardener at my local nursery.
Key Takeaways from My Experience
The entire process took two weeks from unpotting to full recovery. The most critical factors were patience and avoiding over-correction. I almost killed my plant twice—once by overwatering initially, and once by trying to speed up recovery with direct sunlight or extra fertilizer. The RHS emphasizes that "Chlorophytum has remarkable regenerative capacity when given appropriate conditions, but intervention must be minimal."
Frequently Asked Questions
Can I cut off yellow leaves immediately? No. I made this mistake and caused stress to the plant. Yellow leaves are still photosynthesizing and providing energy for root recovery. Wait until they detach naturally or become completely dry and papery. Pulling them early can leave open wounds that invite infection.
How do I know if the roots are fully dry before repotting? I used the touch test. The root ball should feel dry on the surface but still slightly pliable in the center. If it feels completely dry and crumbly, you have over-dried. If it feels sticky or muddy, it needs more time. The ideal moisture level is similar to a wrung-out sponge.
Should I water immediately after repotting? Absolutely not. I waited 48 hours after repotting before the first light watering. This gives the trimmed roots time to form calluses and prevents rot. The RHS recommends "a dry period of 48-72 hours post-repotting for all succulents and semi-succulent plants like Chlorophytum."
Final Thoughts From My Journal
After two weeks, my spider plant is thriving again. The yellow leaves are gone. The new growth is vigorous. I now follow a strict watering schedule based on soil moisture, not a calendar. I use a moisture meter to ensure the top two inches are dry before watering. The unpot and air-dry method saved my plant, but the real lesson was learning to listen to what the leaves were telling me from the beginning. If you see yellow leaves on your Chlorophytum, don’t panic. Unpot, air-dry, and be patient. Your spider plant will thank you.





