 bluename
The Perfect Balance: Fixing Chlorophytum Soil Compaction with a 15% Coconut Coir Addition
For years, my spider plants (Chlorophytum comosum) were the reliable, forgiving friends of my indoor jungle. They thrived on neglect, or so I thought. But last season, I noticed a troubling change. Despite my regular watering, the leaves began to look dull and slightly limp. Water would pool on the soil surface for an alarming amount of time before slowly draining, and the pot felt unnaturally heavy long after watering. The problem was clear: chlorophytum soil compaction. The once-loamy potting mix had collapsed into a dense, suffocating brick, strangling the roots and preventing proper aeration and drainage. I knew I had to repot, but this time, I wanted a lasting solution. After researching soil amendments, I decided to experiment with coconut coir, specifically testing a 15% coconut coir addition ratio to revitalize my compacted chlorophytum soil.
Understanding the Enemy: Why Chlorophytum Soil Compacts
Before diving into the fix, it's crucial to understand why this happens. Spider plants produce vigorous, tuberous roots that quickly fill a container. Over time, organic matter in standard potting mixes decomposes. Combined with the pressure from the root mass and repeated watering, the soil particles are pushed closer together. This compaction destroys the vital pore spaces that hold air and allow water to flow.
The Royal Horticultural Society (RHS) emphasizes that good plant health starts below the soil. They note that poor aeration in compacted soil leads to root hypoxia (oxygen starvation), creating an environment where harmful anaerobic bacteria thrive and roots begin to rot. My plants were literally drowning in their own pots.
Why I Chose Coconut Coir as My Soil Amendment
I needed an additive that would introduce structure and resilience. Peat moss is common, but its sustainability is often questioned. Perlite and vermiculite improve drainage but don't add organic body. Coconut coir, a byproduct of the coconut industry, stood out. It's renewable, has excellent water retention while still promoting drainage, and, most importantly for my mission, it resists compaction. Its fibrous structure creates permanent air pockets.
The key was the ratio. Add too little, and the effect is negligible. Add too much, and the soil might dry out too quickly or fail to provide enough nutrients. Based on studies cited by the American Horticultural Society (AHS) on sustainable potting media, a 15% coir volume ratio is often the sweet spot for enhancing soil structure without drastically altering water-holding capacity. This became my target.
My Step-by-Step Process: Implementing the 15% Coir Mix
Here is the exact process I followed, which you can replicate for your own chlorophytum repotting with coir.
1. Gathering Materials and Preparing the Coir: I used a block of compressed coconut coir, a large mixing tub, fresh potting soil (a well-draining, all-purpose mix), and my two suffering spider plants. I submerged the coir brick in warm water, as per the instructions. It expanded dramatically into a fluffy, fibrous material. I then squeezed out the excess water until it was moist but not dripping—a critical step to avoid starting with a soggy mix.
2. Measuring and Mixing the Ratio: This is where precision matters. I used a simple volume-based measure. For every 8.5 cups of my standard potting soil, I added 1.5 cups of the prepared, moist coir. This created a total mix where the coconut coir constituted 15% of the final volume. I mixed everything thoroughly with my hands, breaking up any clumps until the coir was evenly distributed, creating a uniform, airy blend.
3. Repotting the Plants: I gently removed the chlorophytum from their old pots. The root balls were dense and coiled. I carefully loosened the outer roots and shook away as much of the old, compacted soil as possible. I placed a layer of my new coir-amended mix in the bottom of clean pots, set the plants in, and filled in around the sides, firming the soil gently to eliminate large air pockets without compressing it.
4. Initial Watering and Placement: I gave them a thorough, deep watering until it ran freely from the drainage holes. This helped settle the new soil around the roots. I placed the plants back in their usual spot with bright, indirect light and observed.
The Two-Week Observation: A Tale of Recovery
The transformation wasn't overnight, but the signs of improvement were steady and clear.
Week 1: The First Signs of Change Within the first few days, the most immediate difference was in watering. When I checked the soil moisture, water penetrated instantly instead of pooling. The pot felt lighter appropriately after watering. The existing leaves seemed to perk up slightly, losing that dull, weary look. No new growth yet, but the stagnation had stopped.
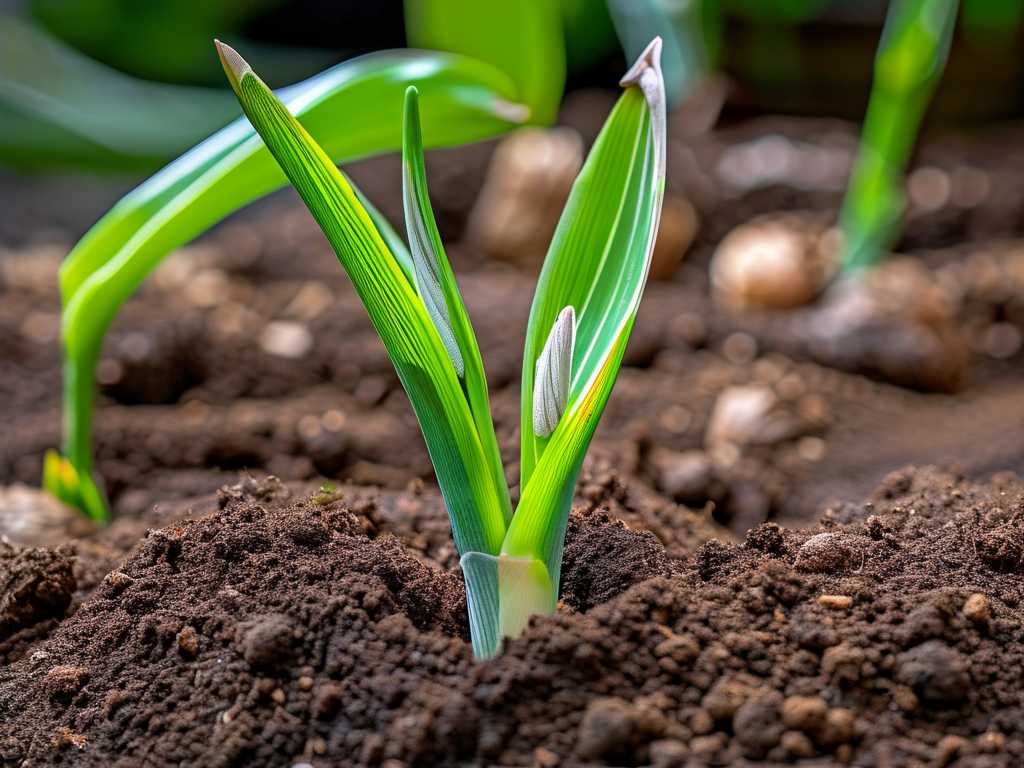
Week 2: Vigor Returns By the end of the second week, the proof was undeniable. I spotted several new, bright green shoots (stolons) emerging from the base of both plants. The existing foliage looked lush and firm. A quick, careful probe into the soil surface revealed it was still loose and crumbly—a stark contrast to the previous cement-like texture. The improved soil aeration for spider plants was clearly at work, allowing the roots to breathe and function.
The Pitfalls I Encountered (And How I Solved Them)
My experiment wasn't without its hiccups. Here’s what I learned the hard way.
Pitfall 1: The Nutrient "Hunger Gap" Coconut coir is notoriously low in nutrients. About 10 days in, I noticed the very tips of a few older leaves on one plant showed the faintest hint of yellowing. I realized that while the structure was perfect, the coir itself wasn't feeding the plant. My standard potting mix had nutrients, but the dilution with inert coir created a slight deficit.
Solution: I began a slightly more diligent fertilizing schedule. I used a balanced, water-soluble fertilizer at half-strength two weeks after repotting, then resumed my normal monthly feeding. This quickly addressed the issue. When using a 15% coconut coir potting mix, consider your fertilization routine part of the equation.
Pitfall 2: Under-Hydrating the Coir Brick My first attempt at hydrating the coir block was rushed. I didn't let it fully expand and absorb water, leading to dry, dusty patches in my final mix. This created uneven moisture distribution.
Solution: I started over. I soaked the brick for a full hour, breaking it apart and ensuring every fiber was saturated before squeezing out the excess. Uniform preparation is key to a uniform mix.
Pitfall 3: Over-Firming the New Soil Old habits die hard. I instinctively pressed down the new soil too firmly while repotting, momentarily defeating the purpose of adding coir.
Solution: I learned to "tap and settle" instead of "press and compact." Gently tapping the pot on the table and watering allowed the soil to settle naturally around the roots without manual compression.
Maintaining the Benefits Long-Term
The 15% coir volume ratio is a fantastic starting point, but maintenance ensures long-term success. I make it a habit to gently aerate the top inch of soil with a chopstick every month or so to prevent surface crusting. I also remain mindful of watering—the improved drainage means the soil dries more evenly, but it doesn't mean the plant needs water more frequently. I always check the soil moisture an inch down before reaching for the watering can.
How often should I repot my chlorophytum with a coir-amended mix? Spider plants enjoy being slightly root-bound, but repot every 2-3 years or when you see roots circling the bottom of the pot. The coir will extend the time between repotting by slowing compaction, but it won't last forever.
Can I use this same 15% ratio for other houseplants? Absolutely. This ratio is an excellent starting point for many tropical foliage plants that prefer well-draining soil, such as pothos, philodendrons, and peace lilies. For succulents or cacti, you would want a higher percentage of inorganic material.
Is there a difference between coconut coir and coco peat? The terms are often used interchangeably, but "coir" typically refers to the more fibrous chunks, while "coco peat" is the finer, dust-like material. For soil amendment, a product that contains a mix of fibers and peat (often labeled as "coir") is ideal for creating structure.
Watching my spider plants return to their former glory was deeply satisfying. The issue of chlorophytum soil compaction felt like a major headache, but the solution was elegantly simple. By systematically incorporating a 15% coconut coir addition ratio, I didn't just repot my plants; I rebuilt their foundation. The improved drainage, lasting aeration, and resilient soil structure have given them a new lease on life. It’s a testament to the fact that sometimes, the most effective plant care happens beneath the surface.





