 bluename
Chlorophytum Leaf Black Spot: My Battle Plan Against Fungal Disease
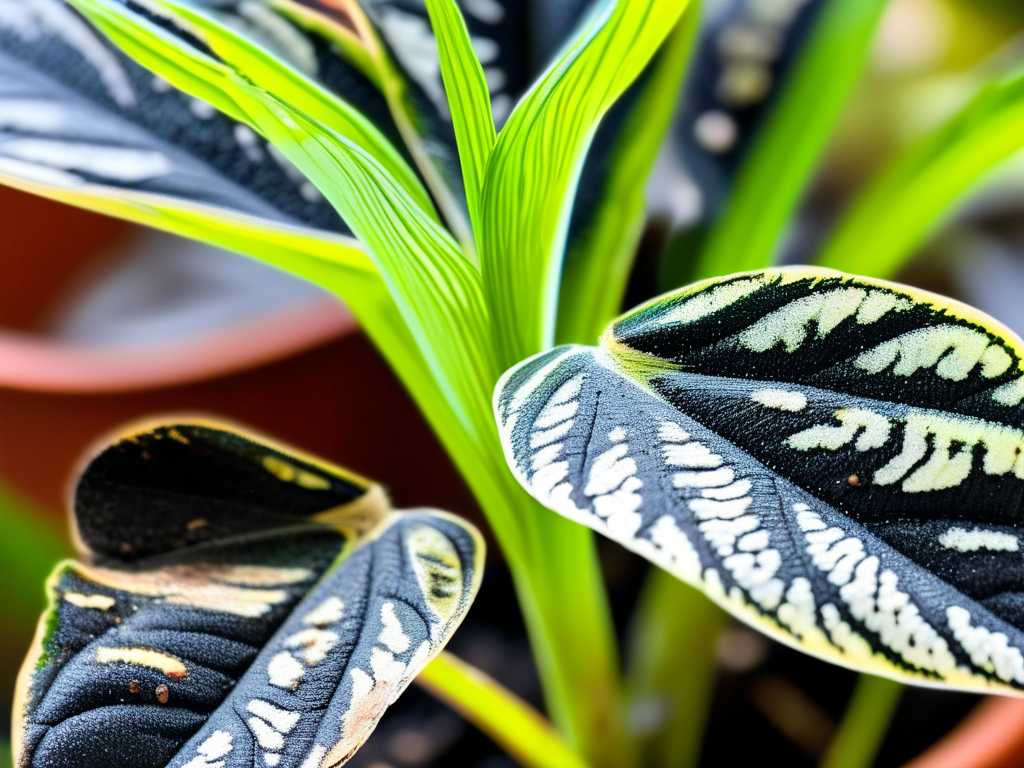
I’ll never forget the sinking feeling. There it was, on my favorite, lush variegated spider plant—a small, ominous black spot. It wasn't a dust speck. It was a lesion, a sign of trouble. As a houseplant enthusiast with a growing collection, I knew this wasn't just cosmetic. Chlorophytum leaf black spot, a classic symptom of fungal disease, had invaded my green sanctuary. Left unchecked, it could spread, weaken the plant, and even jump to others. I decided then and there to tackle it head-on, documenting every step of my two-week journey from diagnosis to recovery. If you're seeing those telltale black or brown spots with yellow halos on your spider plant's leaves, this is the practical, from-the-trenches guide you need.
Understanding the Enemy: What Causes Black Spots on Spider Plants?
Before reaching for any treatment, I had to be sure. Fungal leaf spot, often caused by pathogens like Cercospora or Alternaria, thrives in specific conditions. According to the American Horticultural Society (AHS), these fungi are opportunistic. They exploit weaknesses, primarily loving moisture on leaf surfaces and poor air circulation. My plant’s spot was circular, starting brown and turning black, with a faint yellow ring—a textbook case.
I realized my own care routine had created the perfect storm. I’d been misting the leaves frequently (thinking I was helping) and the plant was in a slightly crowded corner. Good intentions, bad outcome. This fungal issue is different from bacterial leaf spot or damage from sun scorch, which is why correct identification is the crucial first step.
My 2-Week Action Plan: Step-by-Step Fungal Disease Control
I committed to a strict, integrated two-week protocol. Here’s exactly what I did, day by day.
Week 1: The Intensive Care Phase
Days 1-2: Isolation and Assessment My first move was immediate quarantine. I moved the affected spider plant away from all others to a well-lit, airy bathroom with an east-facing window. This contained any potential spores. I then performed "surgery." Using sterilized scissors (I wiped them down with isopropyl alcohol), I carefully cut off every leaf showing black spots. I cut well into the healthy green tissue, about an inch beyond the lesion, to ensure I removed all infected material. I disposed of these leaves in the trash, not the compost, to prevent spore spread.
Days 3-5: The Treatment Application With the worst removed, it was time to treat the remaining plant and soil. I chose a readily available copper fungicide, a common recommendation for fungal leaf spots. Following the label instructions meticulously, I mixed the solution. Here was my first real challenge: applying it thoroughly without drenching the soil excessively. I took the plant to the sink, gently tilted it, and used a small spray bottle to coat the upper and lower surfaces of every single leaf until they glistened. I was careful to avoid runoff into the crown of the plant. I also lightly sprayed the soil surface. I placed the plant back in its isolated, breezy spot.
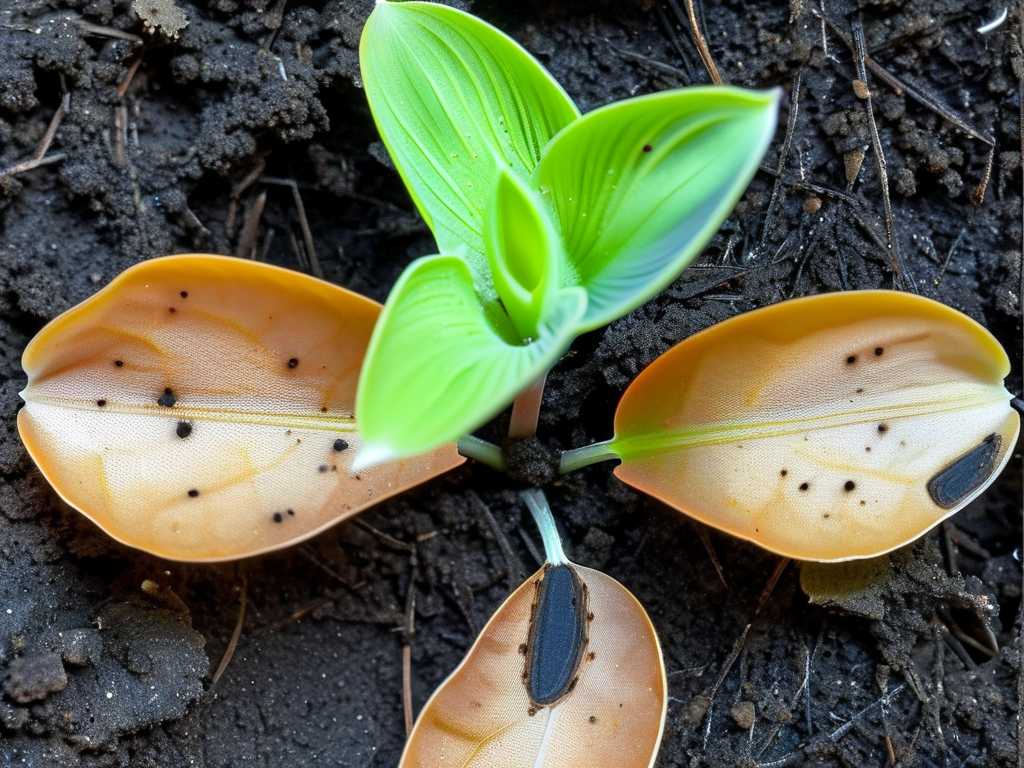
Days 6-7: Environmental Overhaul Treatment alone isn't enough. I had to fix the environment that caused the problem. I completely stopped misting. Instead, I focused on bottom-watering. I placed the pot in a shallow tray of water for about 20 minutes, allowing the soil to soak up moisture from below. This kept the leaves perfectly dry. I also moved a small fan into the room (not pointing directly at the plant) to dramatically improve air circulation around the foliage. This step is critical for preventing fungal diseases in houseplants.
Week 2: Observation and Adjustment
Days 8-14: The Vigilant Watch The intensive work was done; now it was about patience and observation. I checked the plant daily for any new spots. I continued the bottom-watering only when the top two inches of soil were bone dry. The fan ran for a few hours each day.
By Day 10, I was nervous. No new spots had appeared, but a few of the older, partially affected leaves I hadn't removed started to yellow further. I made a judgment call and pruned these too, as they were likely draining energy from the plant's recovery. This was a minor setback in treating chlorophytum leaf spot I hadn't fully anticipated.
The Results After 14 Days By the end of the second week, the results were clear and positive. The plant had stopped developing any new black spots. The remaining foliage was a healthy, vibrant green. I noticed something even more promising: a new, tiny spiderette (runner) was beginning to form. This was the plant's signal that the stress was subsiding and it was returning to health. The fungal outbreak had been contained and defeated.
The Pitfalls I Encountered (And How You Can Avoid Them)
My journey wasn't perfectly smooth. Here are the mistakes I made and how I corrected them:
- The Over-Misting Trap: My biggest error was thinking frequent leaf misting benefited the plant. For spider plants, it's often a liability. Solution: I switched to bottom-watering and now use a humidifier in the room for general humidity, keeping leaves dry.
- Incomplete Leaf Coverage During Treatment: On my first fungicide attempt, I missed the undersides of leaves. Fungal spores love hiding there. Solution: I made a conscious effort to turn each leaf and spray from all angles during subsequent applications.
- Impatience with Recovery: I expected instant perfection. When a few leaves yellowed post-treatment, I worried I’d failed. Solution: I learned that plants shed stressed tissue. Removing those yellowing leaves was the right move and allowed the plant to focus energy on new, healthy growth.
Building a Fungus-Resistant Environment for Healthy Spider Plants
Prevention is infinitely easier than cure. Based on my experience and advice from the Royal Horticultural Society (RHS), which emphasizes preventative cultural controls, here is my new, foolproof care routine:
- Water with Purpose: I water only at the soil level, never from above. The "soak and dry" method is my mantra—water deeply, then let the soil dry out significantly before the next watering.
- Prioritize Airflow: My plants are no longer crowded. I ensure there's space between pots, and I occasionally run a fan on a low setting to simulate a natural breeze, which is a powerful fungal disease prevention tool.
- Sanitation is Key: I regularly clean my tools with alcohol and remove any fallen debris from the soil surface promptly. This removes potential spore reservoirs.
Your Questions, Answered
Can I use a home remedy like neem oil for spider plant black spots? You can, and I tried a diluted neem oil solution in the past for minor issues. For an active, established infection like the one I faced, I found a dedicated fungicide (like copper or sulfur-based) to be faster and more reliable. Neem is an excellent preventative foliar spray and should be part of your maintenance routine.
Should I repot my spider plant if it has leaf spot? Not immediately during the crisis. Repotting adds stress. Focus on treating the foliage and correcting watering first. However, if your soil is old, compacted, and stays wet for too long, consider repotting into a fresh, well-draining mix after the plant has recovered. Always use a pot with drainage holes.
Will the black spots on the leaves ever go away? No. The damaged tissue on existing spots is dead and will not turn green again. This is why careful pruning of severely affected leaves is so important—it removes the damaged material and improves the plant's appearance and health. The goal of treatment is to stop new spots from forming.
Seeing your resilient spider plant push out new, spot-free growth after tackling a fungal issue is incredibly rewarding. It comes down to a swift, multi-pronged response: isolate, prune, treat with an appropriate fungicide, and most importantly, correct the environmental conditions that allowed the fungus to gain a foothold. By adopting preventative habits like bottom-watering and ensuring good airflow, you can create an environment where your Chlorophytum doesn't just survive, but truly thrives, free from the worry of those dreaded black spots.





